DIY Puzzles for Kids
Holiday season is fast approaching, so here are some quick and simple personalized puzzles you can make for the little ones in your life.
Check out the full build video below!
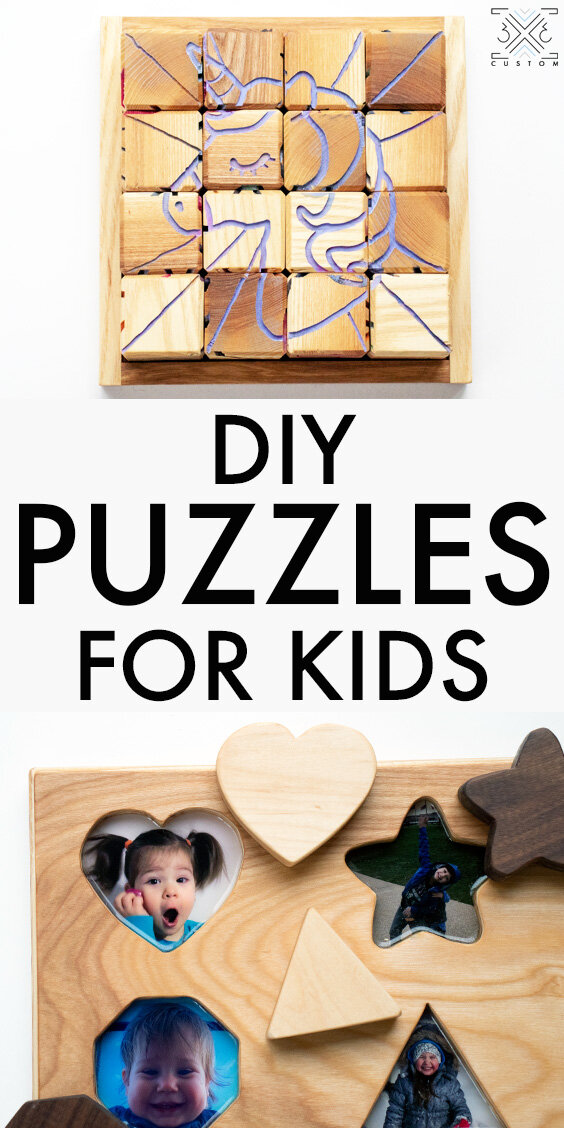
Let’s start with the simpler one, the personalized shape puzzle.
WHAT YOU’LL NEED
2 pieces of 1/2” Plywood @ 13” x 8”
Scrap Wood at least 3/4” thick
Spray Adhesive
Jigsaw
Dremel
Table Top Epoxy
Your Favorite Pictures
You can find the shape template here - Shape Puzzle Template
You can leave the layout as is, or cut out the shapes and lay them out however you like.
I cut out the shapes, then used spray adhesive to temporarily attach it to the 1/2” plywood.
There are many ways to cut out the shapes, I decided to use a jigsaw. (Scroll saw or CNC would work great too.)
Drill a pilot hole to allow room for the jigsaw blade.
Then cut around the template. I find a scrolling blade for the jigsaw leaves the best results in plywood.
The cuts from a jigsaw are never perfect, nothing a dremel with a sanding attachment can’t fix.
Once the cuts are all cleaned up, trace them onto some scrap wood to use as the puzzle pieces. (It doesn’t really matter how thick this wood is, as long as it’s thicker than the 1/2” plywood.)
Then cut out the shapes. I used the bandsaw, but a jigsaw can also be used.
After cutting them out, sand them until all the sides are smooth and make sure they fit in the cut outs.
New here’s where the puzzle gets personalized!
Print out some pictures that you think your little one would love. This could be pictures of grandparents, aunts, uncles, cousins or dinosaurs! That’s what makes this puzzle so awesome.
These pictures are going to be sandwiched between the top plywood cut out piece and another piece of plywood that’s roughly the same size as that one.
Cut the pictures so they are larger than the cut out shapes and use spray adhesive to attach them to the bottom piece of plywood.
Then glue the top cut out piece onto the back piece. Just make sure not to put so much glue around where the pictures are so there is no glue squeeze out on the pictures.
Clamp it up and set it off to dry for a few hours.
Once dry, you can trim it to final size at the table saw, and final width at the miter saw.
Or you can do all final trimming with a circular saw, or by sanding smooth.
The pictures need to be sealed to protect them…
Mix up some table top epoxy (or 5 minute epoxy would work too….) and pour in just enough to coat the pictures, make sure to pop any air bubbles with a heat gun or torch and set that off to cure.
After final sanding, finish it up with some food safe finish and it’s done!
On to the next puzzle! The 6 sided puzzle!
I won’t list a material list here, because you can make this puzzle work for you with whatever materials you have on hand....
The key to making this puzzle work is to make 16 evenly sized cubes.
I started off with 8/4 material, which ends up being around 1-3/4” thick. So the cubes will be 1-3/4” square. You may have material of a different thickness…
To get the cubes to be perfect, rip your blank into strips that are as wide as the wood is thick.
Then cross cut those strips into blocks at that same thickness.
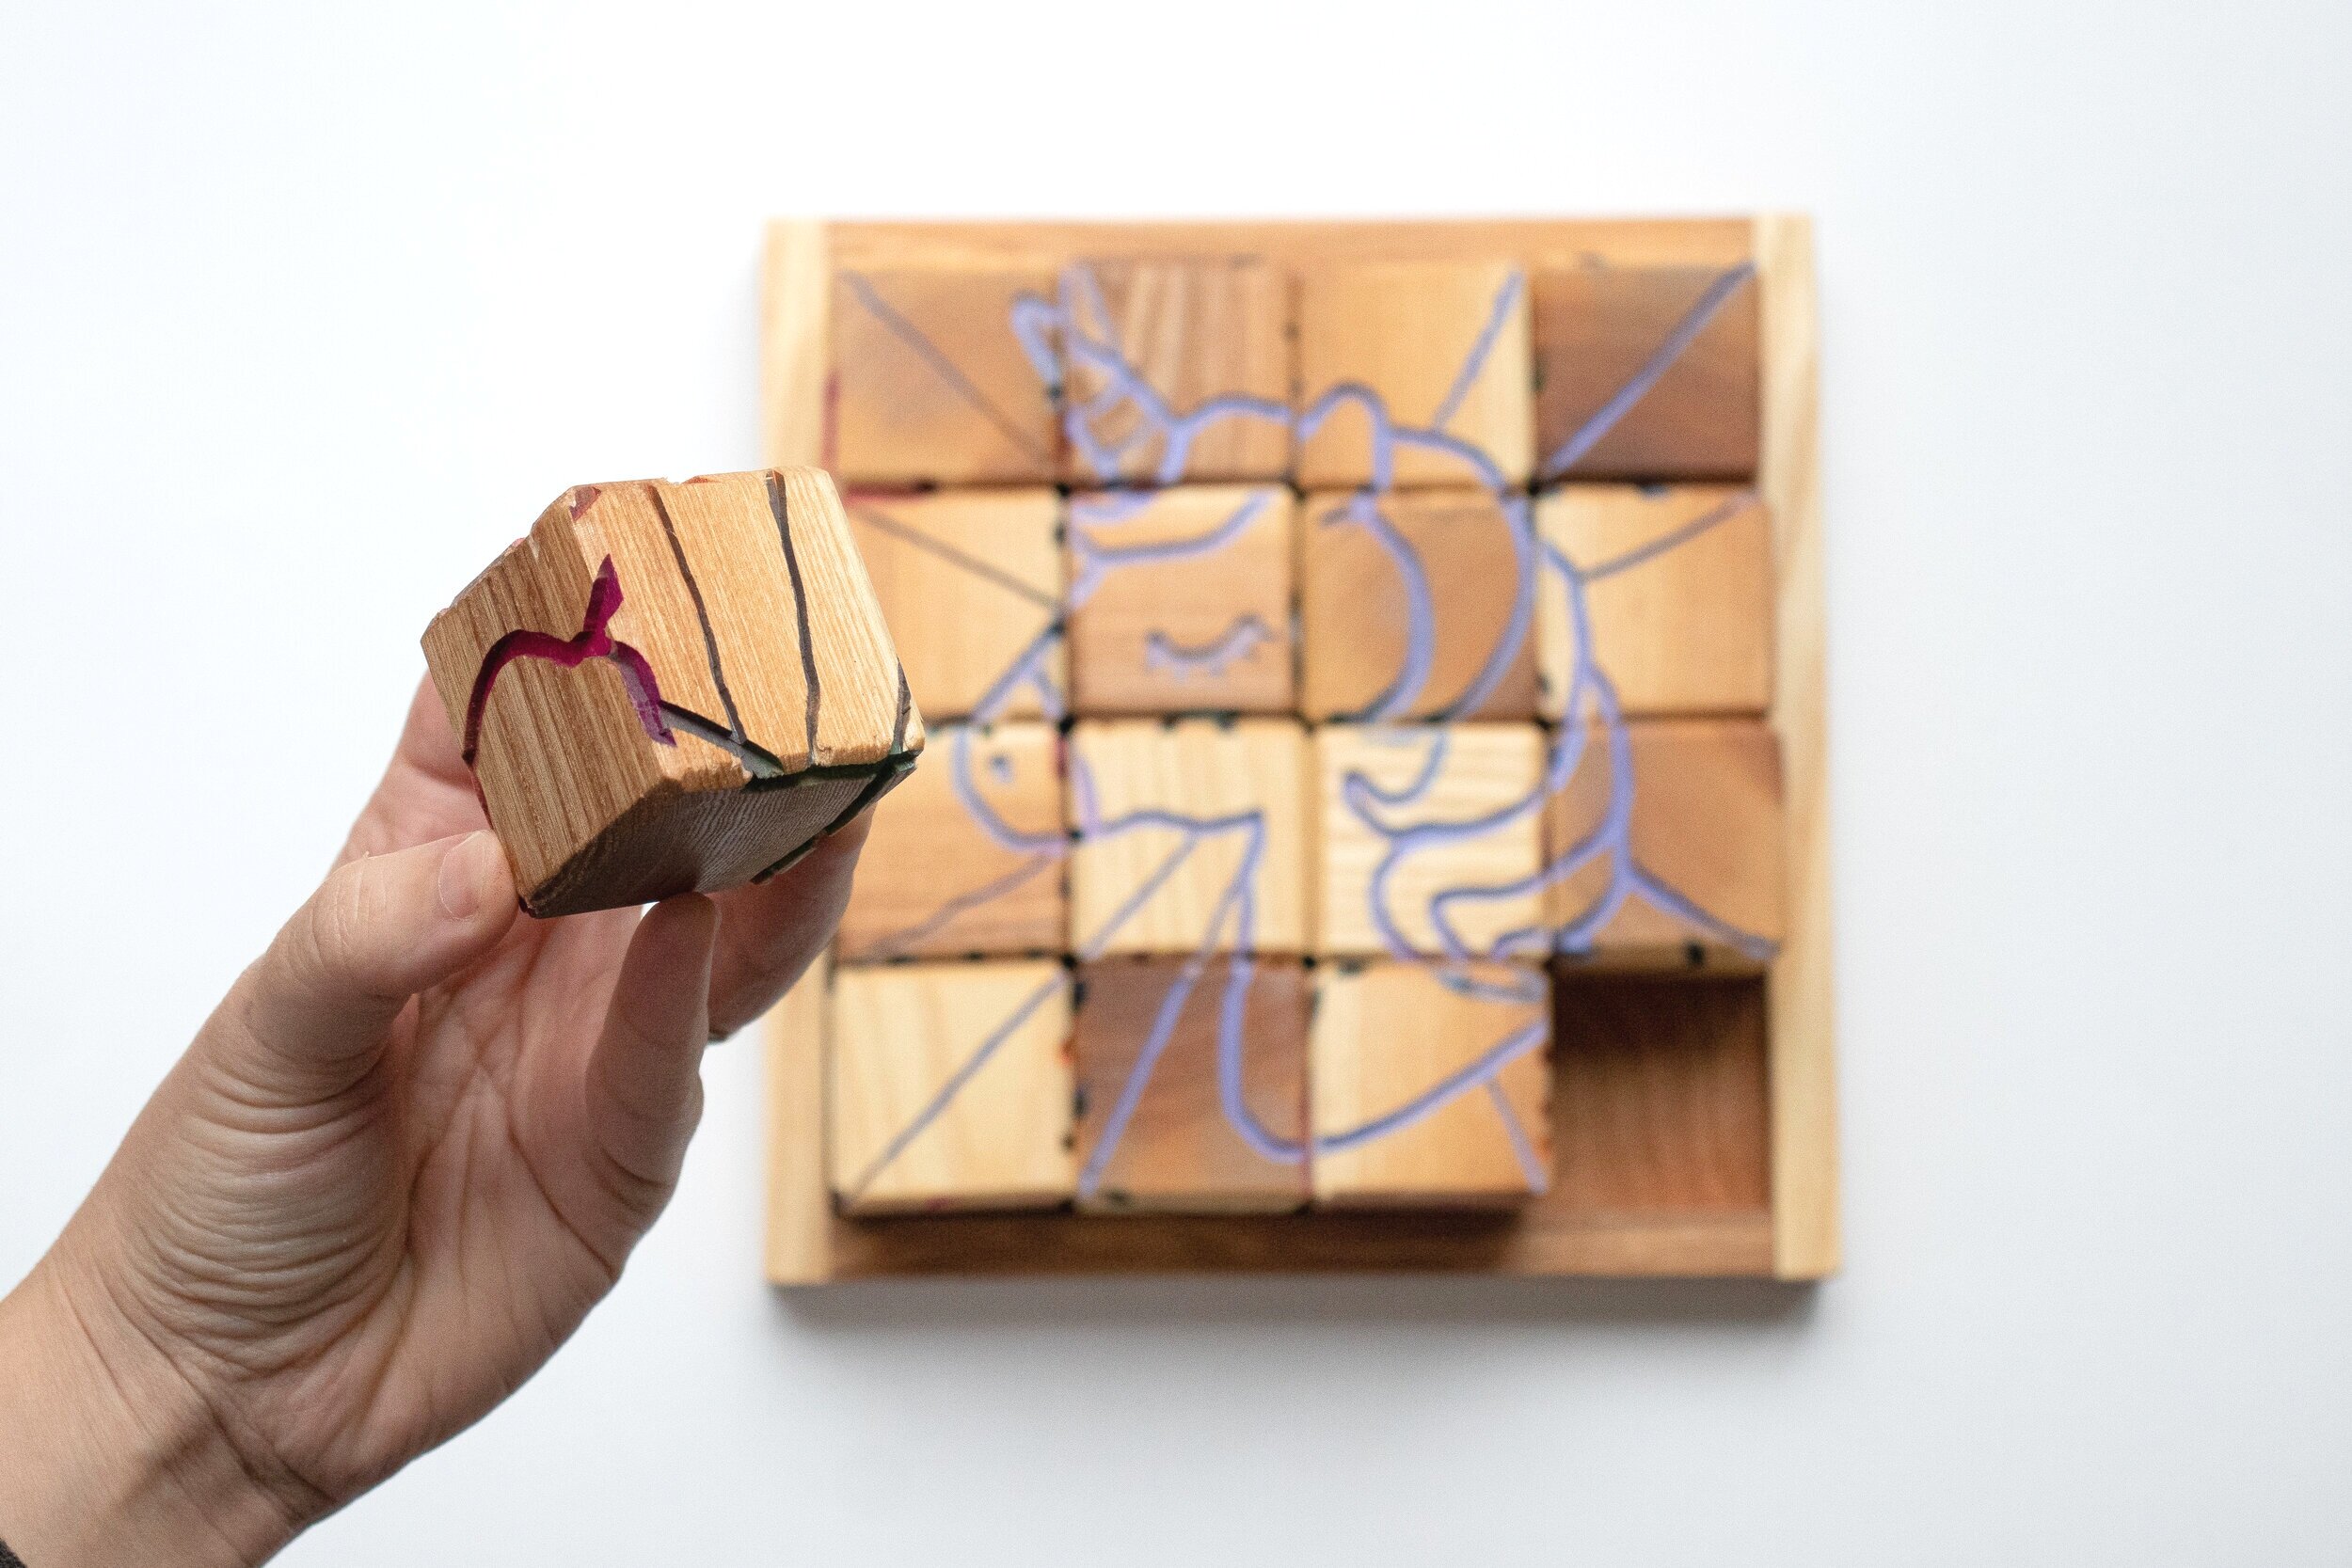
You should end up with 16 perfect cubes, mine were 1-3/4” on all sides.
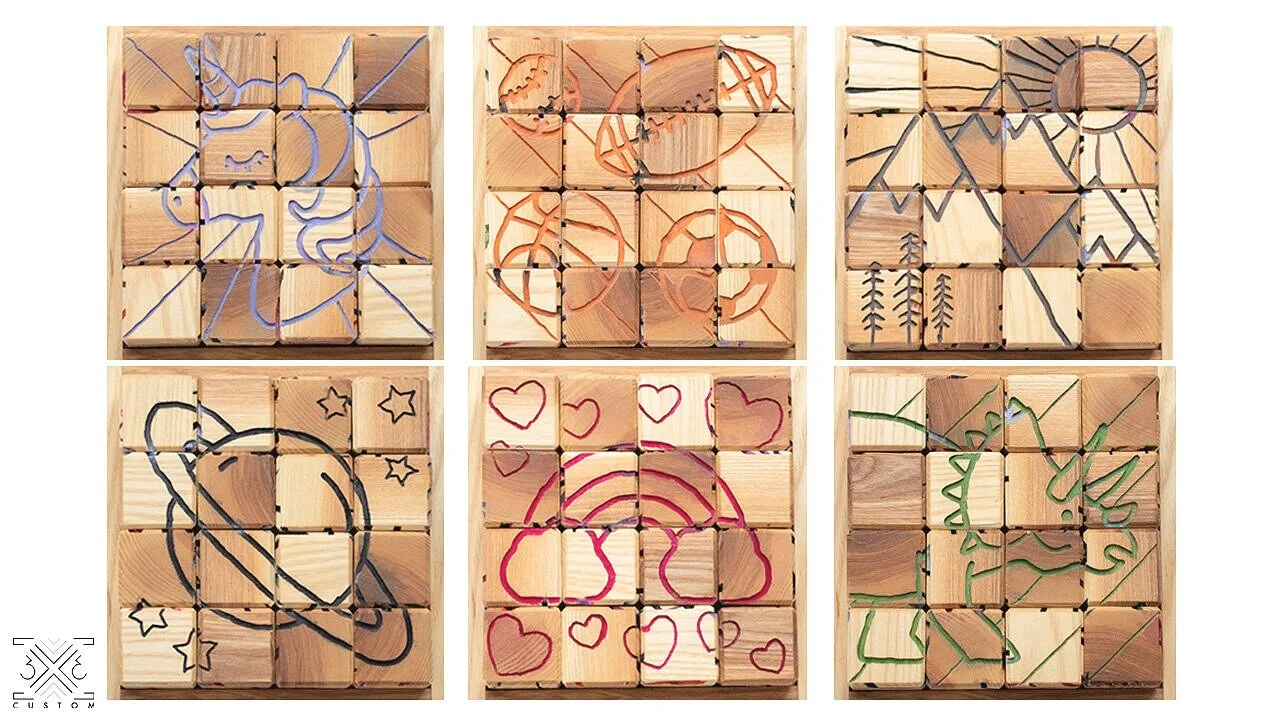
You can make any designs on this puzzle, my daughter helped me come up with these designs… If you are interested in using them…
You can print them out here —> Six Sided Puzzle Images
If you print these out, make sure to select “Fill Entire Paper” in the printing options and this should give you a 7” x 7" Square for the images.
If you are creating your own designs, just make sure to fill up a lot of the background space (like what I did with the diagonal lines) so the puzzle will be easier to put together.
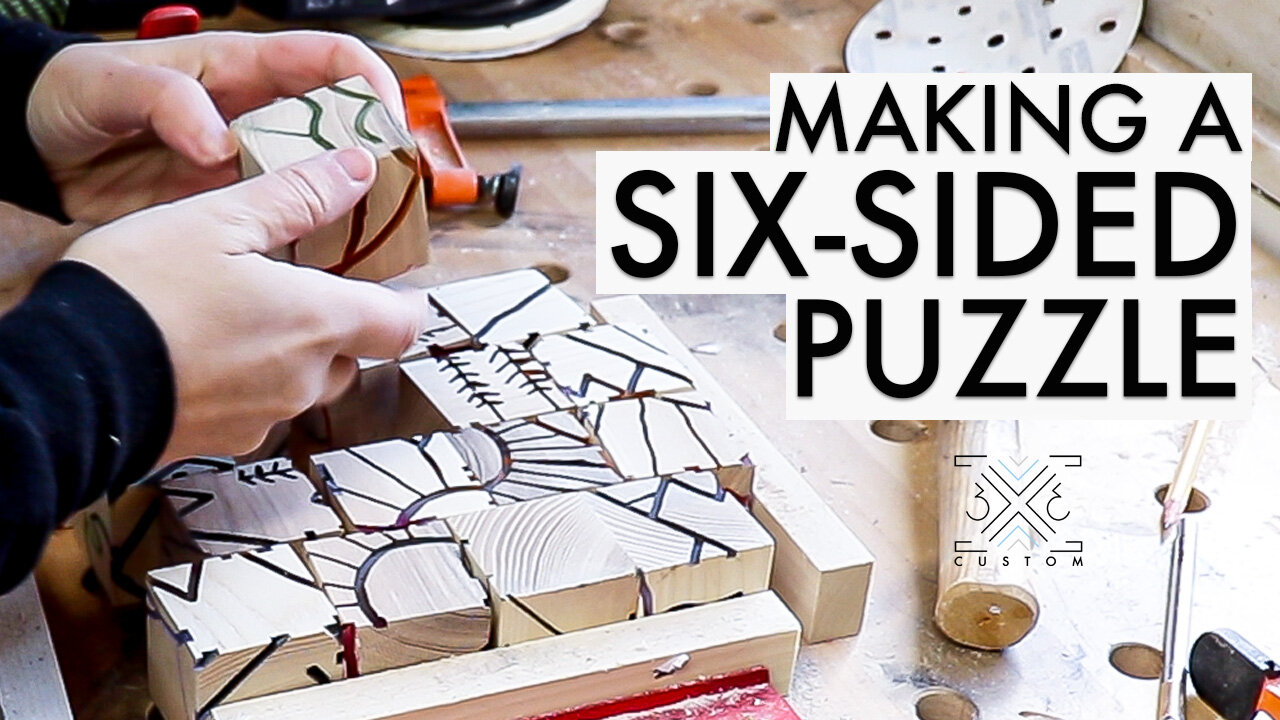
To apply the images onto the blocks, I put 4 in each row in a random pattern, and used cauls around the sides to clamp them all together.
I used spray adhesive to temporarily attach the images on the blocks and tried my best to follow the lines with my router.
Now…. I am not sure that routing out the image was the best idea. I think it may have been better to just paint the images.
Or maybe I should have let me kids color on the print outs, then cut them into squares and permanently glue them on to the blocks.
There are lots of options here, but if you are going to route out the images like I did, just don’t go as deep as I did.
I went just under 1/8”, which ended up being too deep. All these images need is a super shallow cut, I wouldn’t go deeper than 1/32” If I were to make these again.
The way this puzzle works, is that each side is painted a different color. If they were all the same color or a bunch of diffrent colors, the puzzle would be impossible. (unless you mark the pieces.)
I thought it would be quicker to use spray paint, but it wasn’t.
It ended up taking me longer to sand and clean up all the paint than it would have taken me to hand paint inside the grooves.
So I suggest hand painting in the grooves if you are going to route it out.
I clamped all the blocks together again to sand off all the excess paint.
And made a quick little tray to hold the blocks.
The base is made of 1/2” plywood that is about 7-1/4” square (to leave some wiggle room for the blocks).
The sides are made up of some 1” scrap wood that fits around the sides of that plywood.
I simply used glue and brad nails to hold the frame against the plywood.
And after finishing with food safe oil, it’s done!
My 10 year old was able to figure out the puzzles… my 5 year old needed some help, but it was a really fun activity that we were able to do together.
After doing it a few times with him, he got the hang of it, and it’s so rewarding to walk into the playroom and see him working on this puzzle all by himself.
I like the idea of this puzzle, but I actually don’t love the way it turned out. Because I went too deep with the router, I ended up having to put a large chamfer on all corners of the blocks to try to hide the routed grooves from the other sides. I don’t love how such a large chamfer looks and I think it makes it harder for the kids to put the blocks together.
If I were to make this puzzle again, I would probably do it on my CNC and I would set the path to stop the route right before the edge of each piece. This way you would’t be able to see the side grooves from the top.
I would also not use spray paint… It made a big mess and it ended up taking me a really long time to sand it clean. Next time, I would just hand paint inside the grooves, which I think would look a lot cleaner.
Another fun idea would be to have the kids paint each side. I think that would be a great way to get them involved in the process!
I hope this helped you get some ideas for your little ones! Happy Holidays!


