Portable MFT Workbench
Recently I have been struggling with making cross-cuts on large plywood panels, so I decided to build an MFT Workbench! MFT stands for Multi Function Table and it is a workbench designed to do all sorts of tasks, but it excels when used in tandem with a tracksaw, specifically for making repetitive crosscuts.
Want to watch me put it all together? Check out the full build video below!
WANT TO BUILD THIS BENCH?
Get the plans here! Click the link down below…
Portable MFT Workbench Plans
WHAT YOU’LL NEED
1 - 4x8 Sheet of 3/4” Plywood
Tracksaw Rail Hinge or Tracksaw Rail Hinge 3D Print File
Dog Hole Template for 20mm holes or 3/4” holes
2 - Aluminum Tubes
2 - 48” long T-Track
LET’S BEGIN!
Trim your plywood to the size listed on the plans above.
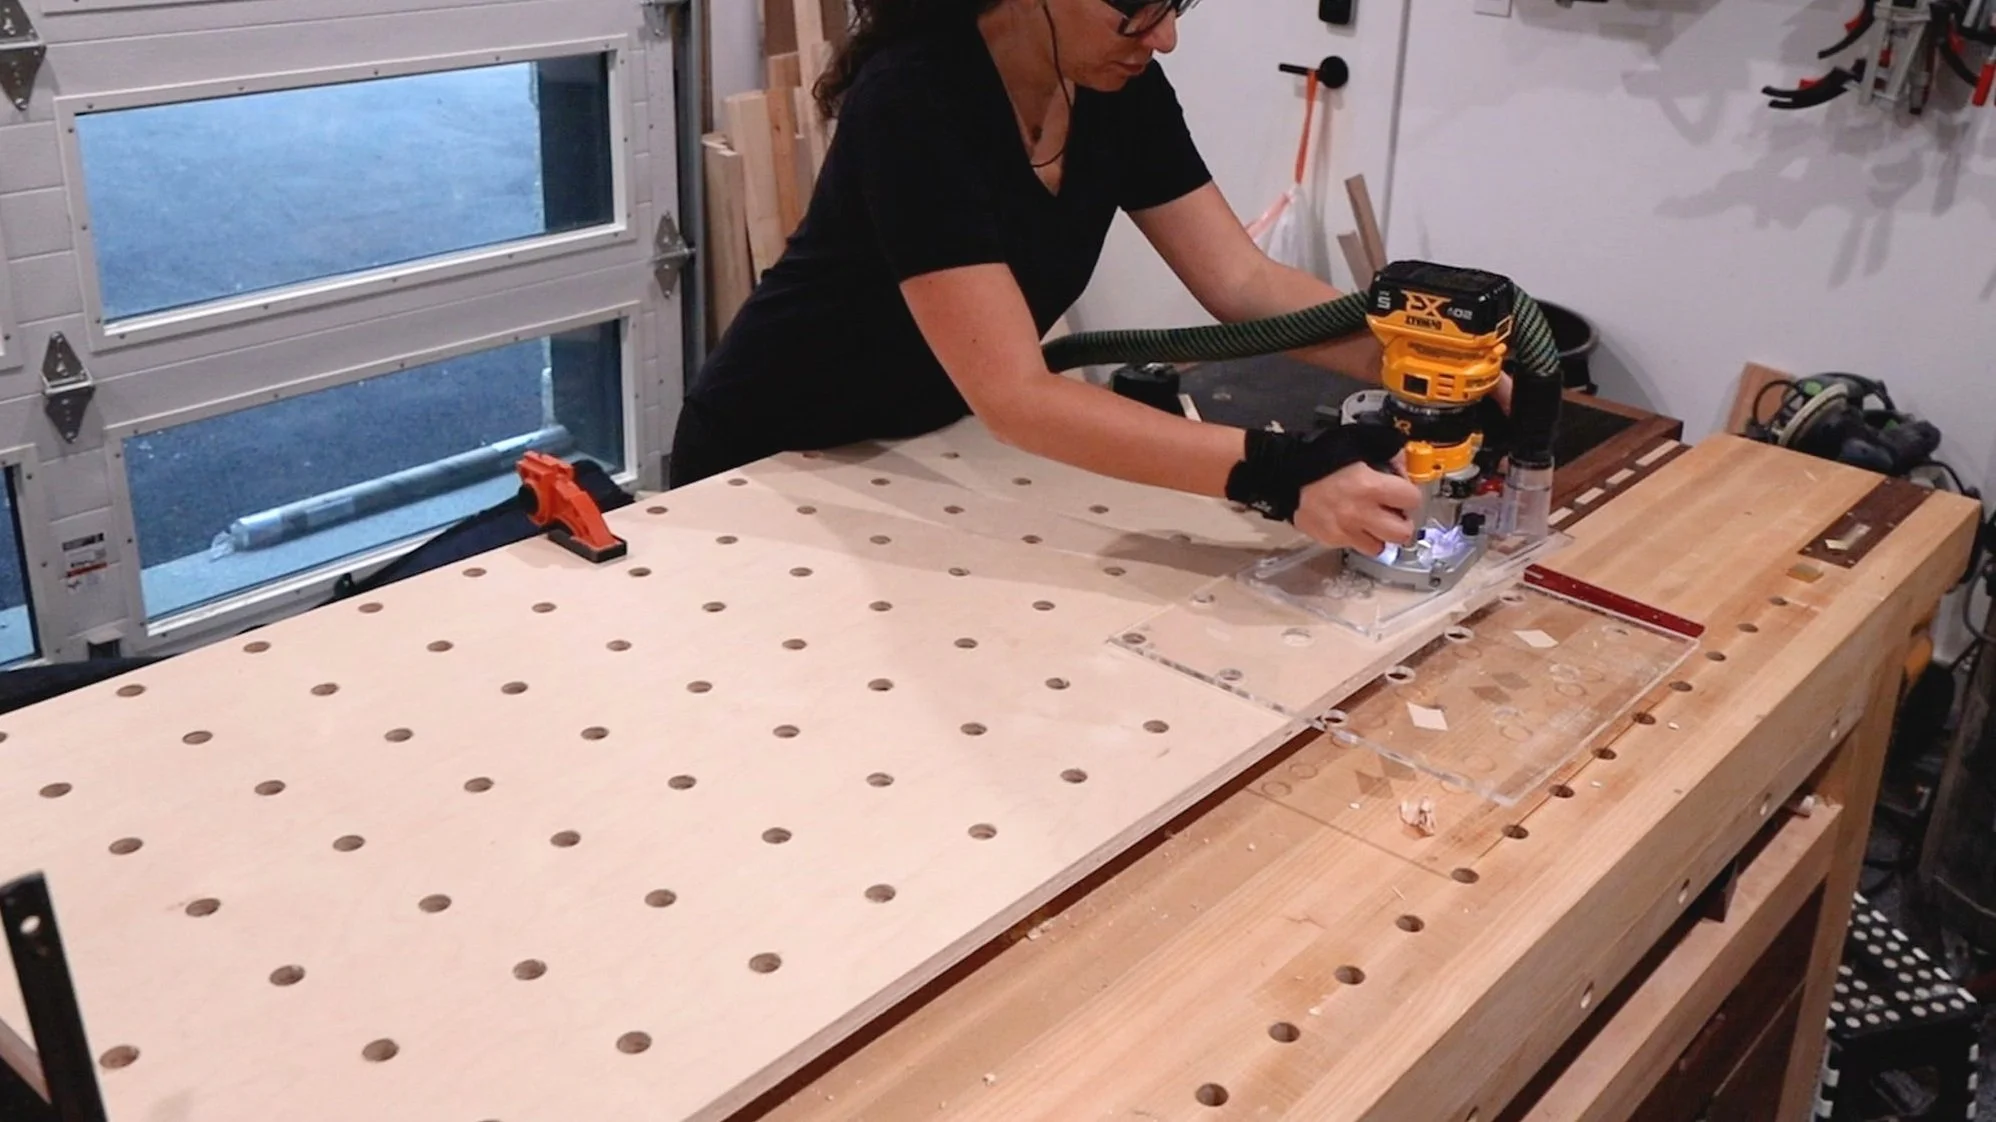
Then drill out all the dog holes. I used my Dog Hole template with a router, but feel free to use any method you like.
You also have choices for the size and spacing of the holes. The plans above have dimensions for Metric and Imperial, so these are your options:
Metric dimensions with 20mm holes spaced 96mm apart
Imperial dimensions with 20mm holes spaced 96mm apart
Imperial dimensions with 3/4” holes spaced 3” apart
Cut all the base pieces to size.
If you choose to install t-track, it is best to make a rabbit or groove in them before assembly.
Since this workbench will be portable, I made some cutouts to lighten the load.
Drill all the corners with a forstner bit, then cut them out with a jigsaw.
The base pieces can now be assembled! Simply screw them all together according to the locations listed in the plans.
Next the top is screwed in place, making sure to avoid any areas where your tracksaw will run.
This next part is optional, but I think it makes a great feature. The bench is kind of small, so I want to be able to extend it to work on longer parts.
I use the tracksaw to cut a section of the top off.
Then I drilled holes in that extension and the main workbench to install rails that will allow me to extend the width of the workbench!
Now the t-track can be installed through both the main bench and the extension.
Do not put screws in the extension portion, it is just there to make sure the top is always flat.
A small storage drawer can be built and installed on the other side of the extension.
All dimensions are listed in the plans above.
Another optional step, make a groove that can hold a replaceable insert in the section where you are cross-cutting with a tracksaw.
I chose to make my own fence using 2040 Aluminum Extrusion.
In order for the fence to fit under the tracksaw rail, a small portion needs to be cut away.
I made a stopped cut on the miter saw leaving over about 1/4” thick material.
Then I removed the rest of the waste at the bandsaw.
This leaves a small thin section of fence that can slip under the tracksaw rail so you are still able to use the fence for small parts.
I created this flip stop that is specifically designed for 2040 Aluminum Extrusion.
You can purchase a completed stop with all the hardware here - 2040 Flip Stop with Knob
Or you can download the file to 3D print one yourself here - 2040 Flip Stop 3D Print
And it’s done!
I love how the fence extends to you can cut an 8’ long sheet of plywood.
It’s amazing how this small little bench can support these large pieces!
I did not put legs on this because I will use it like this, on top of my bench, or sawhorses if I need it on the go, but adding legs would be pretty nice!
The tracksaw hinge makes it so easy to make repetitive cuts on multiple parts.
Simply lift, place workpiece against the stop block, lower the rail, cut, and repeat.
You can even add a fence to the extension portion if you need to cut small parts. All the details on how to do that are in the full YouTube video above.
I used 3D-printed parts I found on MakerWorld to attach the fence. There are lots of cool 3D prints available on there for MFT workbenches!
You can use the holes in a variety of ways, like a plane stop or for clamping.
The small drawer can hold these accessories so you always have them on hand!
This small bench has no problem cutting a full-length plywood sheet, even when you’re on the go. I can’t wait to use it on my future projects!
But for now, I’ll keep it stored on my wall, like a piece of art.
It’s functional and it looks cool too!


