How to Use the Knock Down Stool Templates
Last year, I built this knock down stool/side table —> Modern Knock Down Stool
It’s my number one downloaded plan, so I decided to make it easier for you guys and have templates available to purchase!
You can purchase them here —> Knock Down Stool Templates
When using these templates, you can build a few of these in a couple of hours… the hardest part is figuring out what materials to use! There are so many options, the possibilities are endless. I can’t wait to see what you guys come up with for your builds!
Check out the full build video below to see how I use the templates to build the stool!
*Links below are affiliate links, I get a small commission when you click on them at no extra cost to you ;)
When using the templates, the table will be done in 5 easy steps!
YOU WILL NEED:
2 pieces @ 20”x 10”
1 piece @ 12” x 12”
All 3/4” thick
STEP 1
Prepare your material and cut everything to size.
You can glue up multiple boards to get the correct width.
STEP 2
Trace the outline of the templates onto your boards.
STEP 3
Cut away the excess wood, staying close to the pencil line, but making sure not to go over it.
You can do this with a bandsaw or jigsaw.
For the “X” shaped mortise on the top, drill pilot holes close to the lines.
Then cut out the “X” with a jigsaw.
Don’t worry about these cuts being perfect, they will be perfected in the next steps….
STEP 4
Clean up those cuts!
Use some double sided tape to temporarily attach the templates onto your boards.
Then use a flush trim bit in your hand held router or router table to clean everything right up!
The bearing rides along the template creating the cut outs that make this table lock together.
Be mindful of the rotation of the router bit when cleaning these up!
STEP 5
Square up the rounded corners from the router bit.
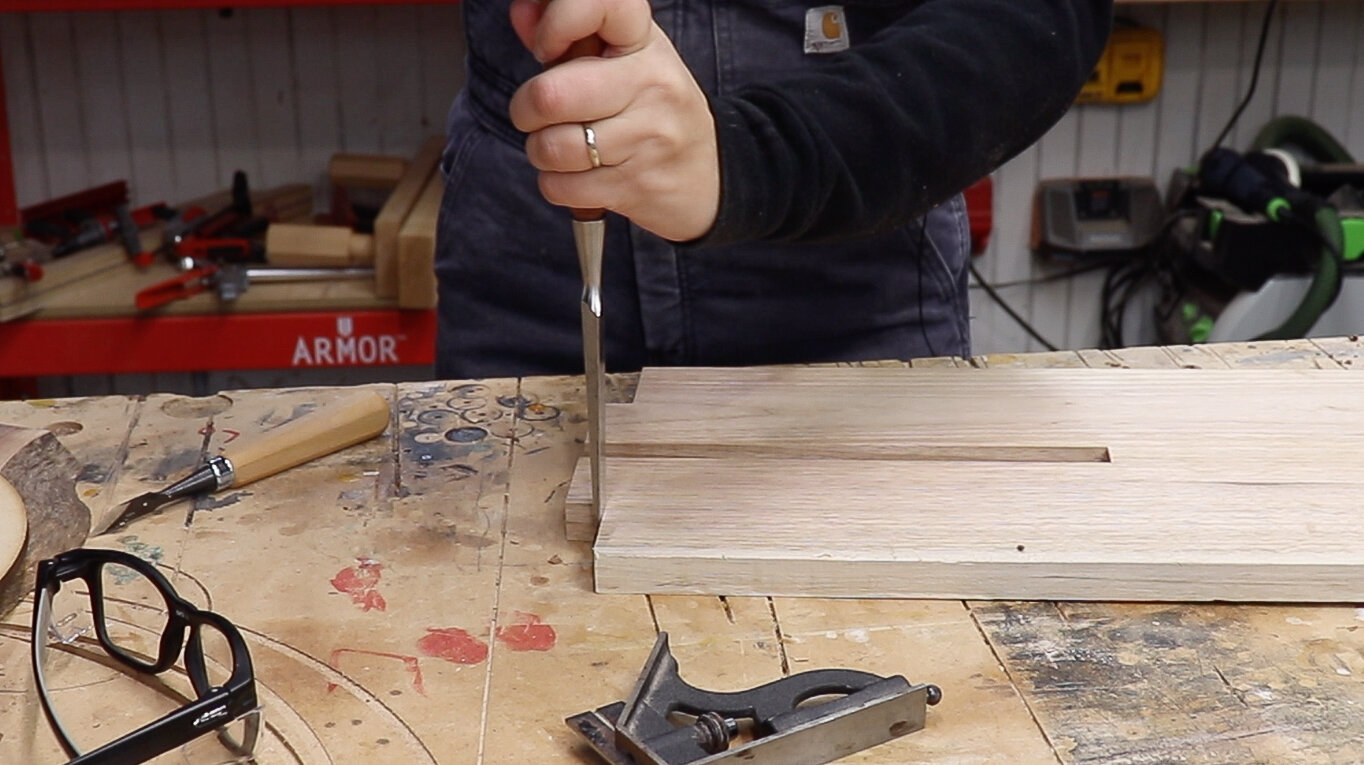
Because the router bit is round, the corners in the joints will not be square. A few taps with a chisel will square them right up!
Clean up both cross lap joints on the base pieces.
Square up the corners on the shoulders of the tenons on both base pieces.
Lastly, round over the tenons, so they fit in the rounded “X” shaped mortise.
(You can do this with files, rasps or chisels, I found the easiest way is to first establish the correct radius on the corner with a roundover bit in a hand held router then finishing of the roundover with a chisel.)
And it’s done! Last thing to do is just apply some finish and enjoy!
I love this little side table/stool. It makes for great extra seating that can be stored away at the end of a party or it can remain as a permanent fixture in your home.
The best part, when you purchase the templates you can batch out a few of them in just a couple of hours!
I can’t wait to see all the cool different combinations you guys come up with!


