
DIY Longboard
My daughter asked me for a longboard and I had a bunch of scraps lying around, so she got her wish! I had thin pieces of Walnut, Maple, Cherry and Poplar that were all rough cut offs from the milling process of previous projects.
This was a super simple and fun project, I can definitely see myself making more of these. (All links below are affiliate links :)
Check out the step by step tutorial and full video below!
I also have a free template below you can print out...
Tools Used
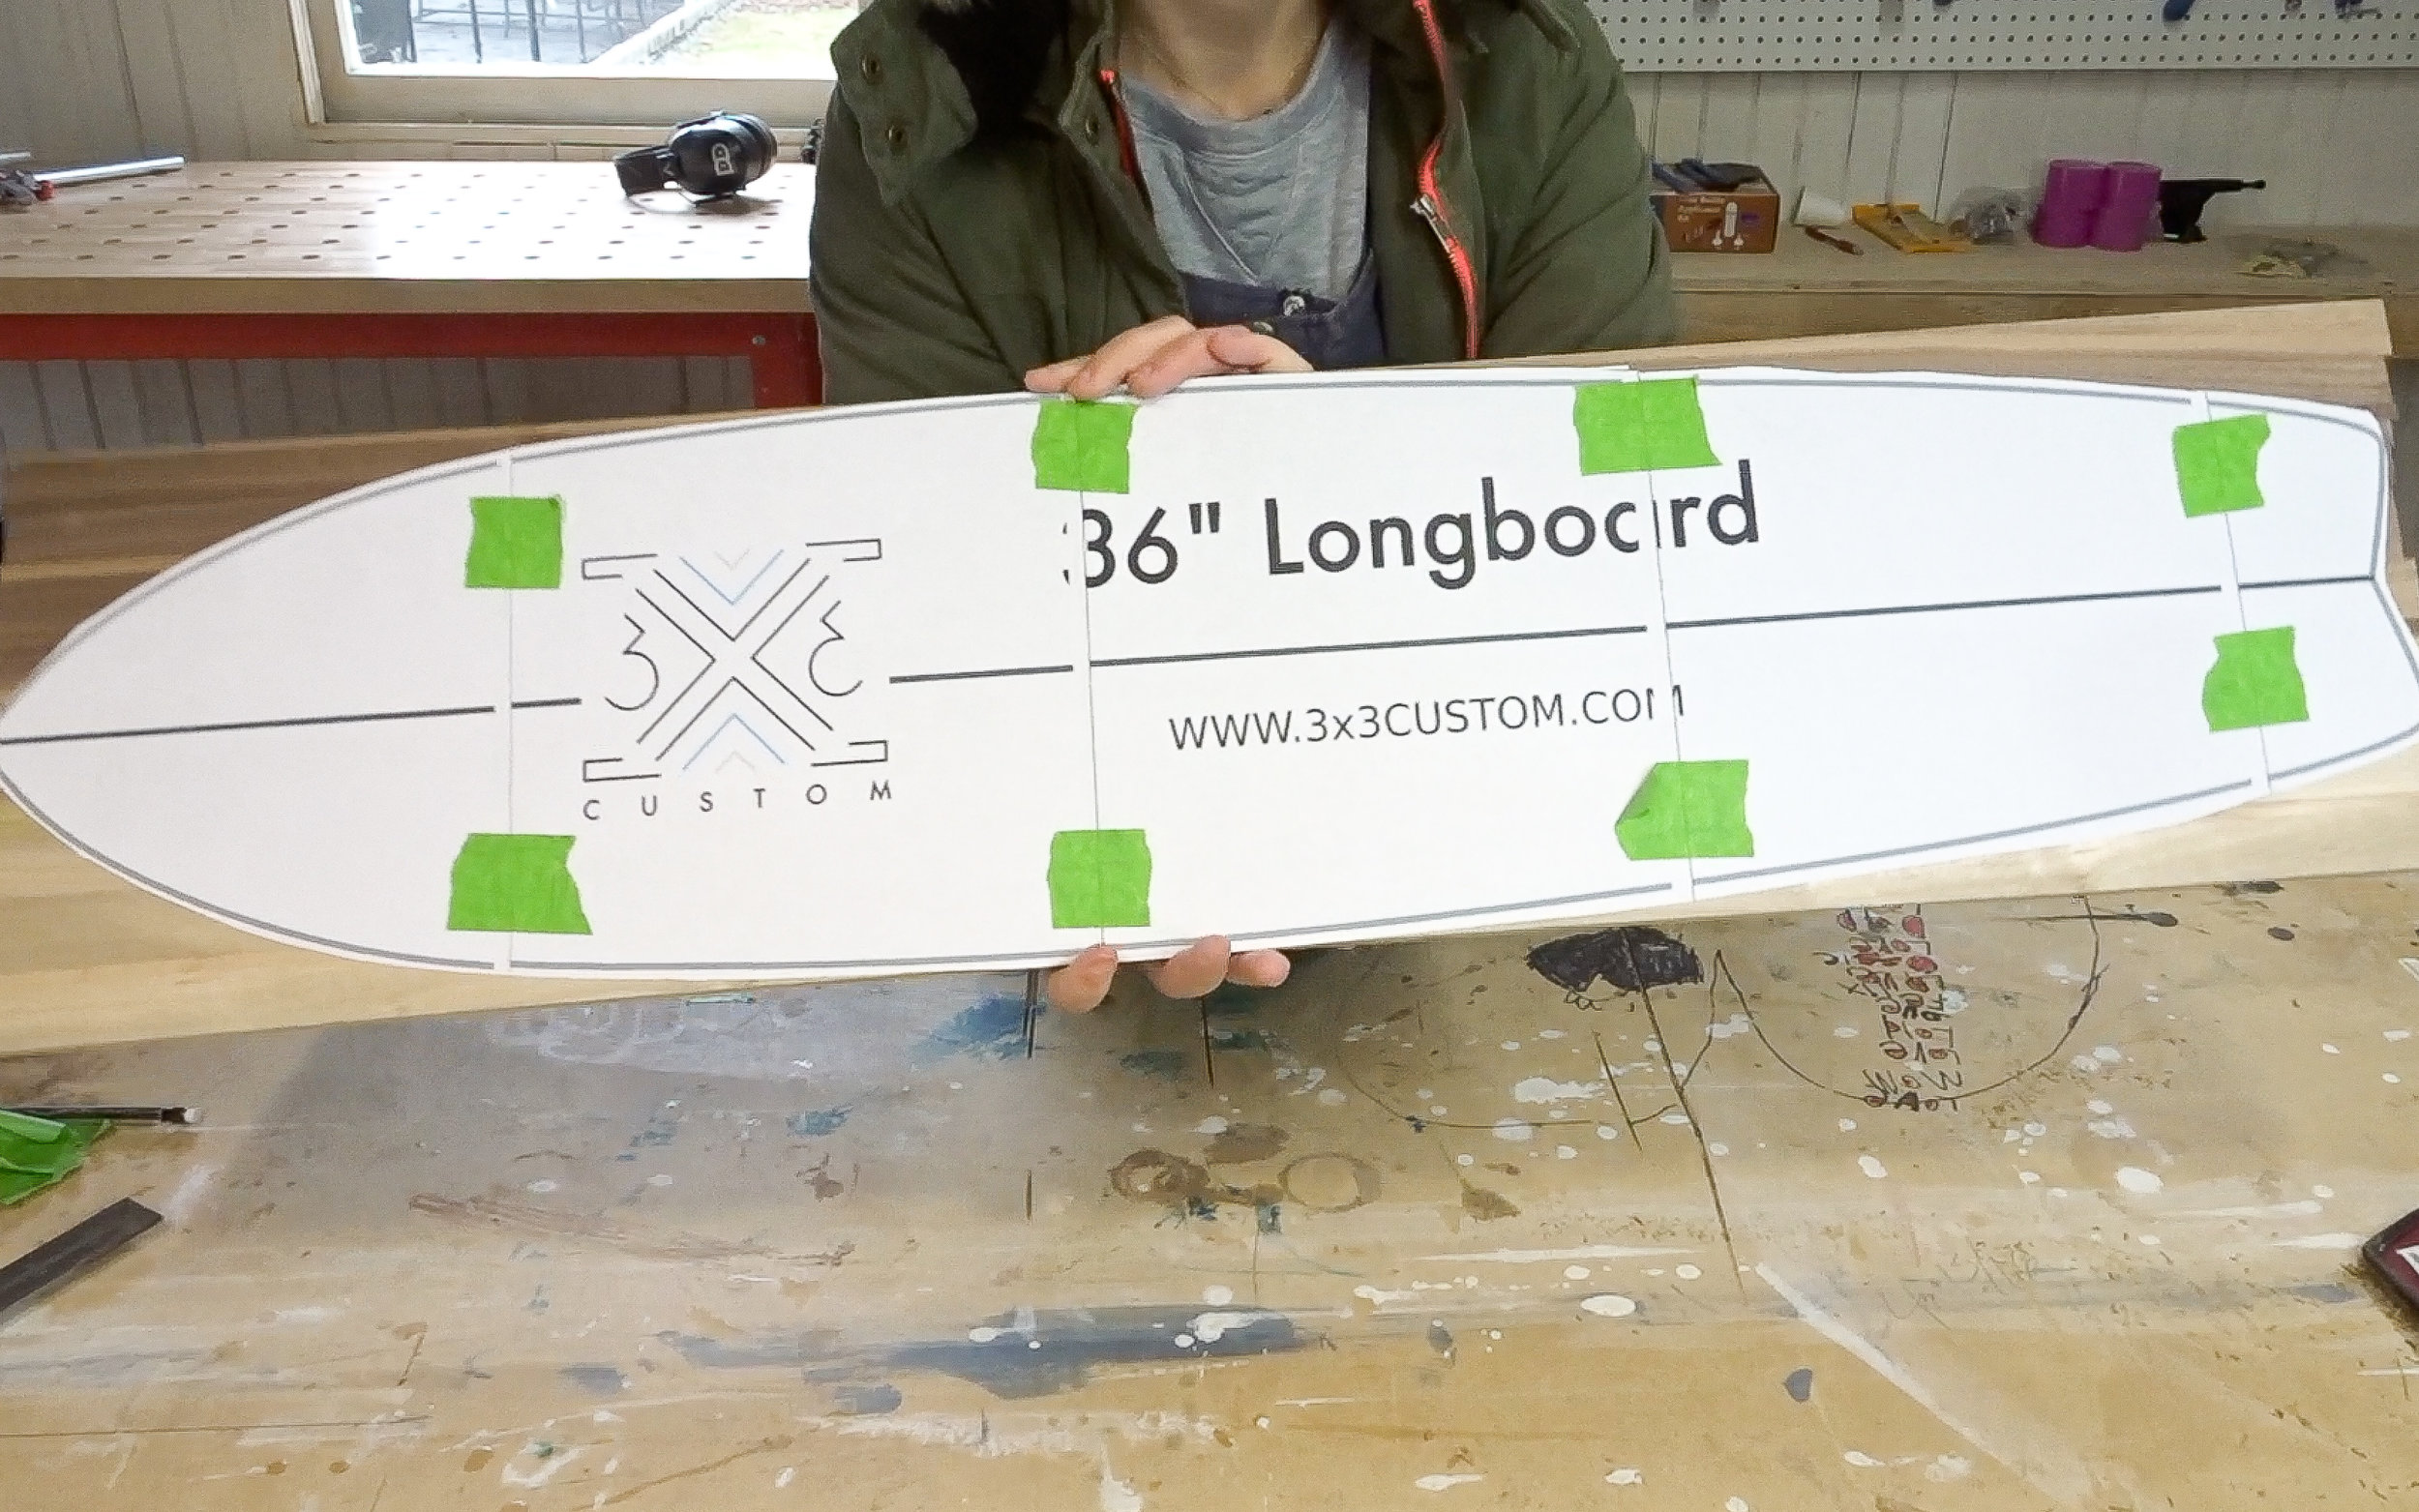
The final dimensions of the board are 36" x 8.5". I made it this size because I was working around the scraps I had. If you want a different size, you can probably alter the printing settings of the template a bit. If you want these exact dimensions, make sure to select "FILL ENTIRE PAPER" in the printing settings. DOWNLOAD TEMPLATE BELOW!
Long Board Template Zip File - All Files - This is all you need, but I included the separate files below
Longboard Template Full View (Not to scale)
I started by raiding my scrap bin and cleaned up all the rough thin strips. Then I ripped them to their final width which determined the width of the board. (I made mine too thin, the board ended up only 1/2" thick, a little less than 3/4" would be perfect.)

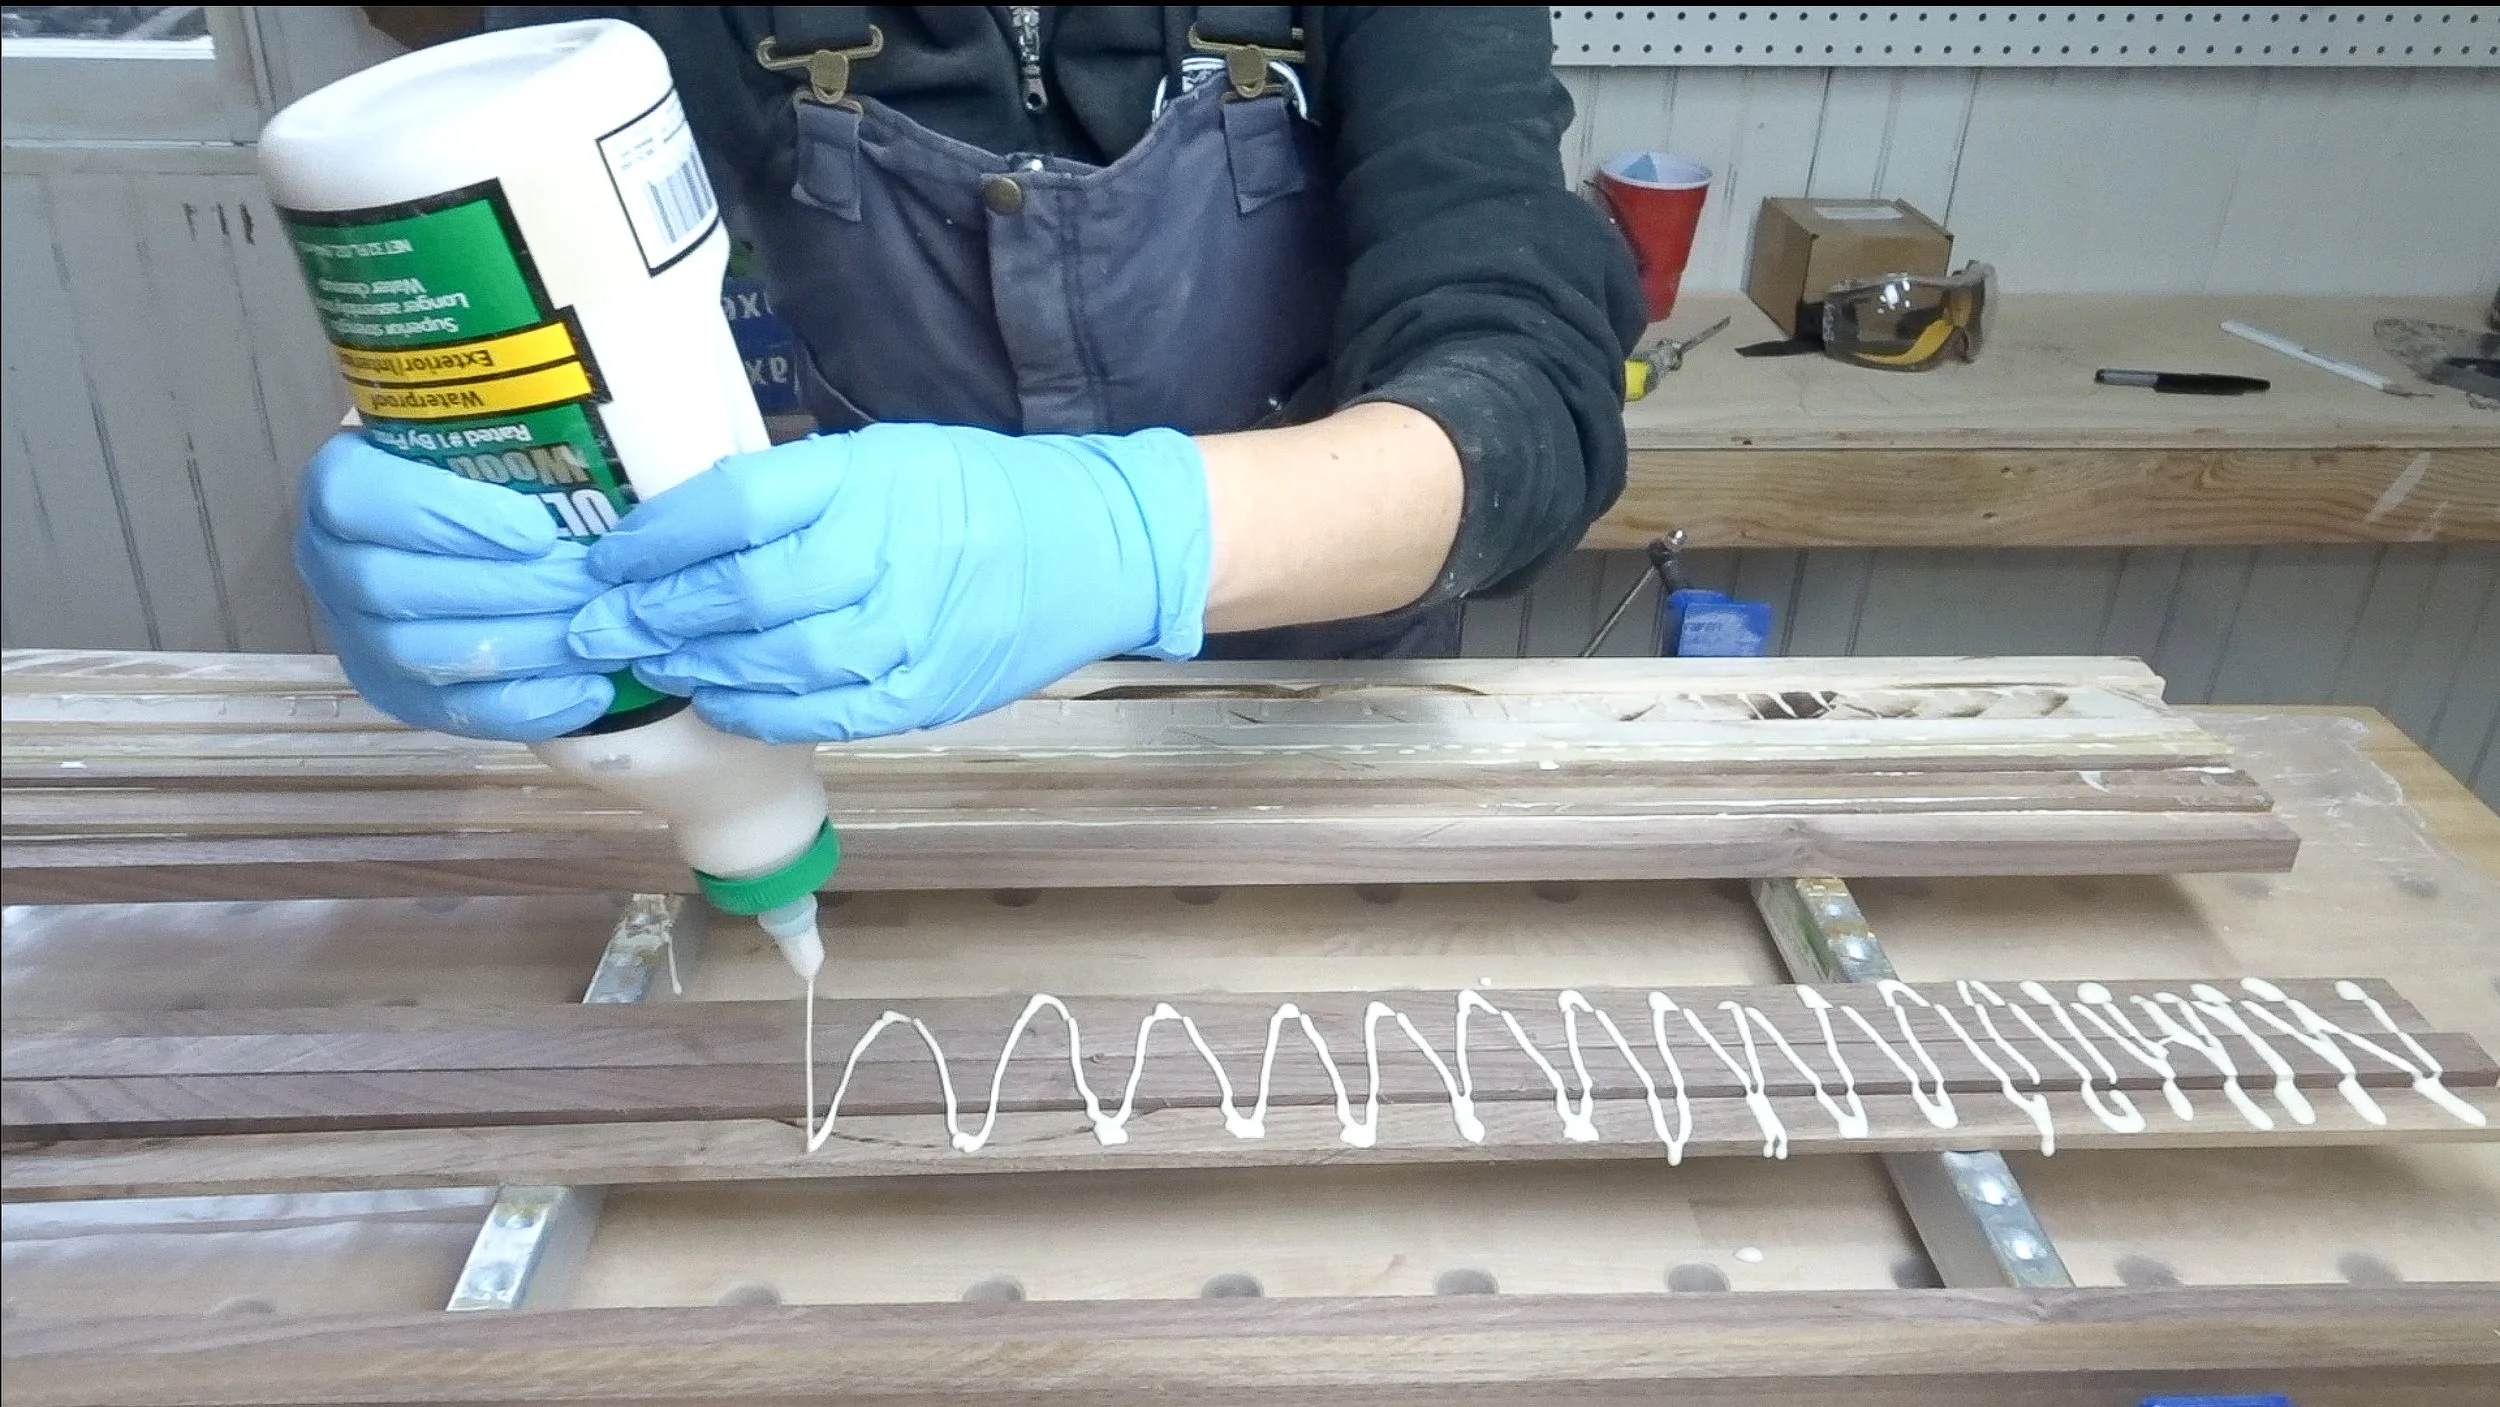
Then I glued all the thin strips together! Thin strips are a little finicky during glue up. It's best to use clamping cauls to ensure your glue up ends up nice and straight. (Just clamp straight boards perpendicular to your glue up)
When printing out the template, make sure to check "Fill Entire Paper" in the printing options.

After the glue dried, I sent it through the planer to even it all out. This could also be done using a sander (it just takes longer). I used spray adhesive to temporarily attach the template to the cleaned up board.
Then got to cutting! I used my jigsaw and stayed away from my line so I could refine the shape by sanding. This could also be done on a bandsaw if you have one.

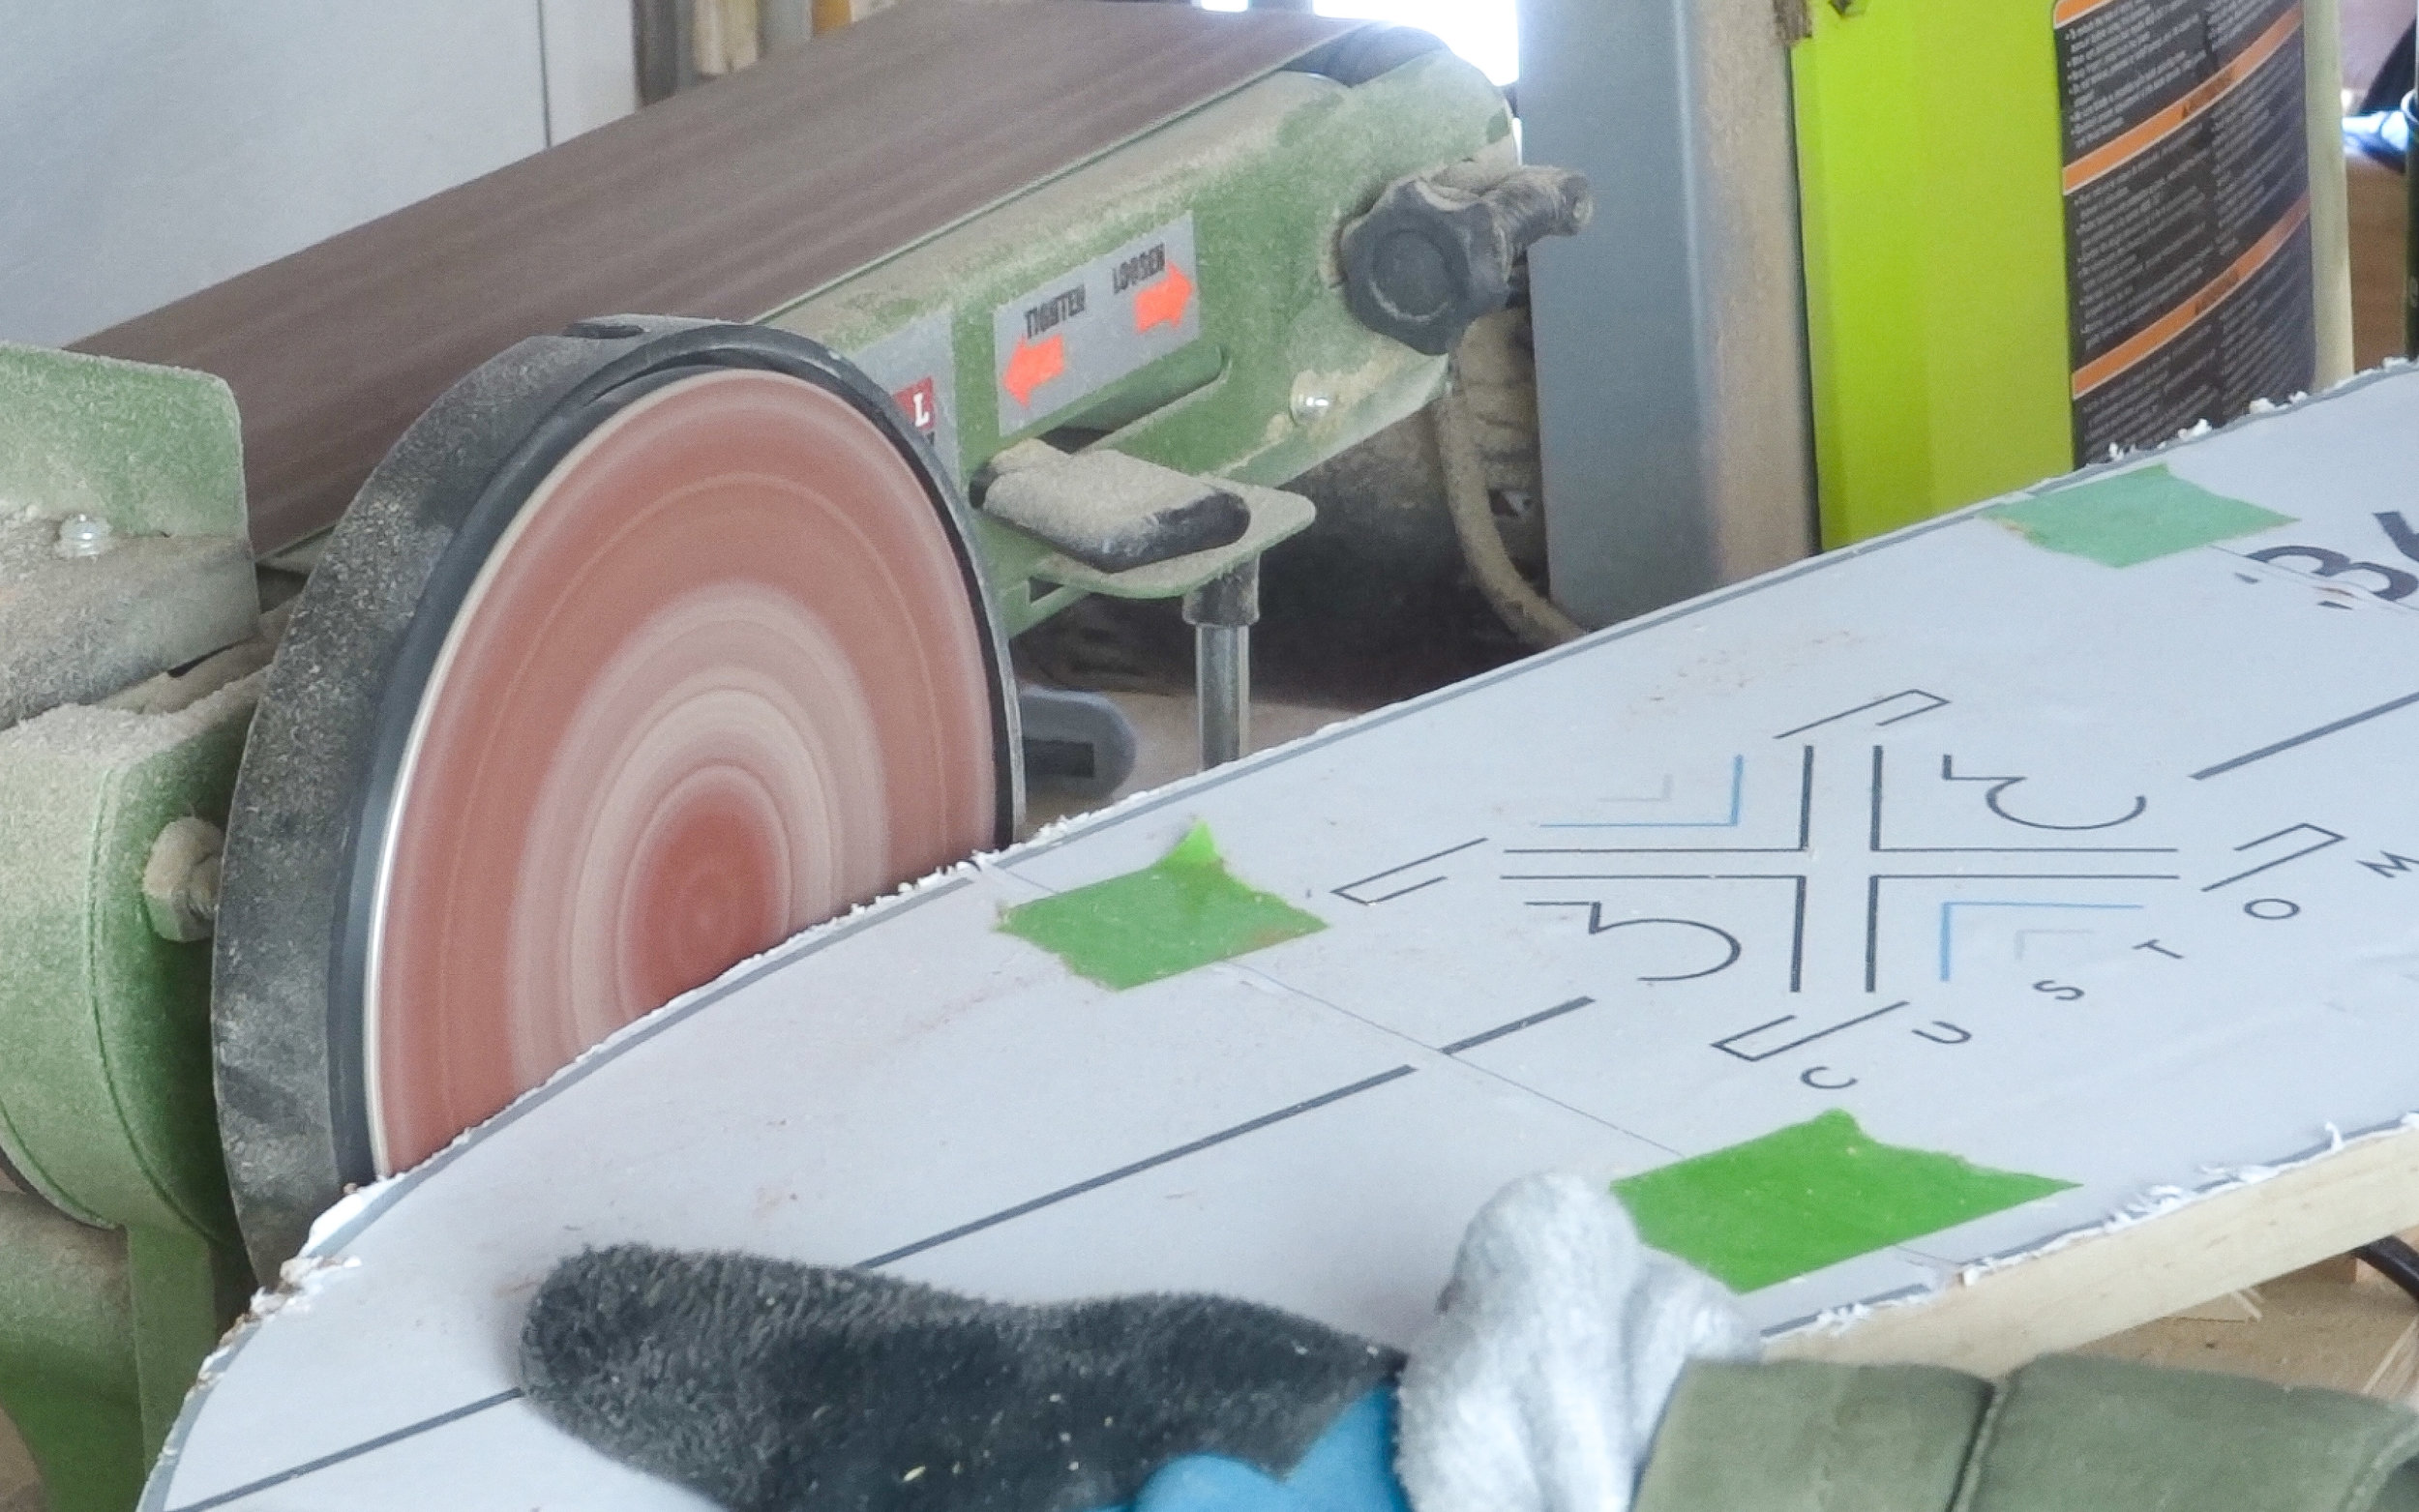
Sanding, lots of sanding... I used my bench top sander to refine the shape by sanding up to the template lines. You don't need a bench top sander for this. You can use whatever kind of sander you have....
To refine the shape even more, I used a round over bit at my router table. Again, not necessary, you can just do more sanding. The router table just makes the task quicker and easier. Or you can use a trim router if you have one!

I forgot that I left a center line on my template for a reason... It was to mark off where the trucks should be installed. So I marked off another center line.

I put double sided tape on the trucks to hold them in place while pre drilling the holes.

I finished the board with Epifanes Spar Varnish in Gloss. I chose this finish because it's meant for outdoor furniture and boats. I figured the board will be left outside a lot so an outdoor finish would be best. I did 3 coats thinning with mineral spirits less and less with each coat. Also, you need to wait 24 hours between each coat. Not the quickest finish, but I like how it looks and feels.

Putting on the grip tape was way easier than I thought. After rolling out all the air bubbles I used a screwdriver to score all the edges around the board. Then I took a brand new razor blade and ran it along the board at an angle to cut away the excess. Scoring the grip tape with the screwdriver made the cut a lot cleaner but it wasn't perfect. There were some places where the cut was perfect and others where it wasn't. I realized it all had to do with the angle I was holding the blade. I can tell this is one of those things you just have to practice to get perfect.

Then I drilled through the grip tape using the same bit I used to pre-drill the holes and used a counter sink bit so the screws would sit flush with the board.

Last step was to screw on the trucks and wheels! (Further details on how to do that is in the video above.)

And she loves it!

This was such a quick and fun project, I hope I can collect more scraps to make more!