
Shop Tips #1

*This post is sponsored by The Home Depot
Before I start any new project I always clean my shop, but every once in a while I feel the need to deep clean and really organize. My shop time is really precious, so I need the space to be as functional as possible.
I thinks it's important to put a pause on my projects to get everything in order, I hope sharing these shop tips will help you with organizing your own space!
Links below are affiliate links, clicking on them helps me keep this site going :)
I decided to organize this week because Wall Control sent me one of their peg board systems. I was using shelves from the previous home owners to store a lot of my tools and it really wasn't efficient or sturdy!
(If I hadn't taken the shelf down, it probably would have fell down on its own in a couple weeks...)
The Wall Control system is great, it was easy to put up and I really feel like everything has it's own place now. Well, almost everything...

I used to store my sandpaper on the old shelves and there didn't seem to be room for them on the Wall Control peg board. So I built this quick sandpaper rack!

Each one if the compartments are made up of 3 pieces of 1/2" plywood cut to 11"x7". I cut grooves in the plywood that are spaced 1" apart from each other on the table saw. I had to do 2 passes in order for the 1/8" hardboard to fit.
I then assembled the 3 pieces with glue and brad nails, then measured and cut the hardboard inserts. Making the grooves 1" apart makes it so that the shelves are adjustable for the amount of sandpaper that I have on hand at the time!

I am really loving this set up! Super simple, yet effective!
Moving on to drill bits! I used to store loose bits in a little container which really wasn't ideal. I could never find what I needed... I needed everything to be in a single layer so I can see it all clearly. I decided to store the bits in this Husky Portable Tool Box. Now I can clearly see all the drill bits, nice and neat!

The best part about storing the bits in this tool box is that I can lock these drawers so my kids can't get in and hurt themselves or make a mess.
Since the drawers are lockable I decided to put some other small sharp tools in the tool box, like my X-Acto knife and extra saw blades.

The top compartment of the Tool Box is the perfect spot for all my dowels and other small items that would normally get lost on the back of a shelf.

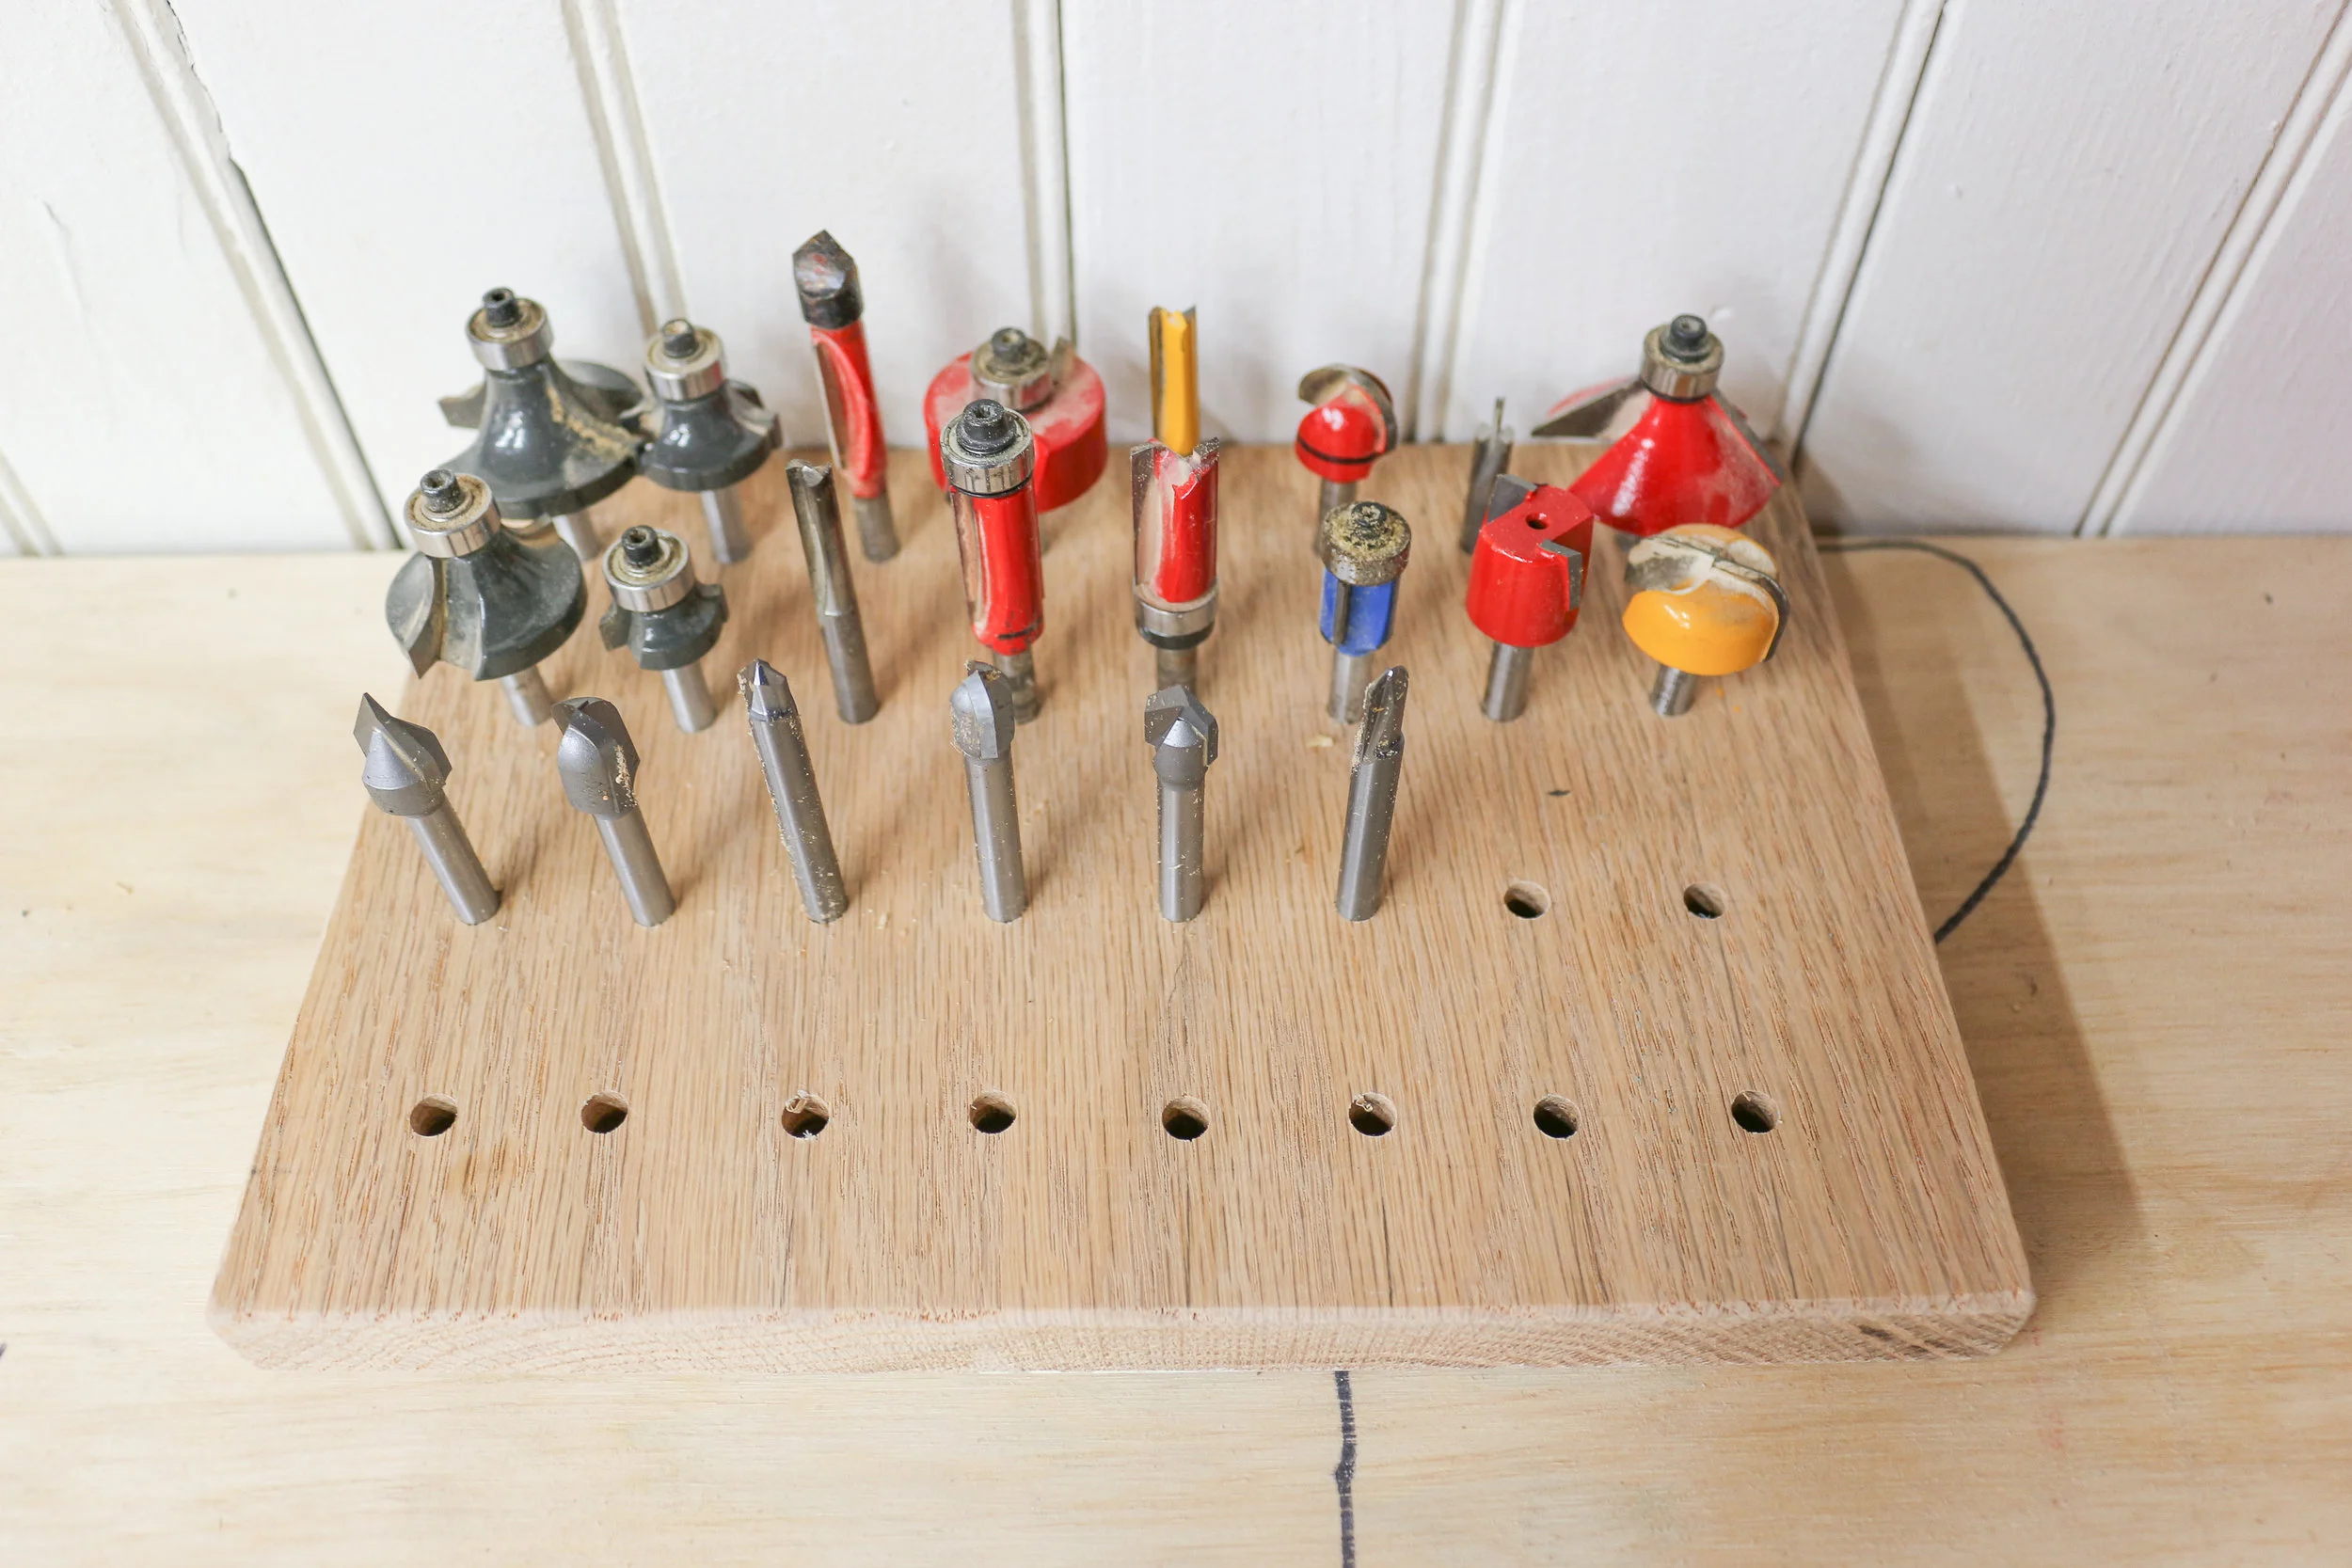
Router bits have also always been an issue for me storage wise. I took a scrap and drilled a bunch of 1/4" holes to hold the bits. I'm happy with this, except I'm not really sure where I want to keep this yet... I need a safe place to keep them away from my kids... Maybe I will build a drawer under one of my tables.
I didn't have room on the pegboard for my Husky T-Handle Hex Key Wrenches so I made this quick little rack for them out of a scrap piece of 2x4. I made the notches by taking multiple passes on the table saw. This little rack took me maybe 5 minutes to make.

To attach it to the wall, I used dowels. I drilled two holes in the wall and in the back of the rack, I inserted the dowels into the wall and then placed the rack on the dowels! This method probably wouldn't work on drywall though... the bead-board panels in my garage are super thick...
I'm so happy I have these Hex Wrenches now, little Allen wrenches are the worst.... it's definitely worth it to upgrade to these guys.
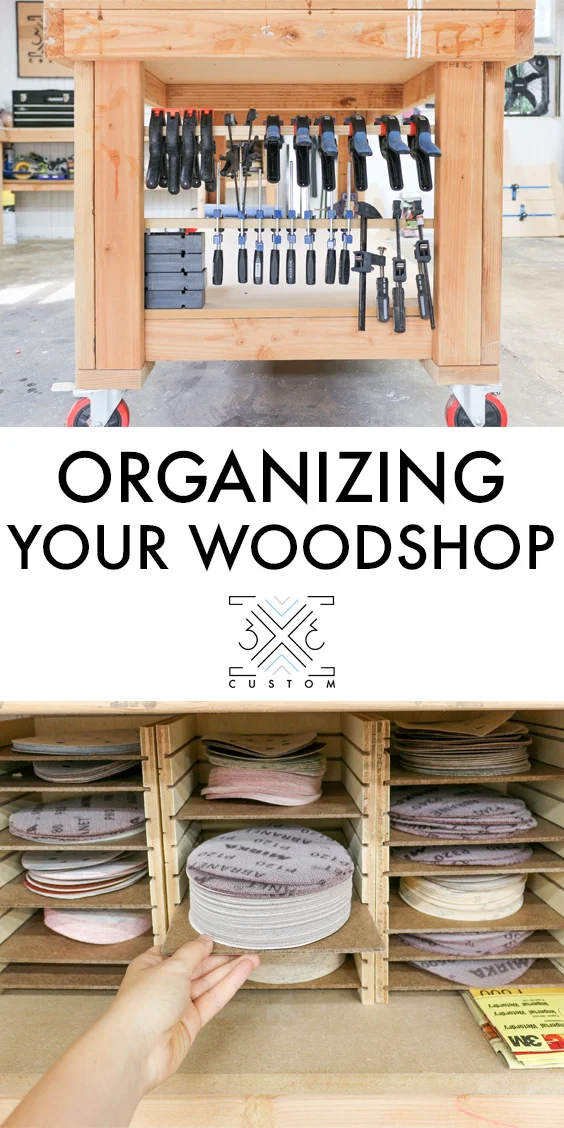
This work bench was one of the first things I built. It's been great so far, but it was time for a small upgrade. I took some small pieces of scrap and screwed them to inside of the legs. Ta-da! I have a clamp rack for all my small clamps!

Isn't is amazing how the simplest things can make such a difference. I am LOVING this.
It's kind of annoying that you need different chargers for all the different brands, especially because they take up a lot of room.
I decided to use the wall space under one of my shop tables to hold all the chargers so now they are all out of the way!

Looking at this picture now, I realize I need to lower the RIDGID charge just a bit, I'll get on that...
Speaking of RIDGID, If you are on the RIDGID platform you might want to consider upgrading to their Hyper Octane batteries. These batteries last 4x longer than standard lithium ion batteries and work great in extreme temperatures.
You can also connect it to your phone via bluetooth. How cool?! It can send your phone messages when it's fully charged so you can keep on working!

In order to keep track of all the different cords so I know which ones to plug in I labeled them with some painters tape!

Now that (almost) everything has a home I needed to do a deep cleaning. Some of my tools got a bit rusty this winter, my drill press was pretty bad... I like to use vinegar to clean rust off of my tools. You can soak small tools in vinegar overnight and the rust comes right off, larger tools require a bit more work.
All you need to do it scrub the vinegar on the metal and it cleans it right up. Using this Dremel Versa took some of the elbow grease out of the scrubbing.

Now my drill press table is clean and I don't need to protect my work with a shop towel anymore!
There you have it! Shop tips #1!

I hope this was helpful, I know all the new storage solutions will greatly improve my workflow, I mean, did you see the pencil storage I put on the Wall Control system??

Now I need to get back to work on some more projects!
I acknowledge that The Home Depot is partnering with me to participate in the ProSpective 2018 Campaign. As a part of the Program, I am receiving compensation in the form of products and services, for the purpose of promoting The Home Depot. All expressed opinions and experiences are my own words. My post complies with the Worth of Mouth Marketing Association (WOMMA) Ethics code and applicable Federal Trade Commission guidelines.