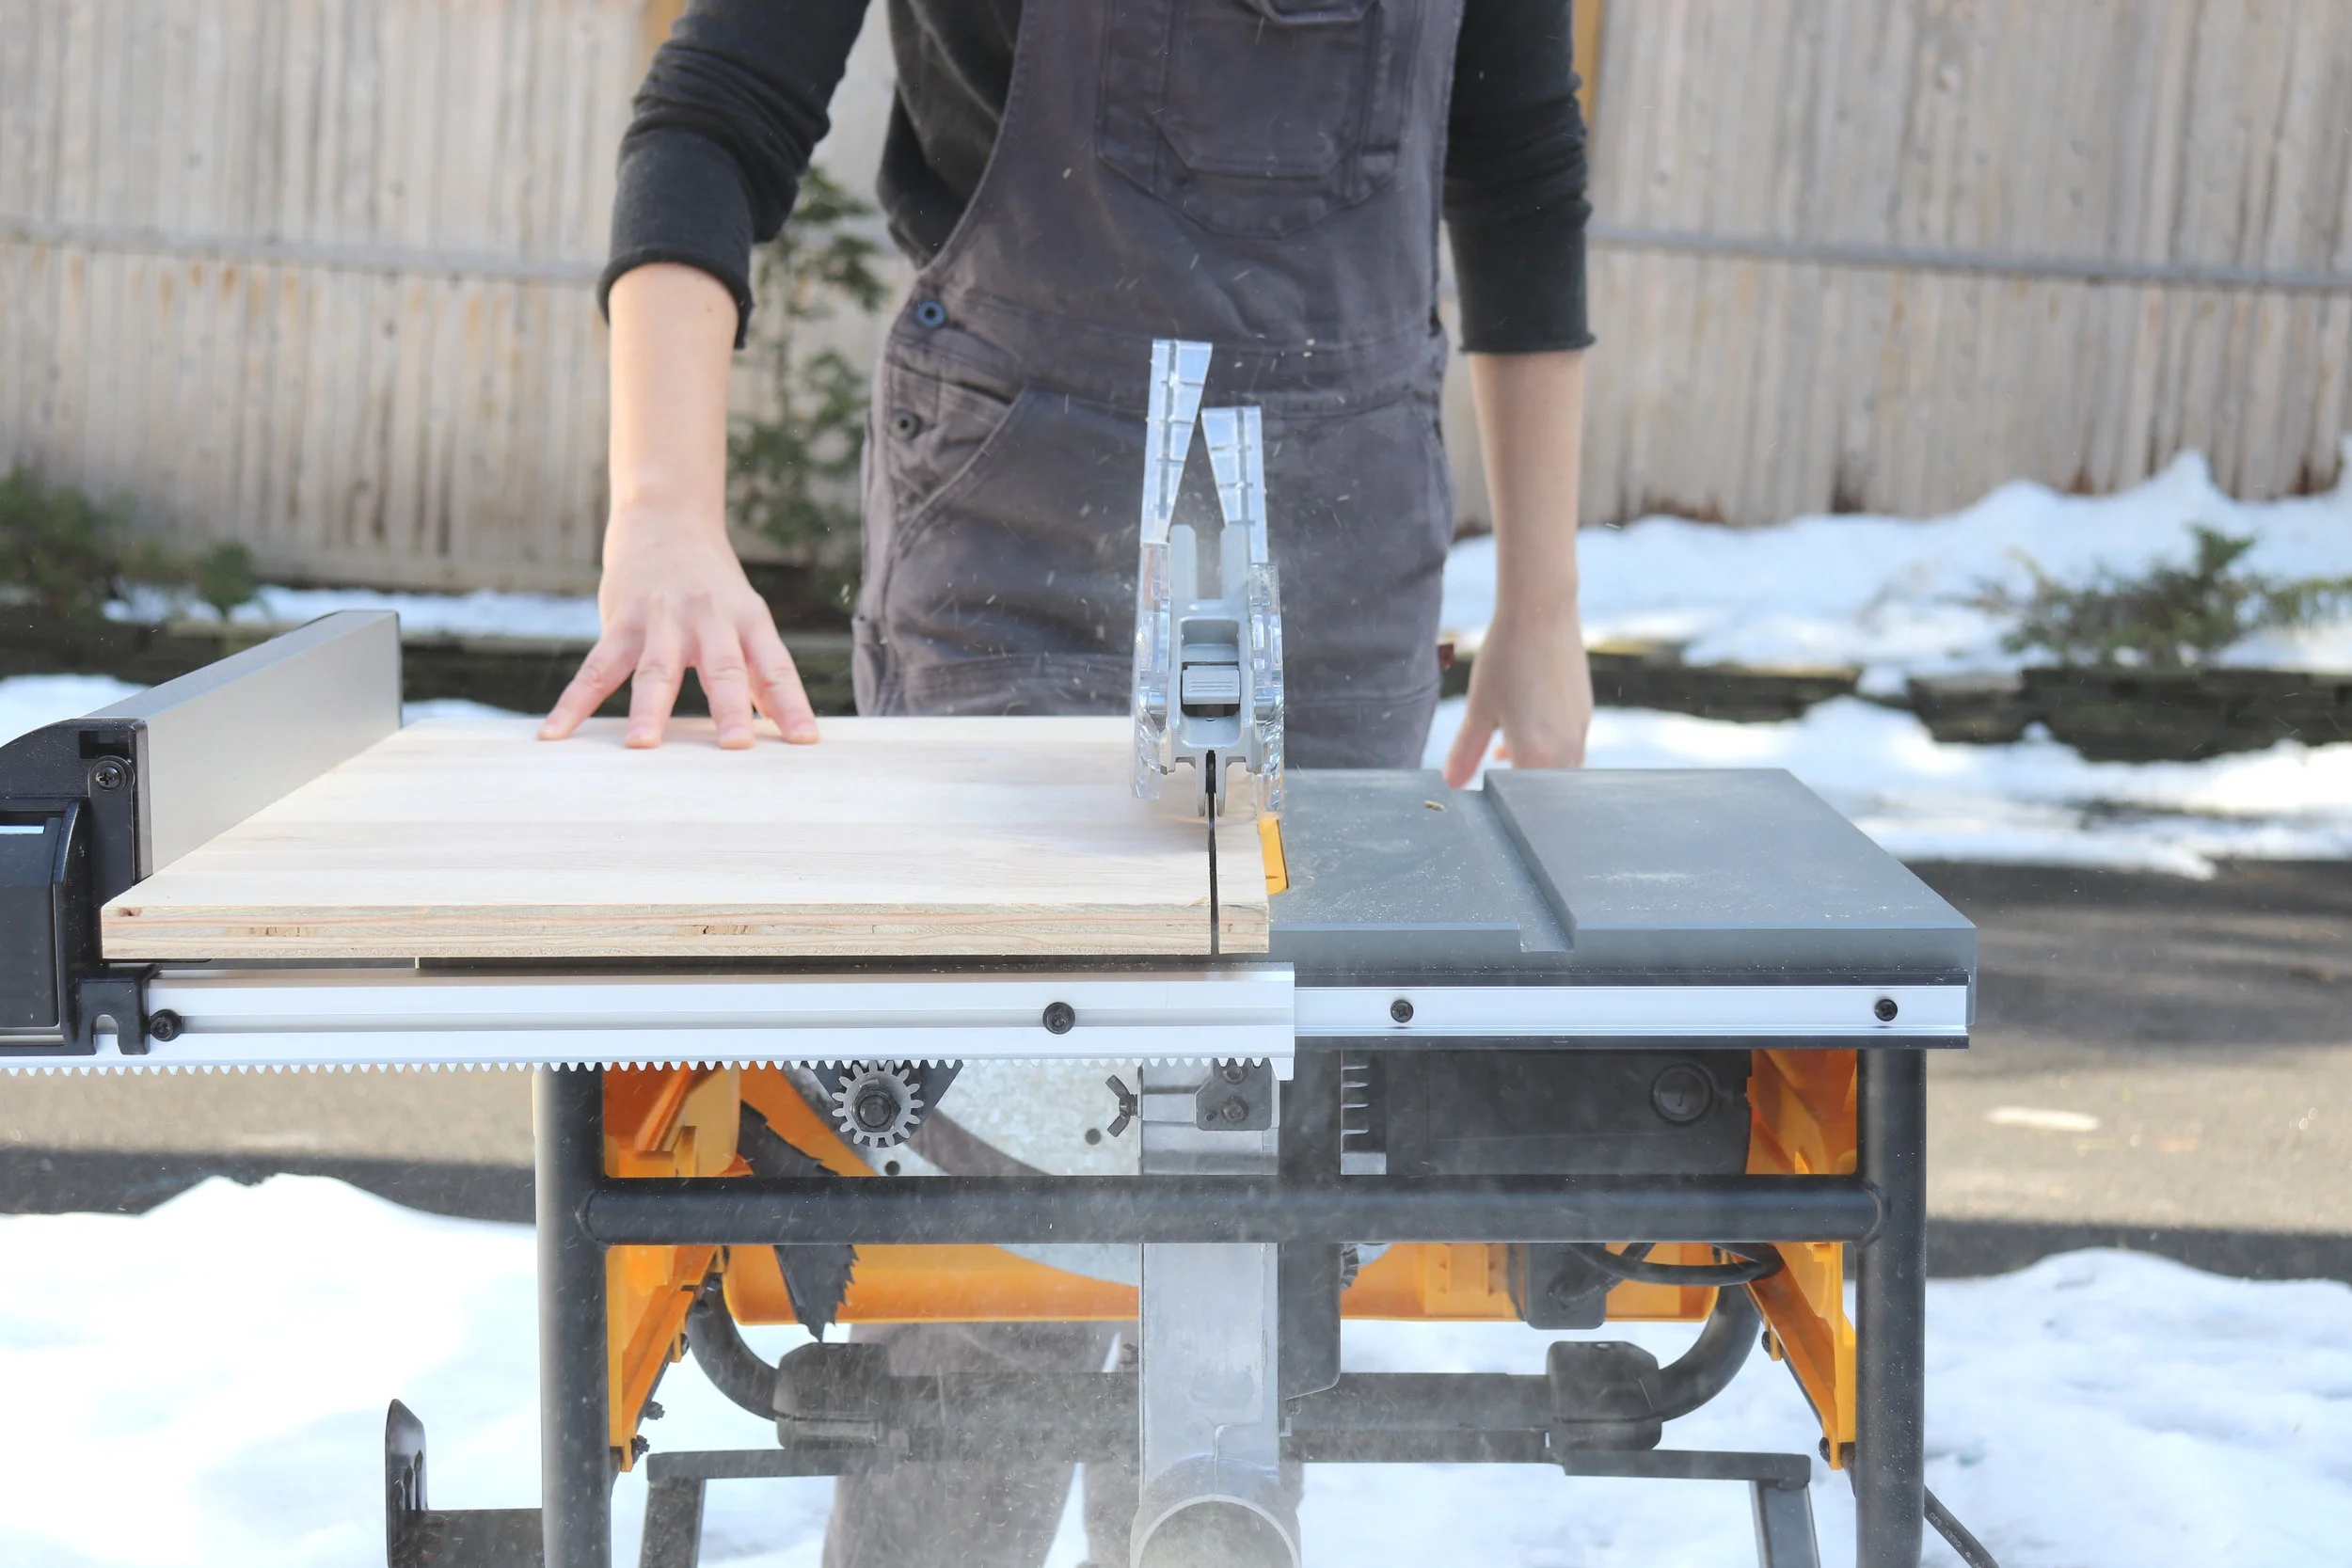
Setting Up the DEWALT 10" Job Site Table Saw
*This post is sponsored by The Home Depot
Links below are affiliate links, clicking on them helps me keep this site going at no extra cost to you :)
I have been using the DEWALT 10” Job Site Table Saw for over two years now, so I have a lot to say in this review!
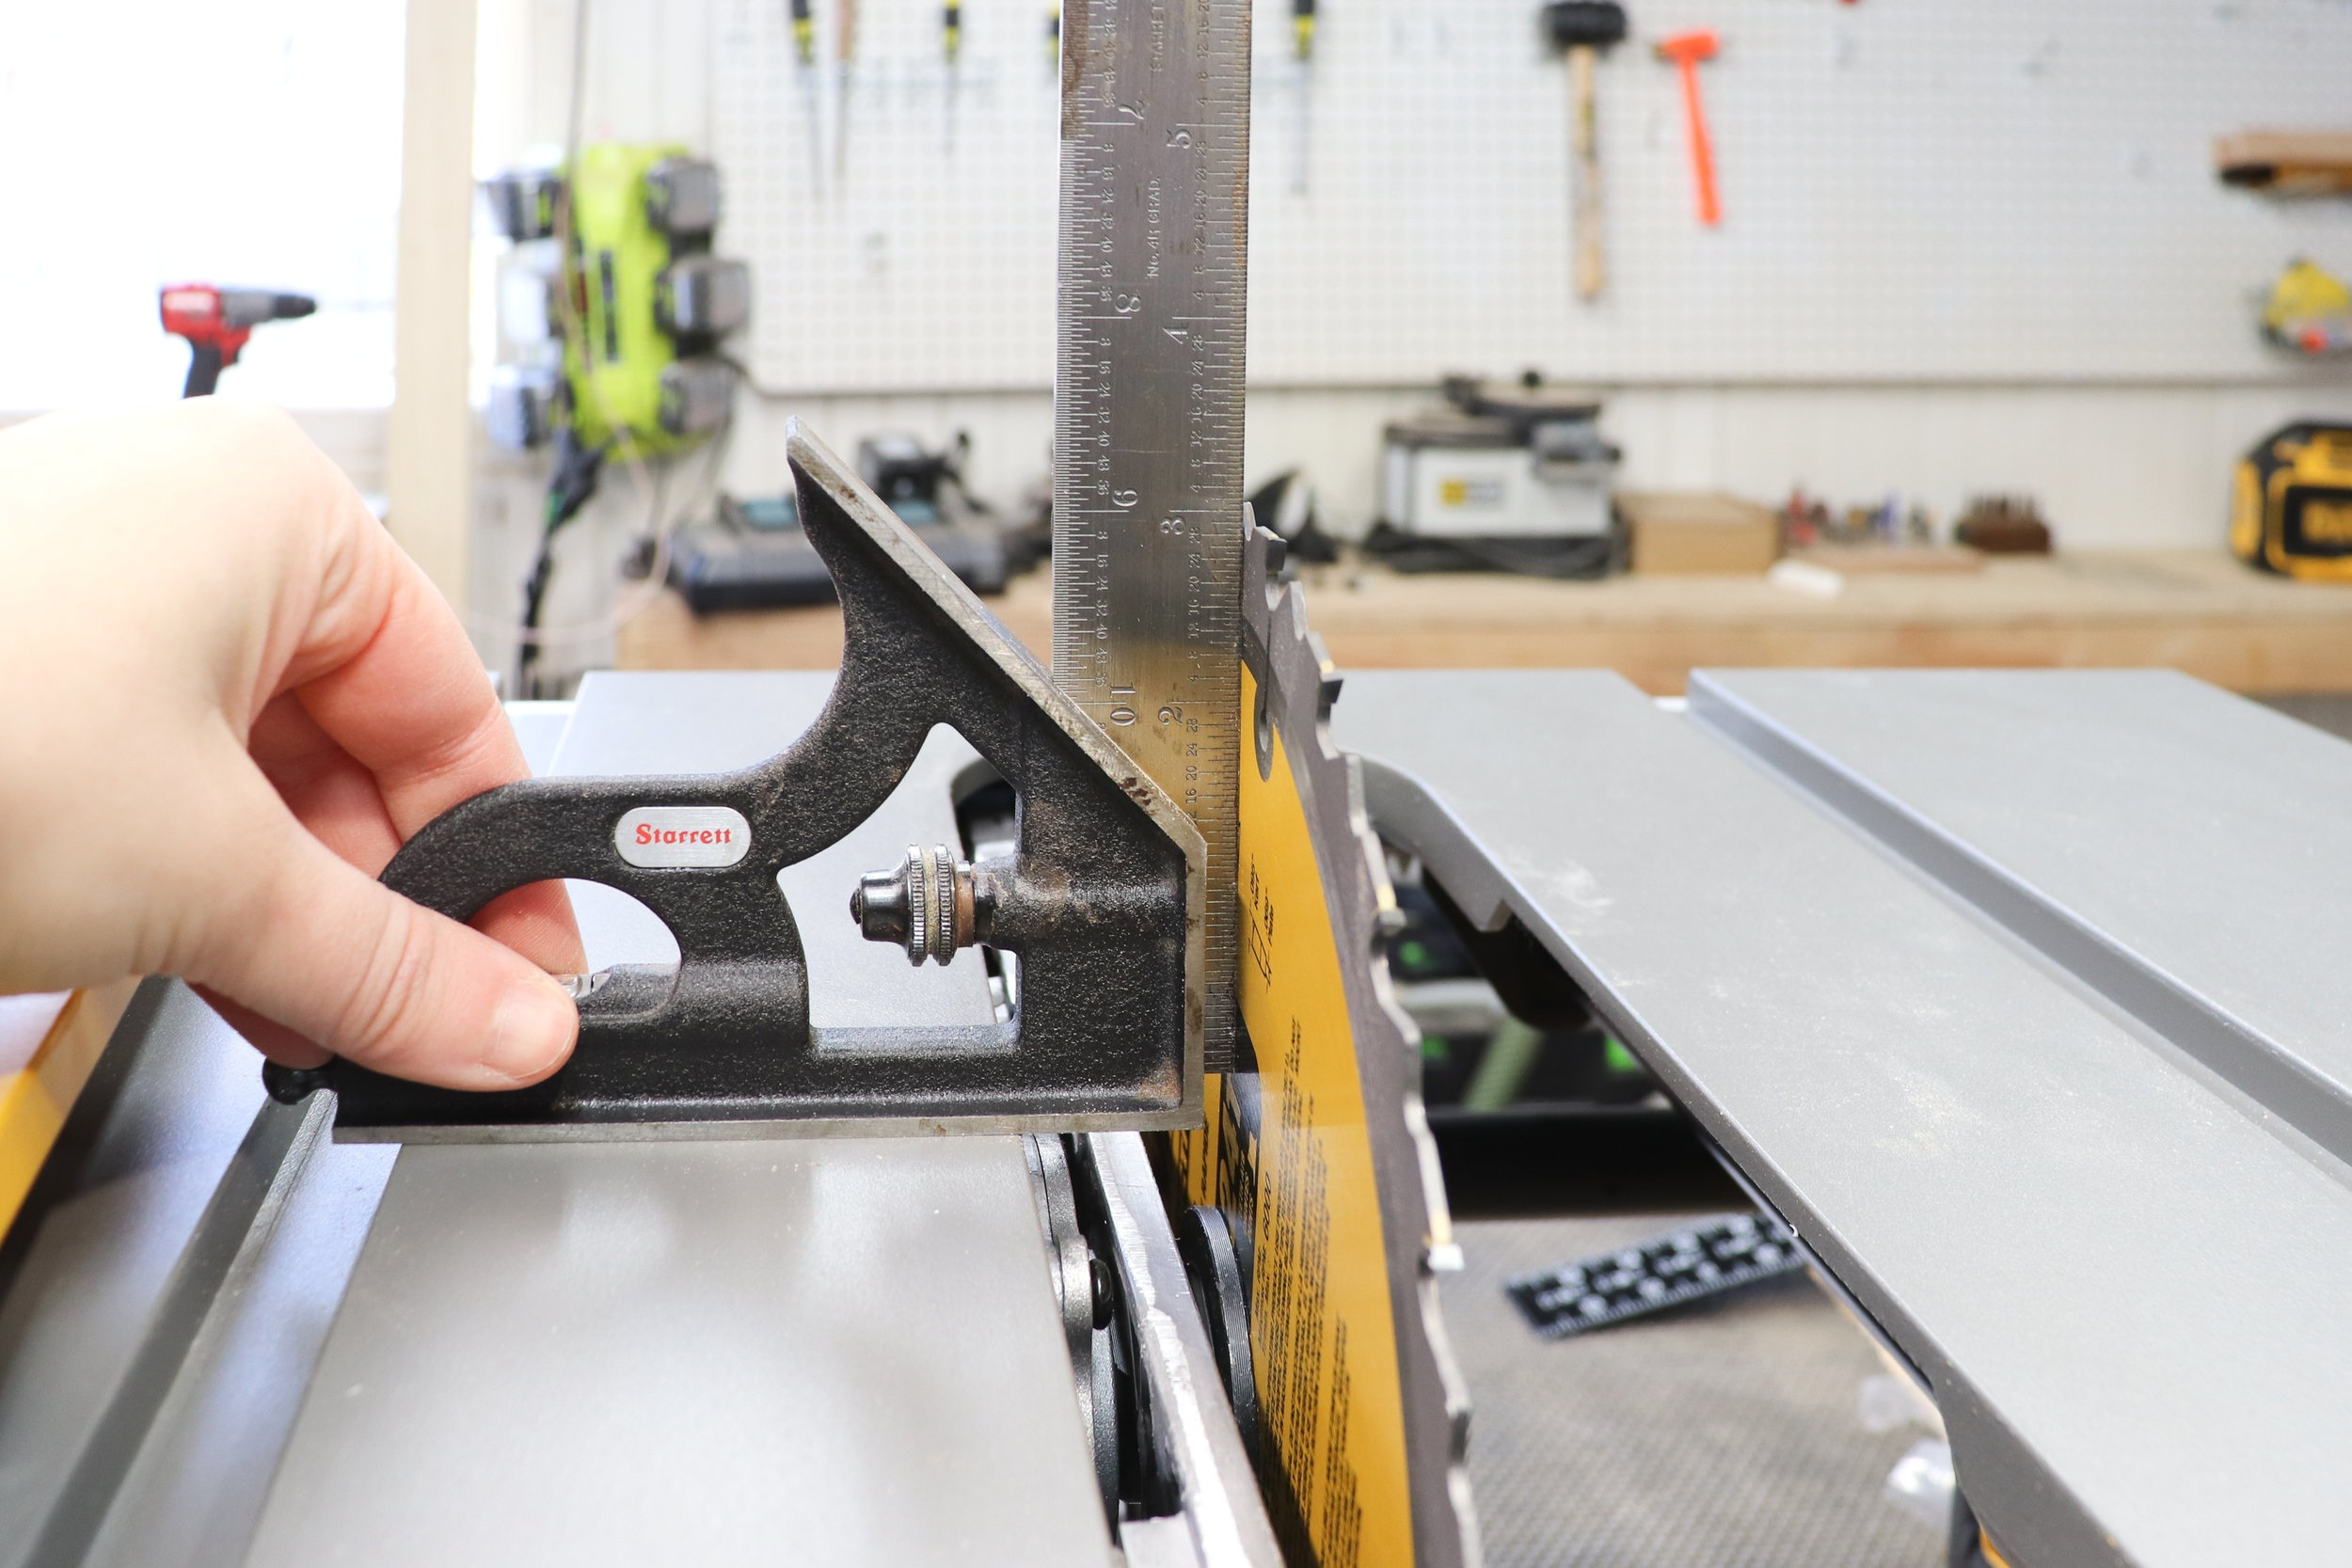
The first thing to do when taking it out of the box is check the blade for square. (I removed the throat plate to get a more accurate reading.)
Out of the box, the blade on this saw was not perfectly square to the top when set to zero bevel. (The picture below is square… I forgot to take a pic before.)
This is an easy fix. There is a screw that’s behind the blade wheel called the “bevel lock screw”. This screw is attached to this odd looking washer type thing called the stop cam. The stop cam moves to the right and left as you rotate the screw, creating a bigger or smaller gap between it and the “bevel lock lever”.
To correctly set up your blade, loosen this screw to the left so the stop cam behind it moves to the left as well.
Now, line up a square against the blade and the table top, adjust the bevel angle until the blade is flat against your square, then lock down the bevel lock lever.
Now that your blade is locked down at 90 degrees you can readjust the stop cam to the correct position by tightening the bevel lock screw. You will see the stop cam moving to the right and the screw will tighten when it hits the bevel lock lever.
Then repeat the same process for the 45 degree bevel.
You only have to do this one time. Since you are adjusting the cam behind the screw to hit the bevel lock lever, it will always stop in the right location moving forward and you’re good to go.
After the blade is aligned perpendicular to the table top it’s time to check if it is parallel to the miter slot.
This is an important step for safety and if you want your cuts to be accurate. It’s also important if you want to make sleds that run along your miter slot.
You can check if the blade is aligned with the miter slot using a combination square, but I have always found that method a bit difficult.
The easiest way I have found to check if your blade is aligned to the miter slot is by using a dial indicator. You can see in the picture below, the needle on the dial indicator is not on the zero. This means the blade was not perfectly aligned to the miter slot.
I made a whole YouTube video on how I do this process here —> How to Align Your Table Saw Blade
You can also dial in the fence using the dial indicator. You want the fence to be parallel to the miter slot as well. Actually, some people prefer to set the out-feed slightly wider from the miter slot (about .003" to .005") than the in-feed. The theory is that this will reduce burn marks and kick-back.
Now the fence. It’s reason why I decided to purchase this saw to begin with.
The front and back of the fence lock on to two rack and pinion tracks that move simultaneously when you adjust it. That means once you set your fence square, it will remain square no matter how much you move it! It really is amazing.
There are saws out there that cost hundreds more and don’t have this feature. On those saws you have to lock down the front and back of the fence separately every time you adjust the fence. Which means you have to check for square every time you adjust the fence! That’s just crazy!
When the fence is fully extended you can rip 20” wide pieces and a little bar flips down to fully support that cut.
At this price point, this fence system can not be beat.
The front of the saw also has a very accurate tape measure once you dial it in.
Set the rip fence to a random width, let’s say 5”, using your handheld tape measure. After cutting, check to see how wide the cut you just made was. If that cut is exactly 5” then you can adjust the red line on the tape measure indicator by loosening the screws on the side to 5”, and your on board tape measure is dialed in!
Since this saw is meant to be taken to a job site, everything stores neatly away on the saw itself.
The push stick, wrenches and blade guard all sit neatly tucked away so you are never running around looking for the wrench to swap out your blade.
It comes with a miter gauge, but it is not great. When doing crosscuts, I prefer to just use my sled.
The blade that comes with this model is pretty decent, I would say if you are working on a job site and you were just ripping 2x4’s and plywood, it’s great. Since I do more fine woodworking, I prefer to use dedicated blades for ripping and crosscutting.
Another upgrade I will make to the saw is adding a zero clearance throat plate. The gap between the blade and the throat plate is too wide (this is standard on most saws). There are two problems that occur because of this.
1) Sometimes there is tear-out on the underside of some cuts. This could be alleviated by adding tape to the underside of your material. The tape kind of holds the wood together so it doesn’t splinter.
2) When ripping thin pieces, they tend to fall into the gap that’s between the blade and the throat plate. A quick fix for this would be to add tape to the throat plate to close up that gap.
I have utilized those quick fixes in the past, and they work fine, but I am ready for a zero clearance insert.
There is a dust port at the back where you can hook up a 2-1/2” vac hose. It does a pretty good job at containing most of the mess, but don’t expect it to be perfect, there is still a good amount of dust that comes off the top of the saw.
This particular model comes with a stand that folds up, which is great for the job site.
Coming in at just 45 lbs., it’s really easy to carry around to where you need it.
But if you are looking for a more permanent solution and don’t plan on moving the saw too much, I built a custom table saw surround for it in my shop. You can find the details on that build here —> Table Saw Extension Table
Or you can watch the video below…
Overall I think this is a beast of a saw and think it is a great solution for a small shop or anyone traveling to job sites. I have been really happy with its accuracy and power for the past couple of years. I can easily rip through thick hardwoods and I do a lot of joinery on it as well.
There is one drawback though….
The arbor (the shaft that holds the blade) on this saw is too short to hold a dado stack. As I dive deeper into woodworking, this is a bit of a limitation on what I can do joinery wise. I get around this by just taking multiple passes to create grooves, dados, tenons and the like. It takes a bit longer, but it is doable.
If you are just starting to build up your tool collection, I would totally recommend this saw. At this price point you can’t beat the power or accuracy.
You can find it at The Home Depot here -> DEWALT 10” Job Site Table Saw
I acknowledge that The Home Depot is partnering with me to participate in the ProSpective 2018 Campaign. As a part of the Program, I am receiving compensation in the form of products and services, for the purpose of promoting The Home Depot. All expressed opinions and experiences are my own words. My post complies with the Worth of Mouth Marketing Association (WOMMA) Ethics code and applicable Federal Trade Commission guidelines.


