Collapsible Bandsaw Bowls
I was at a friend’s house and she had this collapsable wooden bowl that I thought was so cool, I needed to figure out how to make it!
After some google searching, I discovered this bowl was pretty popular! It’s been around for a while and all it requires is cutting a spiral with a bandsaw or scroll saw!
Check out the full video below to see how I figure it all out!
Links below are affiliate links, I get a small commission if you click on them at no extra cost to you ;)
DOWNLOAD THE TEMPLATES HERE:
COLLAPSIBLE BOWL TEMPLATES
Let’s begin!
The secret to these bowls is that you need to cut the spiral at an angle.
According to my google research this angle could be anywhere from 4 to 10 degrees depending on a few factors…
Your material thickness.
The thickness of your blade.
How far apart the spirals are.
So some experimenting is required!
You want the spiral to be able to hold itself in place without being able to push through.
For my material thickness, blade, and spiral distance, this magic number was 7 degrees.
But definitely do tests to see what will work for your situation!
I was using a 3/16” 10 TPI blade. You can probably get away with you using a 1/4” blade too.
I chose the higher tooth count to get the cleanest cut.
There are a few ways to make a base for these bowls.
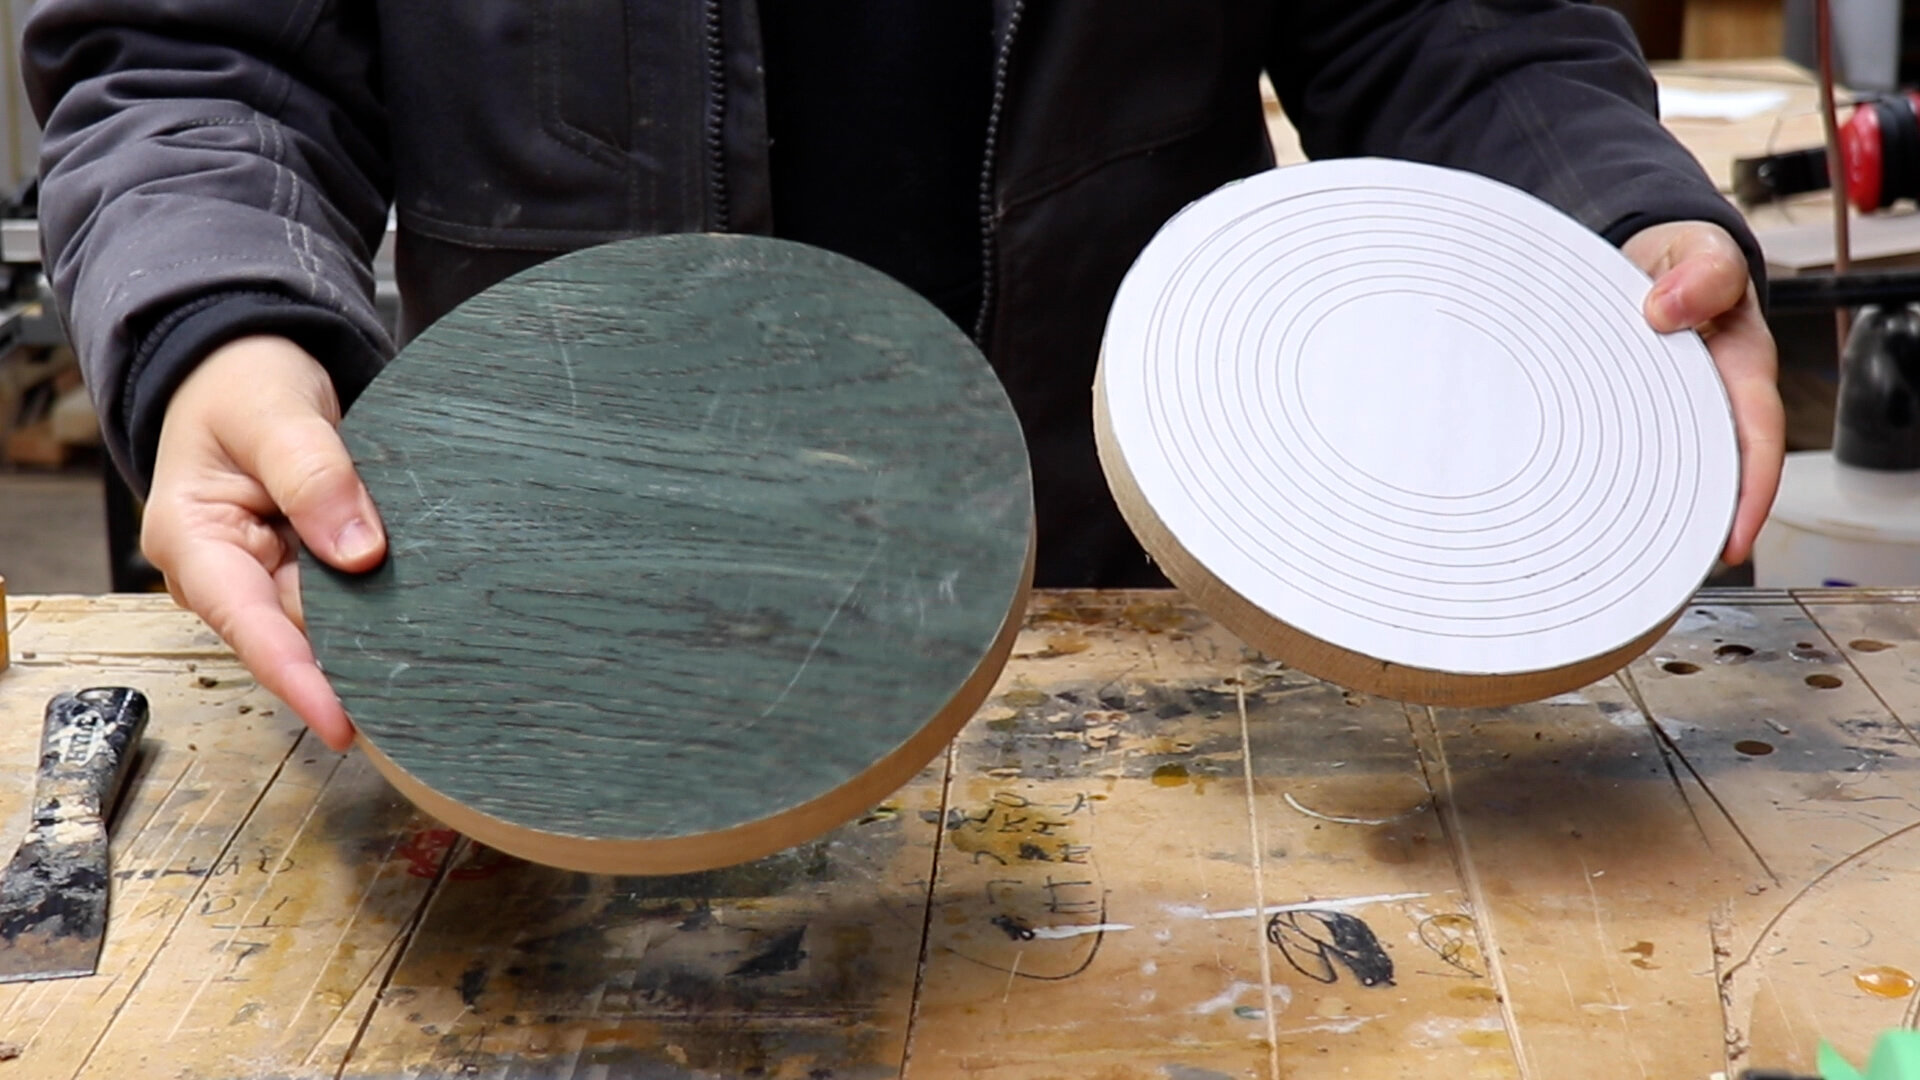
For the round bowl, I decided to make a base that’s the same size as the bowl.
So I used double sided tape to temporarily attach 2 blanks to each other.
Then used spray adhesive to attach the template.
(I used a layer of painters tape to eliminate sanding off any glue residue.)
The first cut to make is the outer shape.
This cut should be a square 90 degree cut, so don’t tilt your table just yet!
Try to stay outside of the line here, you can clean it up with some sanding after you cut it out.
Then remove the base piece that was attached with double sided tape and put that aside until later.
The next step is to cut out the handle.
This is the wider outer ring on the template.
This is also a square cut, don’t tilt the blade yet!
It’s best to make this cut going along with the grain instead of across it to better hide the cut.
Then glue that cut back together. Like it never even happened…
Now finally you can tilt you table!
7 degrees worked for me, that might not work for your set up, so make test cuts!
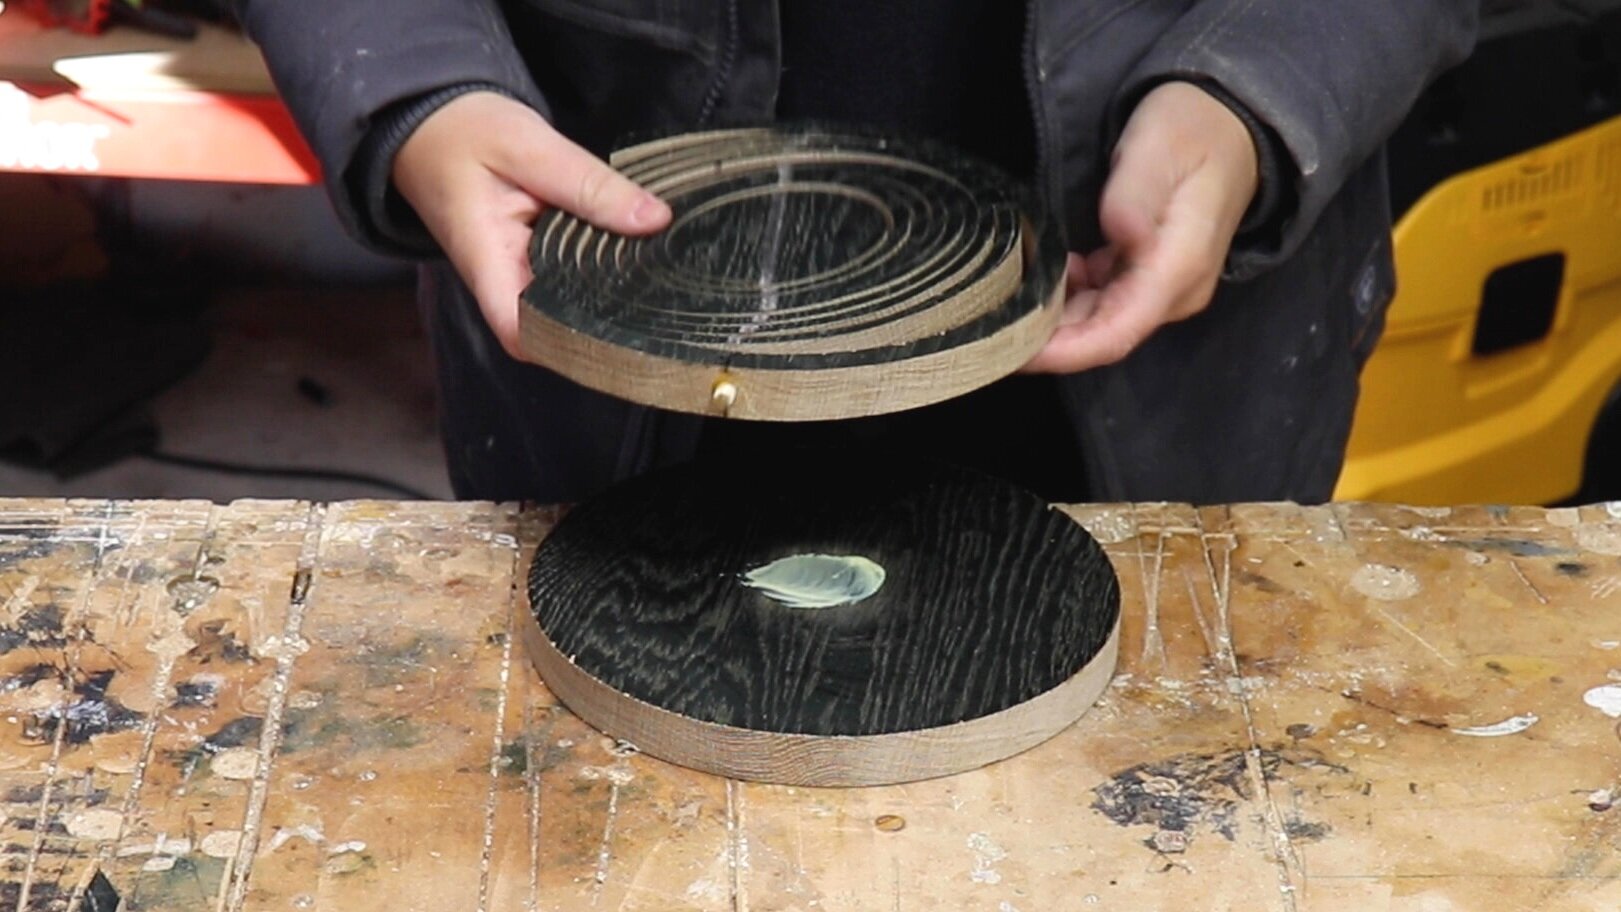
Now just follow the spiral until you get to the center!
Careful because as the cuts open up it gets harder and harder to hold!
When you get to the center, turn off the saw and back the blade out of the cut.
Then glue that cut back together.
The oval is basically the same thing, except you don’t need to cut out a base at the same time.
Cut out the handle first with the blade square to the table, then tilt it to 7 degrees to make the spiral cut.
Glue up the open cuts just like on the round one then prepare to attach the handles.
Drill a hole in the handles and into 2 layers of the spiral.
Then insert a dowel into the handle WITHOUT any glue on it.
Once the dowel starts going into the spiral rings, add glue to the outside of the dowel, then continue to insert the dowel into the outer handle ring.
You want the glue to only be on the handle, not the spiral!
Once that’s dry, cut the handle to length by extending the bowl all the way and running a straight edge along the bottom of it.
Cut along the lines where the straight edge hits.
The round one gets glued to the matching round base that was cut in the first step.
The oval one gets a smaller base. Just 2 pieces of wood held together by a half lap.
Then glue those pieces to the bottom of the base!
Final sand so you knock down all the sharp edges and add some finish!


