
Curved Plywood Chair
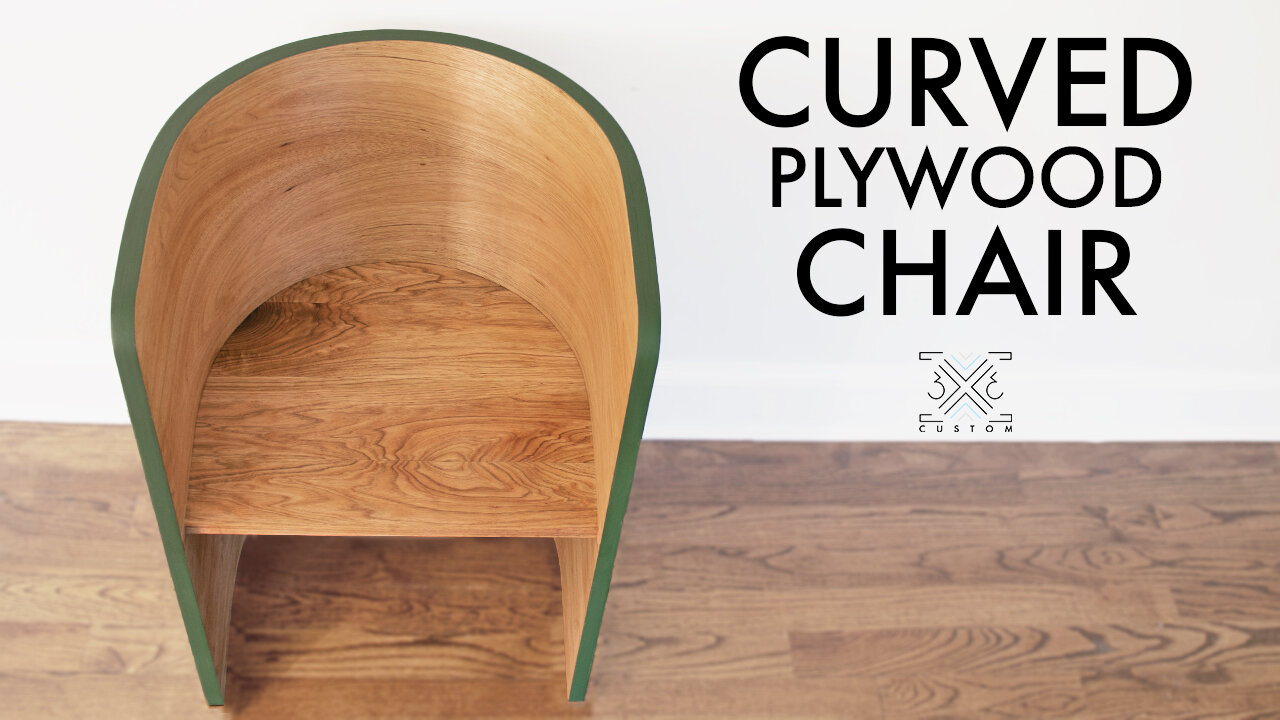
Season 11 of The Builders Challenge was a bit different than other seasons… This time around there were no plans to follow, just a theme! The theme was - Something you can sit on. So I made a chair! A bent plywood chair that is!
Lots of experimenting here with the bent lamination and two types of veneer processes… If you’re interested in seeing how it all comes together, check out the full build video below!
The first thing to do is make a form for the bent lamination.
To do this, I used an awesome new tool called the Shaper Origin. But this can be done with old school tools as well.
You should have two pieces that are the same shape for both ends of the form.
After getting the shape of the form right, I connected both ends with some 2x4’s using screws.

Then I covered those 2x4’s with some bendable plywood to be the base of the form.

This bendable plywood is going to be the key to this whole thing… I was able to find 4x4 sheets from one of the big box stores and have them delivered to my house.
But this chair will need sheets that are bigger than 4x4… I was able to find that at my local hardwood dealer.
It goes by a few different names depending on where you get it from. It could be called wiggle board, bendy board, column wrap, or barrel wrap….
My place happened to have called it Barrel Wrap, if it was Column Wrap it would bend the other way.
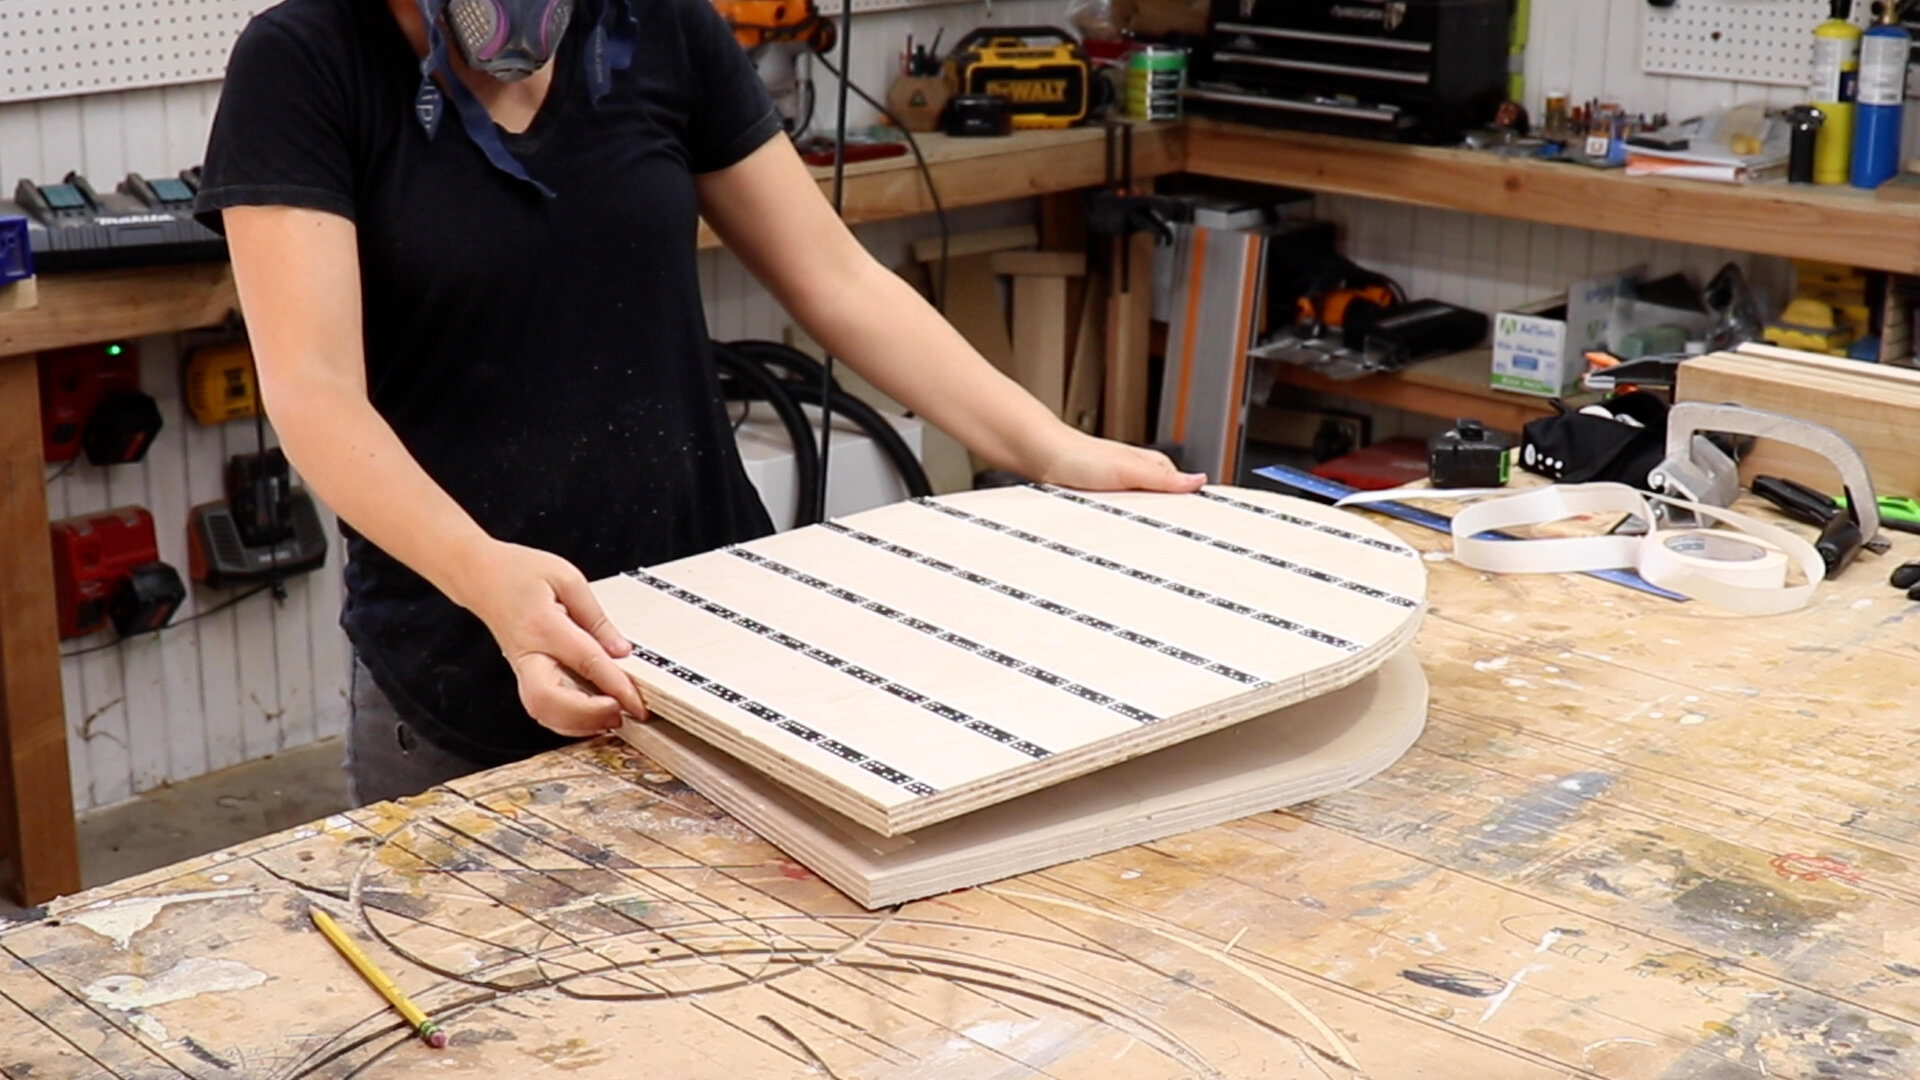
I cut all the sheets to width.

Then trimmed them to length at the table saw.

Time to glue them on to the form!
I used glue that has an extended open time since I knew this operation would take me a while.

I Placed glue on the top of the first two sheets, and then placed the last sheet on top with no glue.
Before applying the glue, I marked center lines on the sheets and the form, this allowed me to line everything up so I can clamp it all in place.

After the sheets were in position, I added a bunch of ratchet straps to bend all the sheets together and hold them all down.

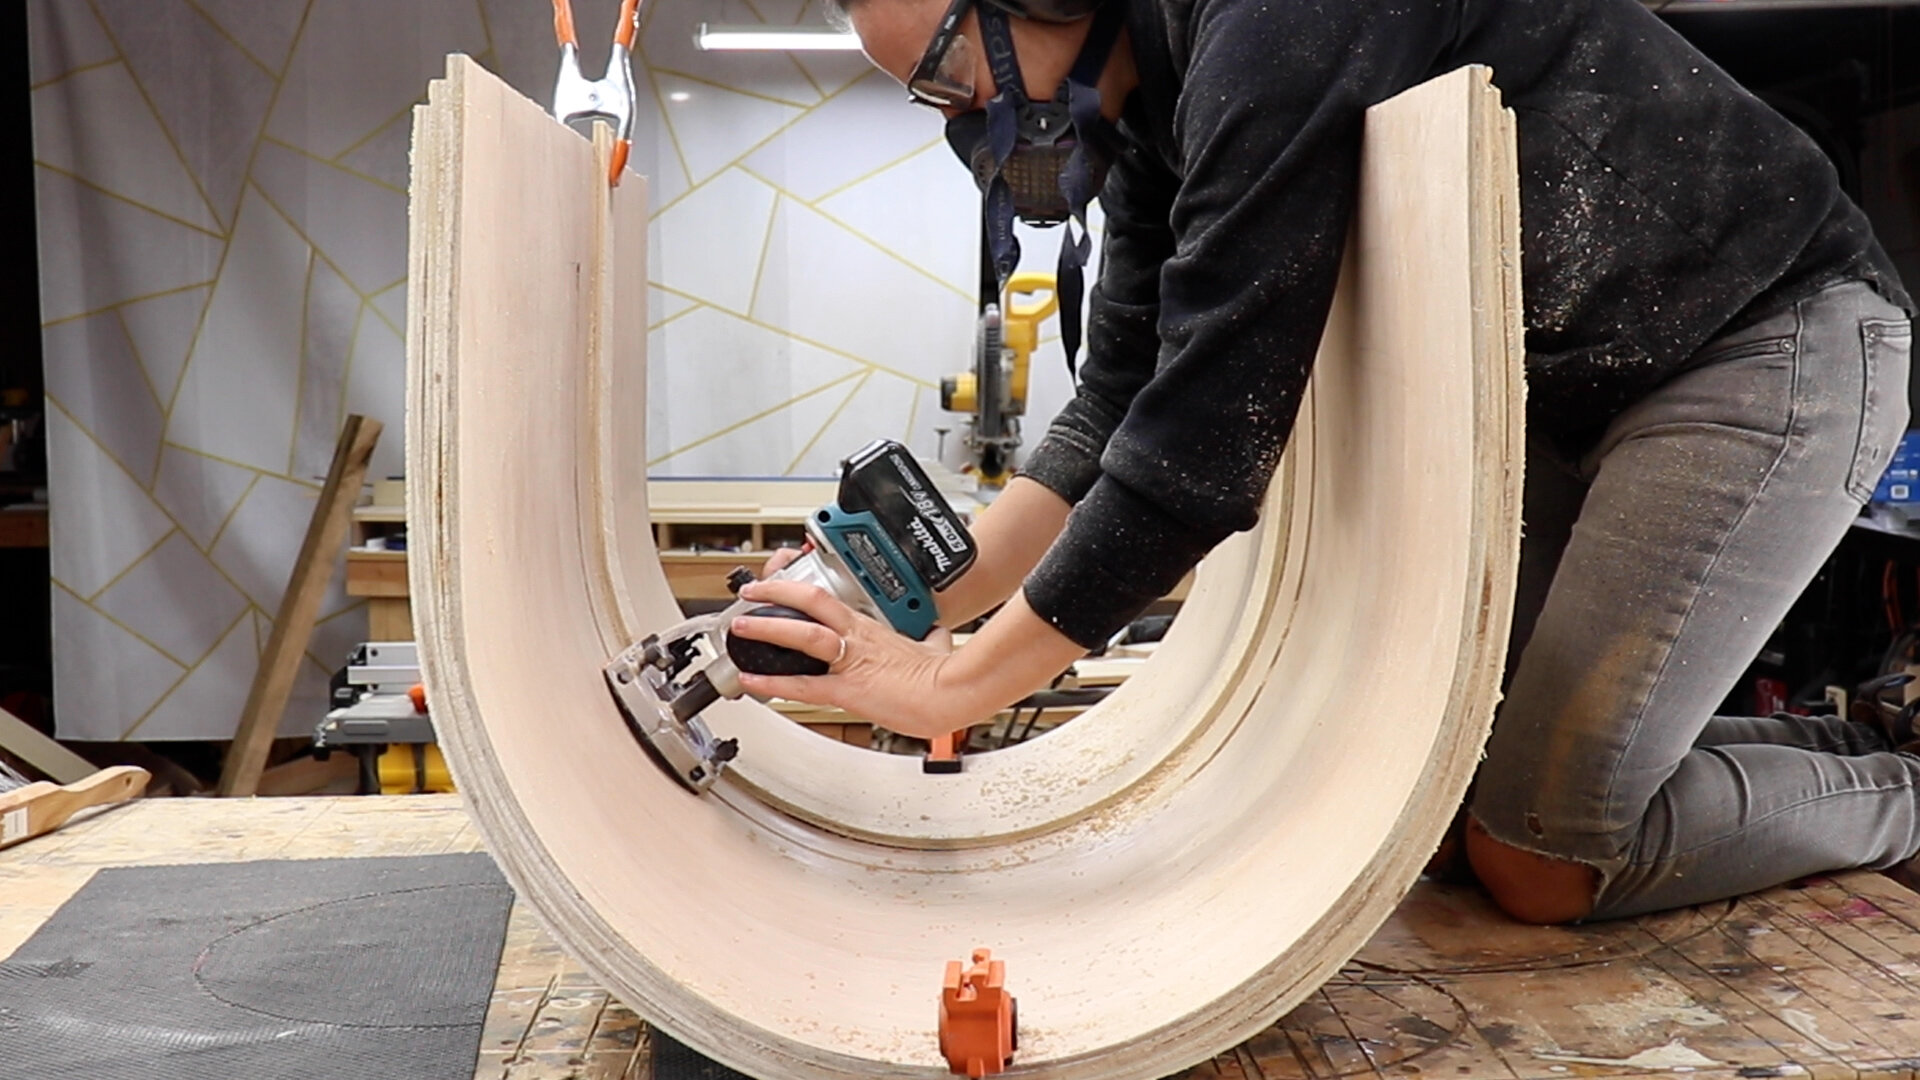
After that dried, I applied paper backed veneer on the inside curve.
The reason for using paper backed veneer was all in the video…
I put contact cement on the back of the veneer and on the inside curve of the chair.
Once they were both dry, I applied the veneer to the inside curve, making sure to use pressure to ensure it is adhered really well and there were no air bubbles.

Next I worked on making the actual seat for the chair by gluing up a panel of butternut.

Once that was dry, I made an MDF template for the inside of the chair and cut it so it was 1/2” wider all around because it will sit in a groove inside the chair.

Speaking of that groove…
I placed a scrap piece of the bendable plywood with double sided tape inside the chair to use as a guide for my router.

Then routed that groove!
This was a bit of a crazy task… but it worked. Ha!
I glued the seat in that groove, but only at the front of the chair, making sure to leave some room in the back of the chair for the seat to expand and contract into.

Drilled some holes from the outside of the chair through the seat, only at the front.

And glued dowels in those holes.
This way, the seat will stay in position at the front, but will have room to move into the back of the chair.

I filled in the front of the groove with some scrap left over from the seat.

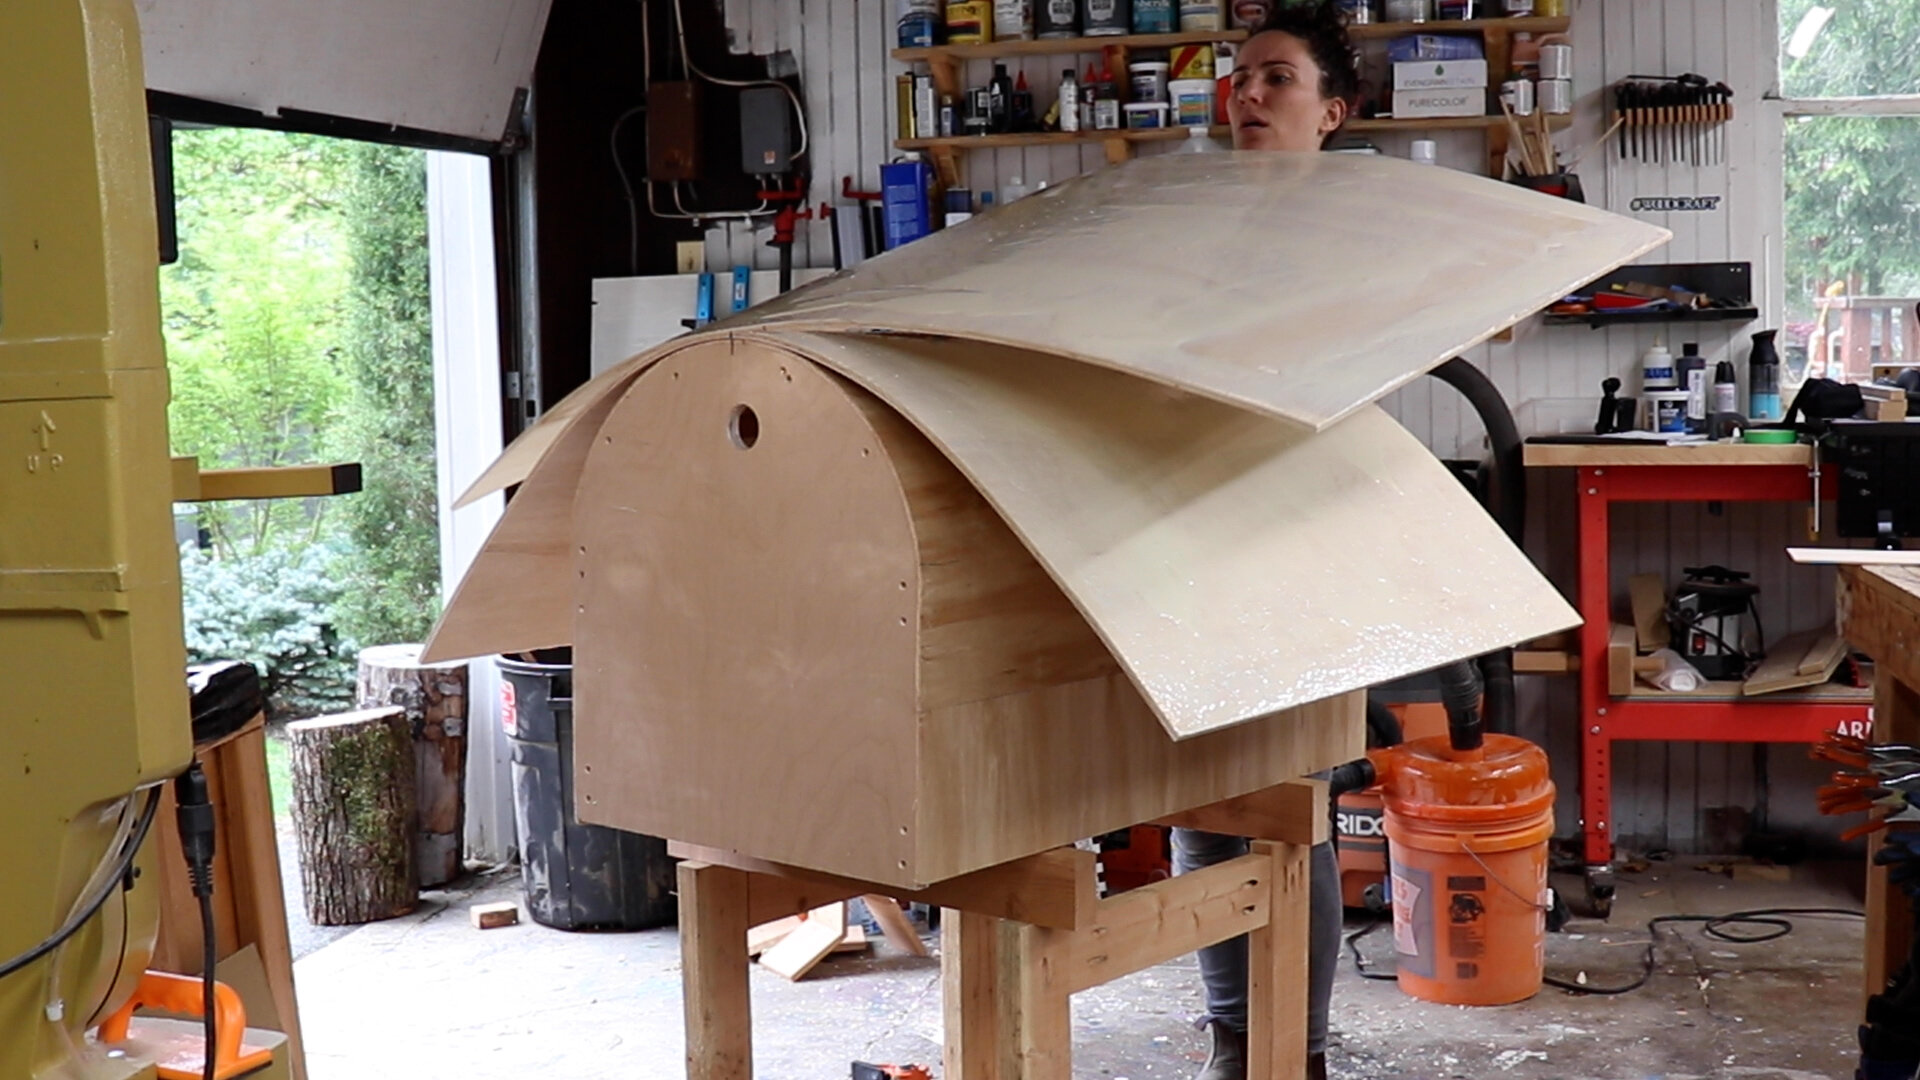
On to veneering the outside!
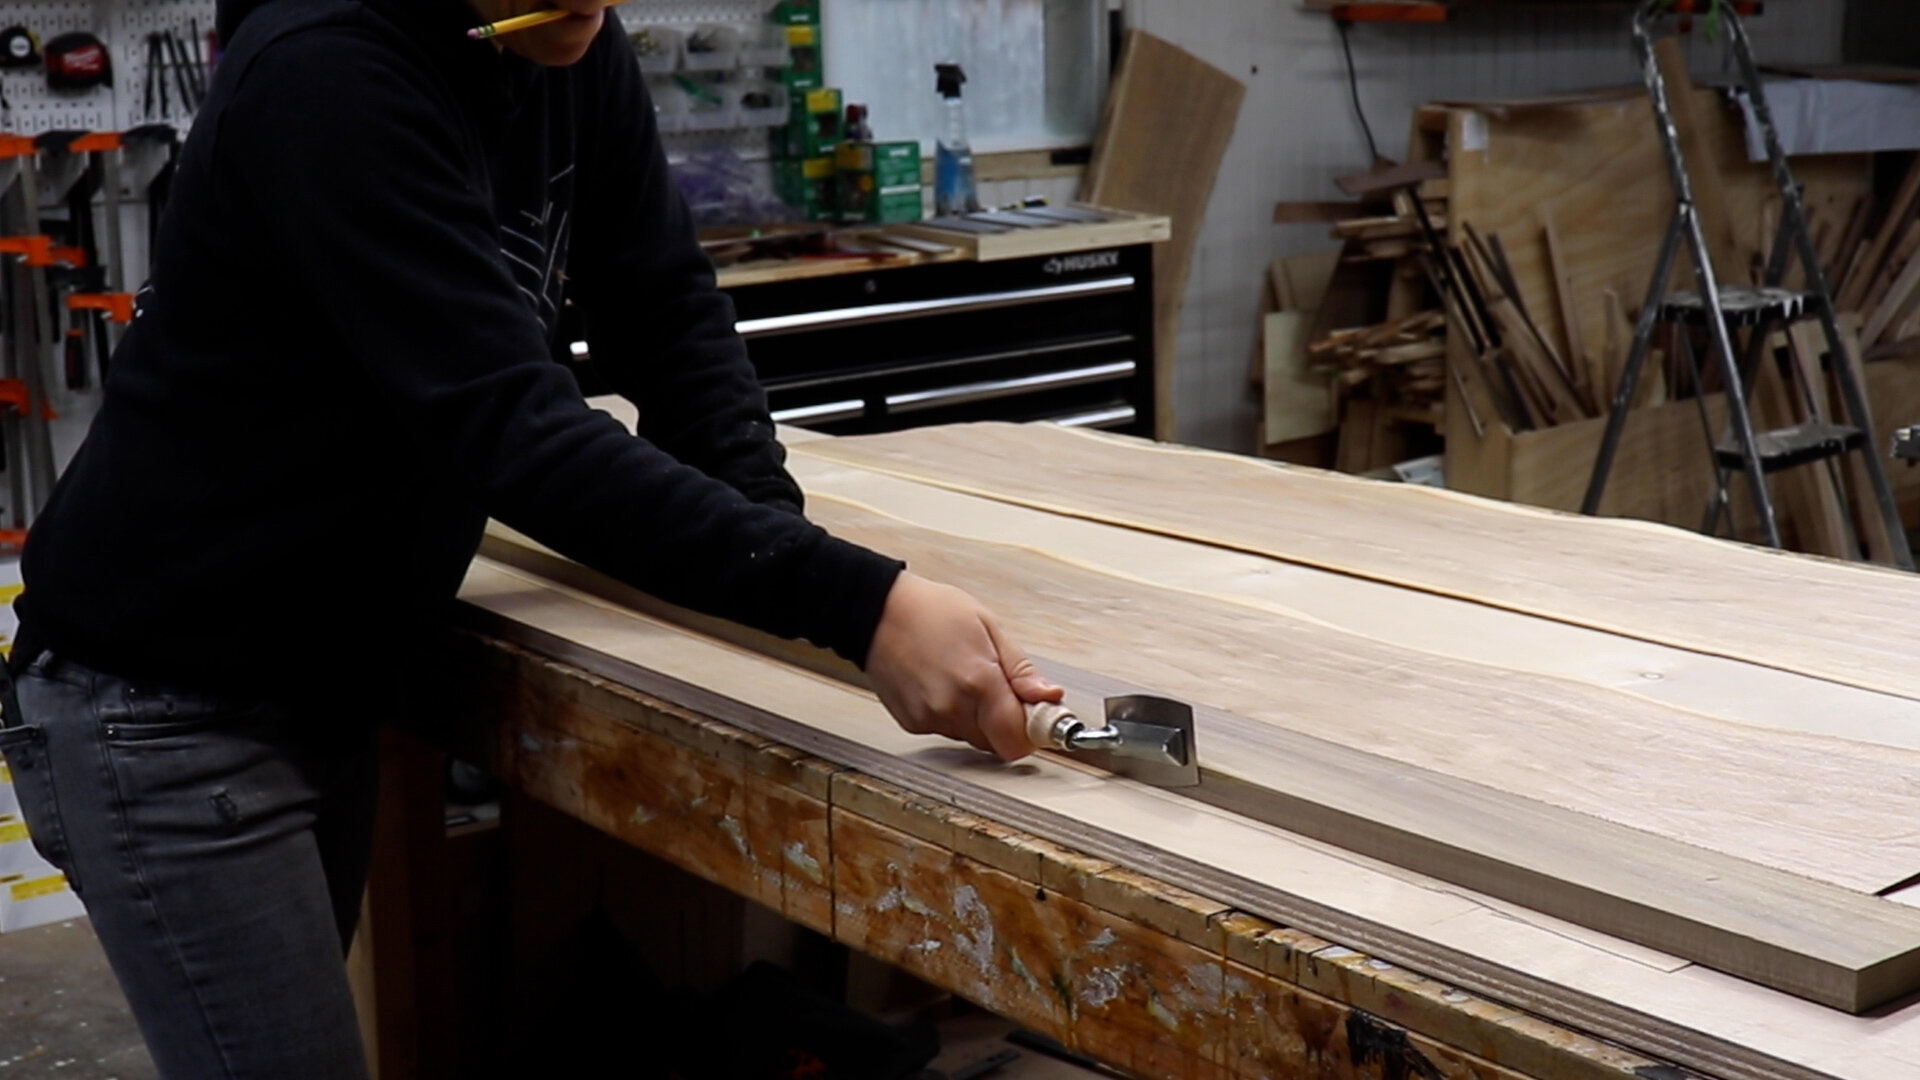
This time I used raw veneer.
I trimmed all the pieces to size using a straight edge and a veneer saw.
The process for applying the Raw veneer is a bit different that the paper backed veneer….
I placed painters tape on the BACKSIDE of the veneers at the seam just to hold them in place.

Then flipped the whole thing over and applied veneer tape to the SHOW SIDE of the sheets.
This veneer tape has adhesive that is activated when you wet it, it also shrinks a bit to bring the seams close together.

Once the veneer tape is applied, you can flip it back over and remove the painters tape from the BACK SIDE of the sheets.

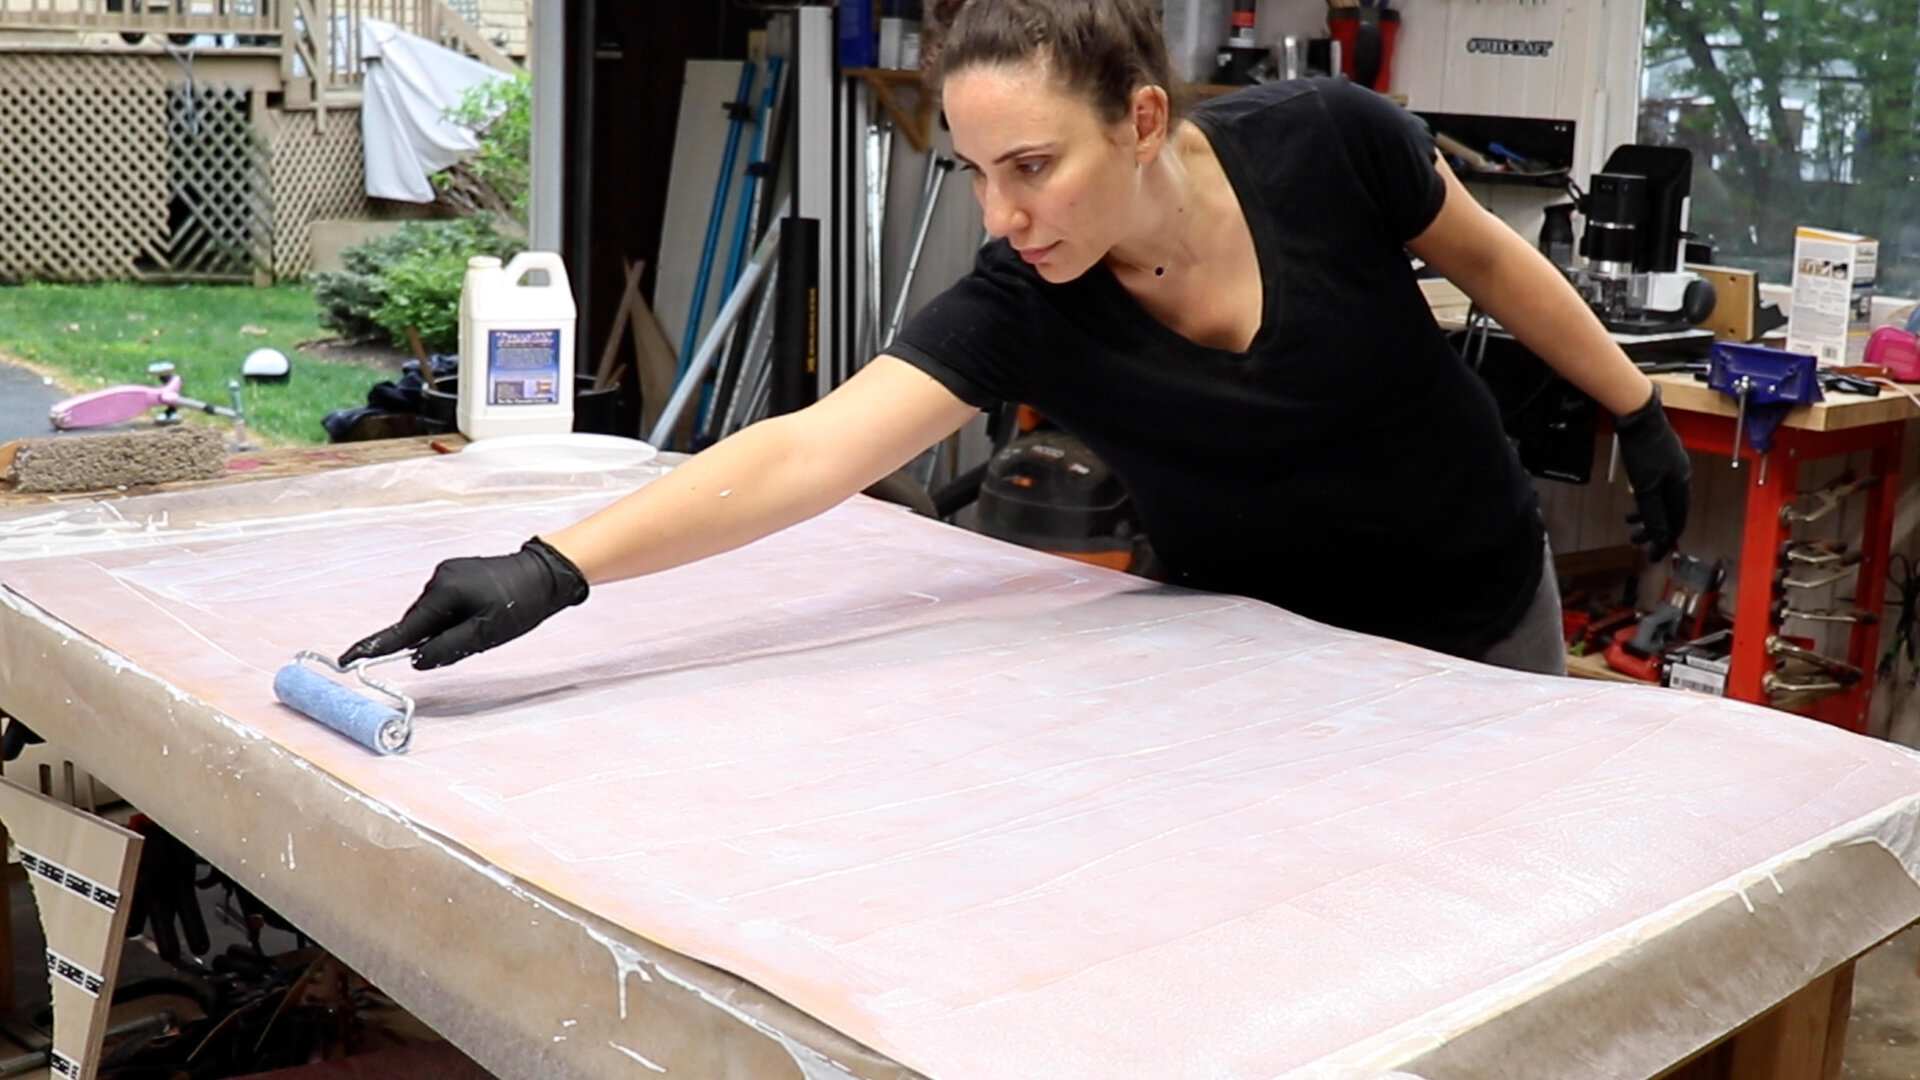
Apply veneer glue to the whole outside of the chair.

Place the veneer on and lock it all down with the bendable plywood, cauls, and ratchet straps.
Now… This worked ok. It was not great. I will definitely use a vacuum press next time I use thin raw veneers like this.

After glue for the veneer has cured, remove the straps and cauls, then remove the veneer tape.
You can easily remove it by getting it wet again.

Time to clean it all up!
I used a track saw to cut off the front edges.
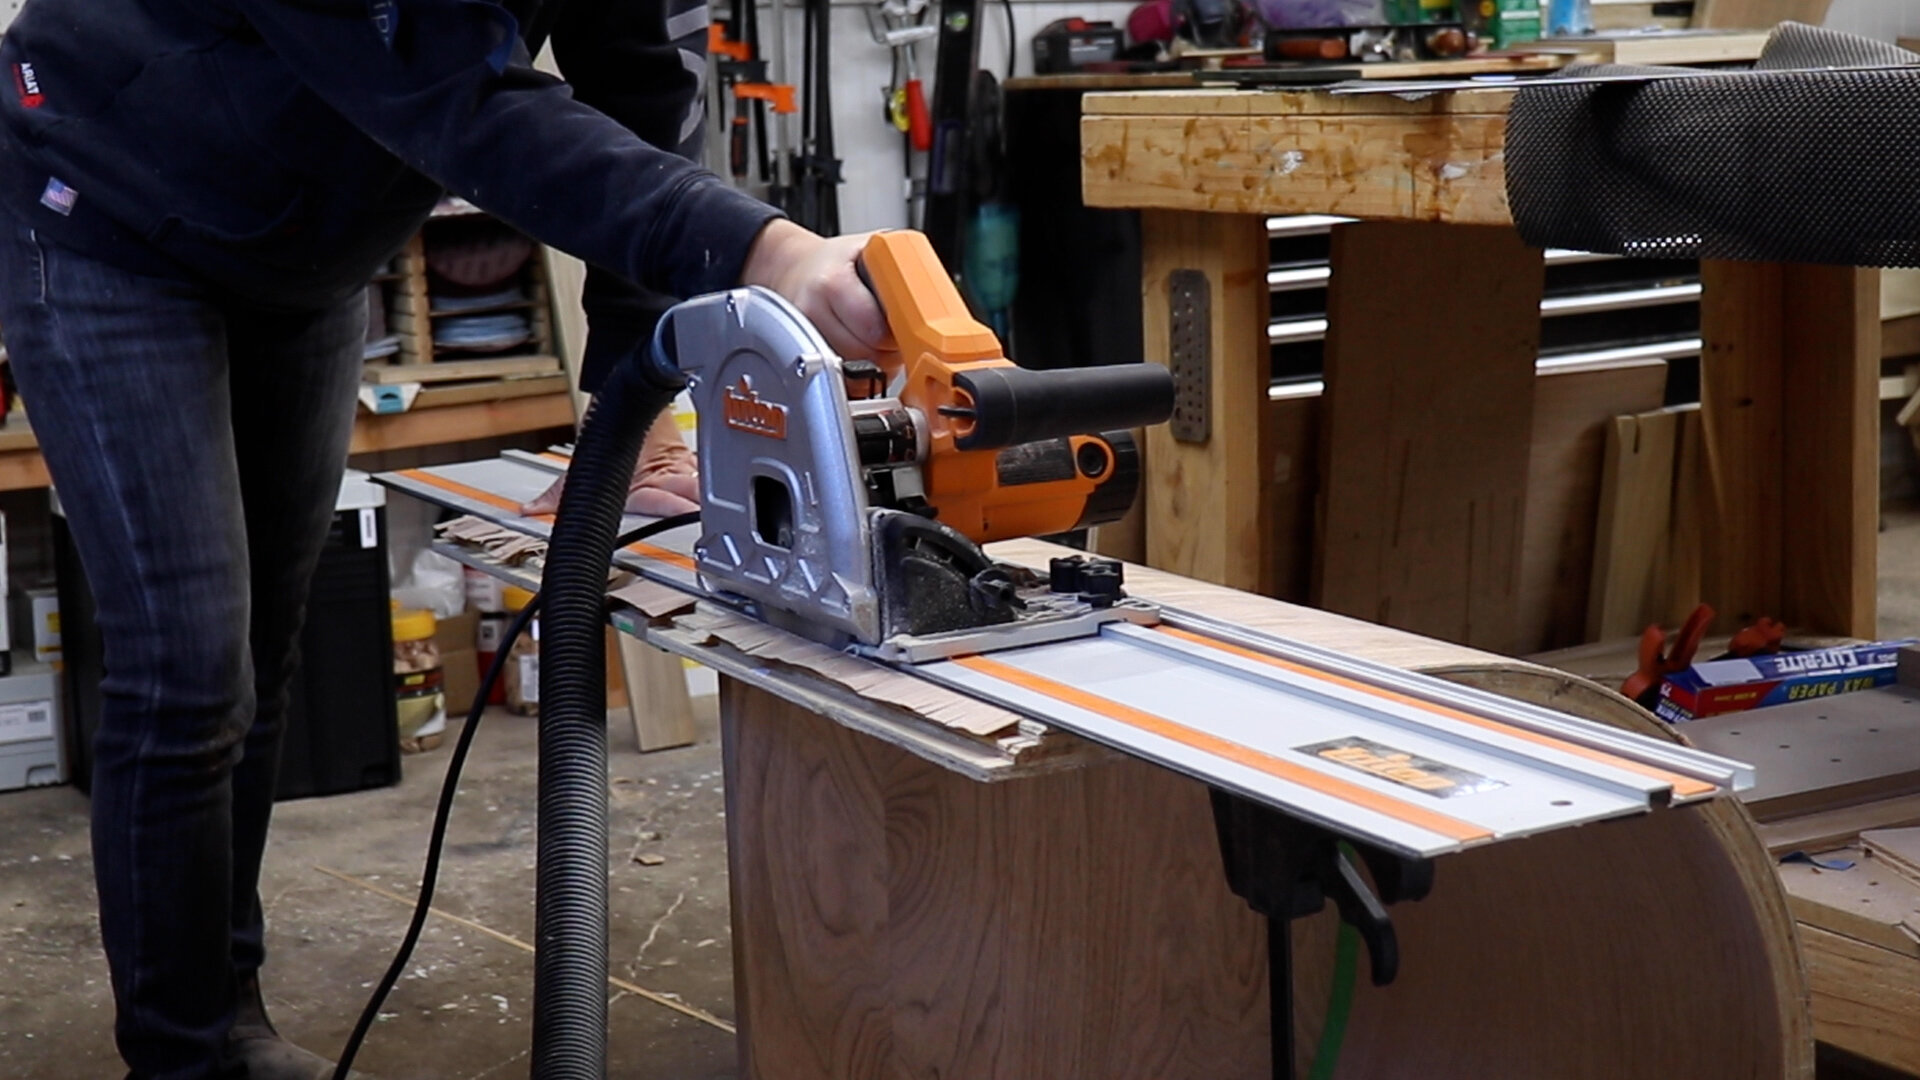
And a piece of bendable plywood double side taped to the outside curve to use as a guide for a circular saw to cut it to final height.
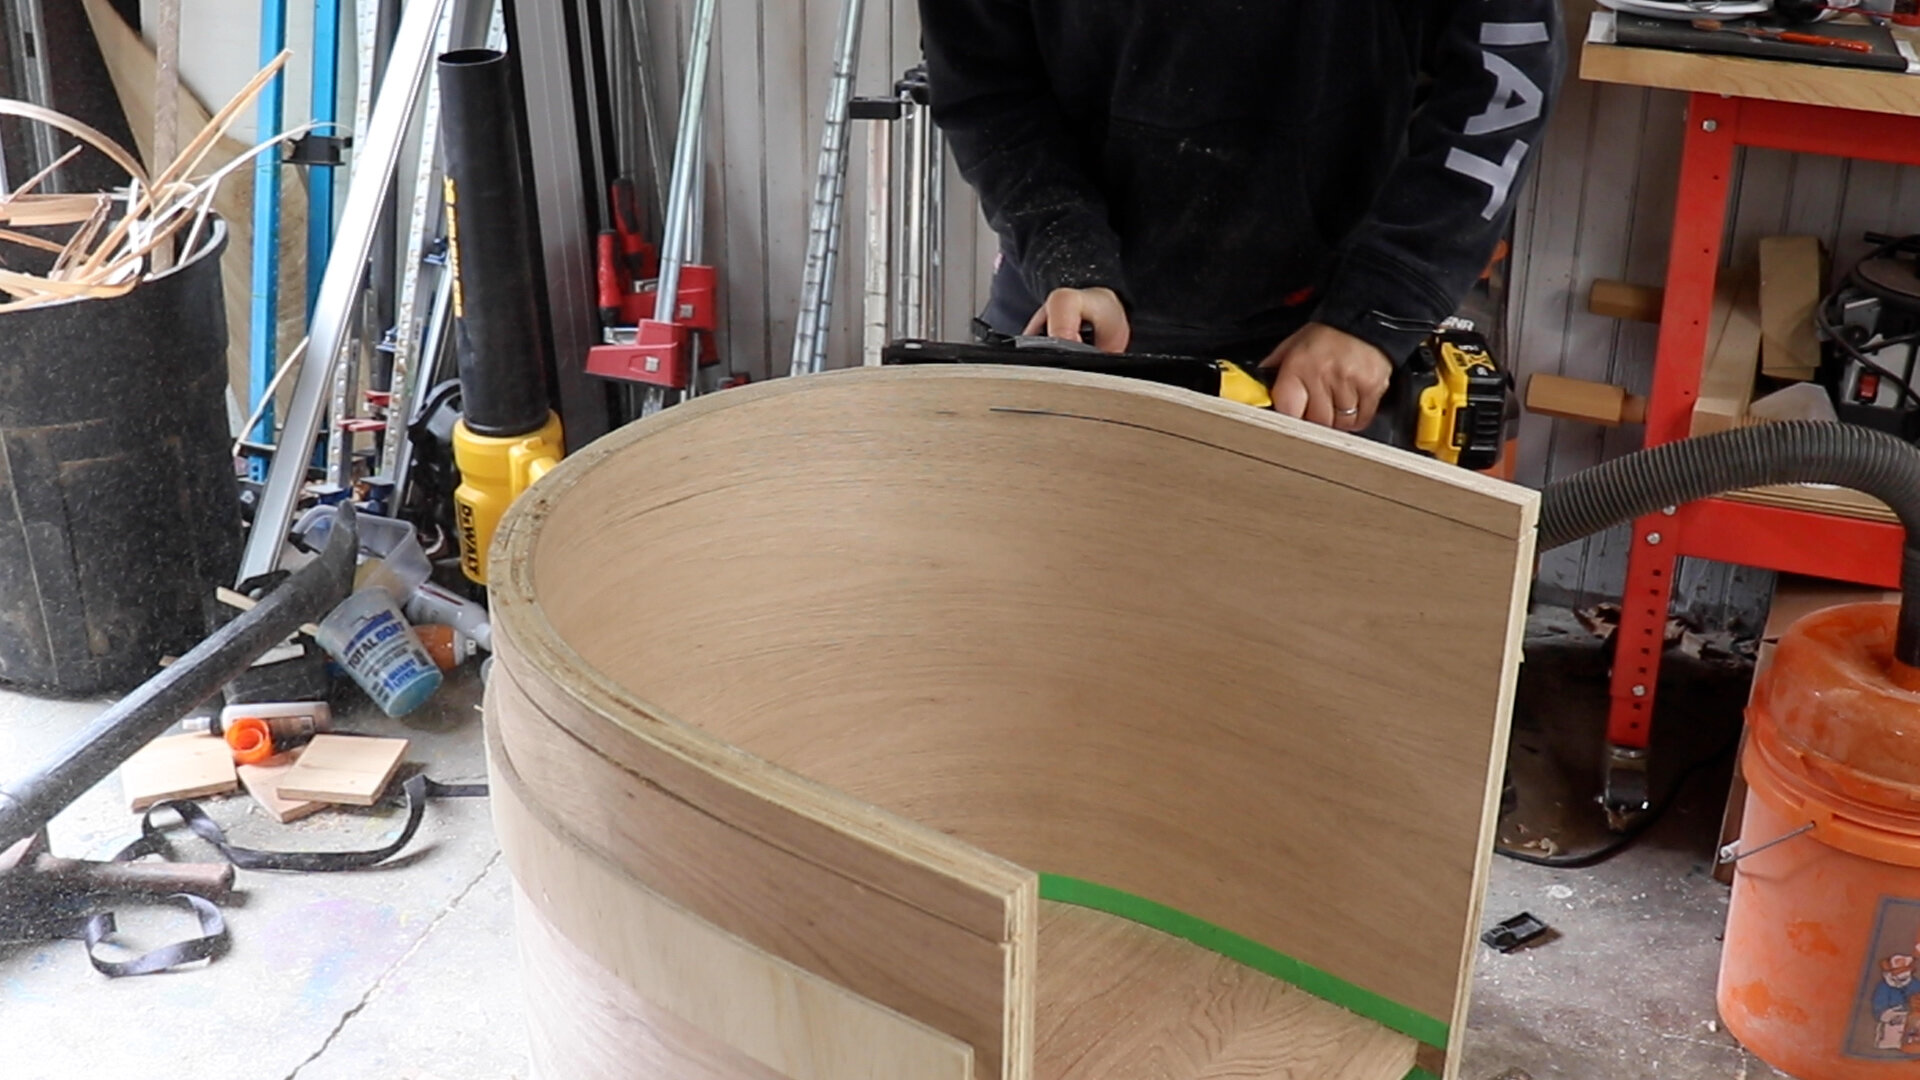
Added a curved detail at the top corners of the chair using a template.

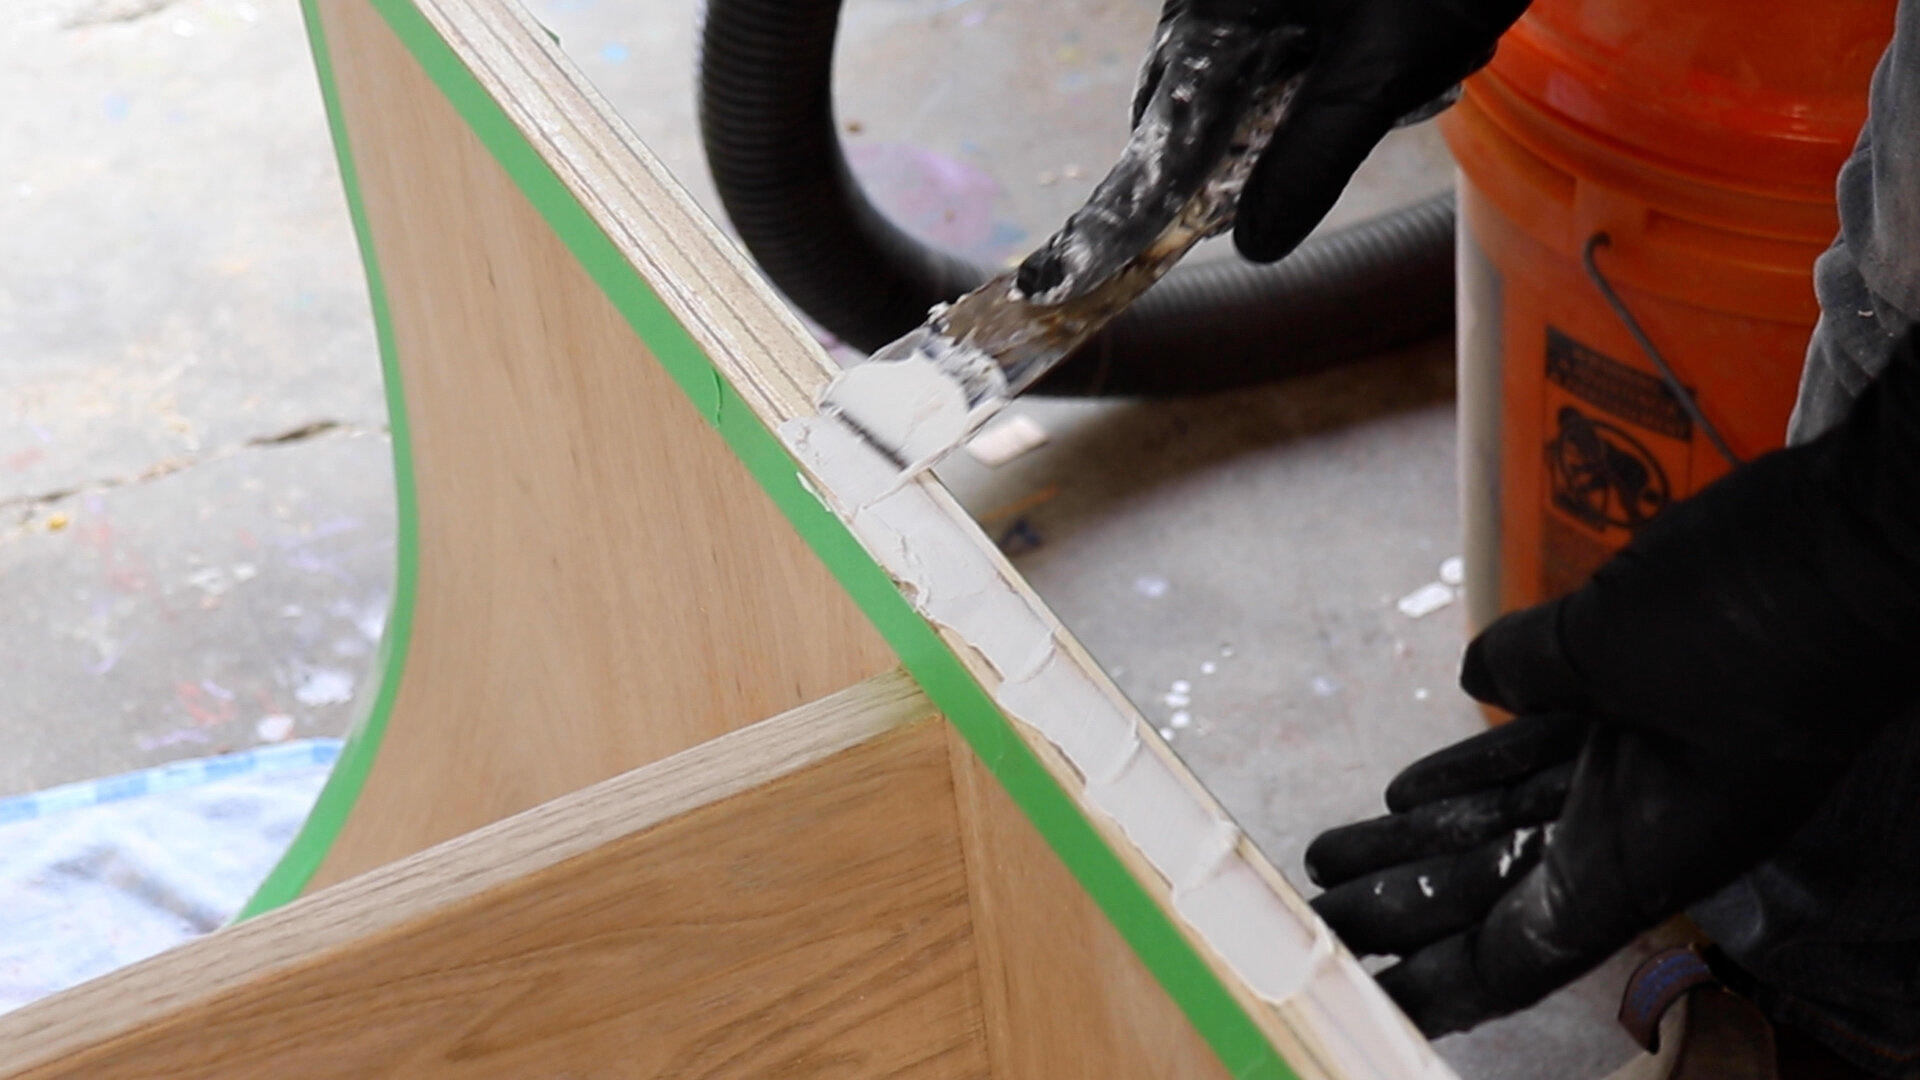
And prepared it for finishing!
I used spackle to fill in any of the voids in the plywood.
Then painted it green and applied the finish!

I am in love with how this butternut looks!

This little experiment was a huge success in my opinion! I love how this curved shape looks!

I learned a ton, and I can’t wait to apply those lessons to my next build!
