
6-IN-ONE Trim Router Jig
I was planning on making a video showcasing a few different essential router jigs, then I thought… what if I made ONE jig that can do ALL of those essential things? So here is the 6-IN-ONE Trim router jig!
Check out the full build video below to see how it all goes together!
Or you can purchase the jig already made from my shop here - 6-in-1 Universal Trim Router Jig
*Links below are affiliate links, I get a small commission if you click on them at no extra cost to you ;)
DOWNLOAD THE TEMPLATE AND PLANS BELOW!
6-IN-ONE ROUTER JIG TEMPLATE
WHAT YOU’LL NEED
Template
12 x 24 Acrylic Sheet @ 1/4” thick
Jig Hardware Kit
Router
V-Groove Bit
1/4” Bit
1/2” Bit
Forstner Bit Set
(Alternative to Jig Hardware Kit)
After printing out the template and plans above, cut off the excess printer margins then tape it up.
It’s easy to align all the pages on a window.

Before drilling use an awl, or something sharp and pointy, to mark the center of all the crosshairs.
This will ensure that you drill the holes in the correct spot.

This step is optional, but run a V-Groove bit along the crosshairs on two of the Extension Feet.
While this step is going to make lining up for circle cutting easier, it’s not a necessary step.
All of these steps are written in the plans!

Drill all the 1/8” holes indicated on the plans.
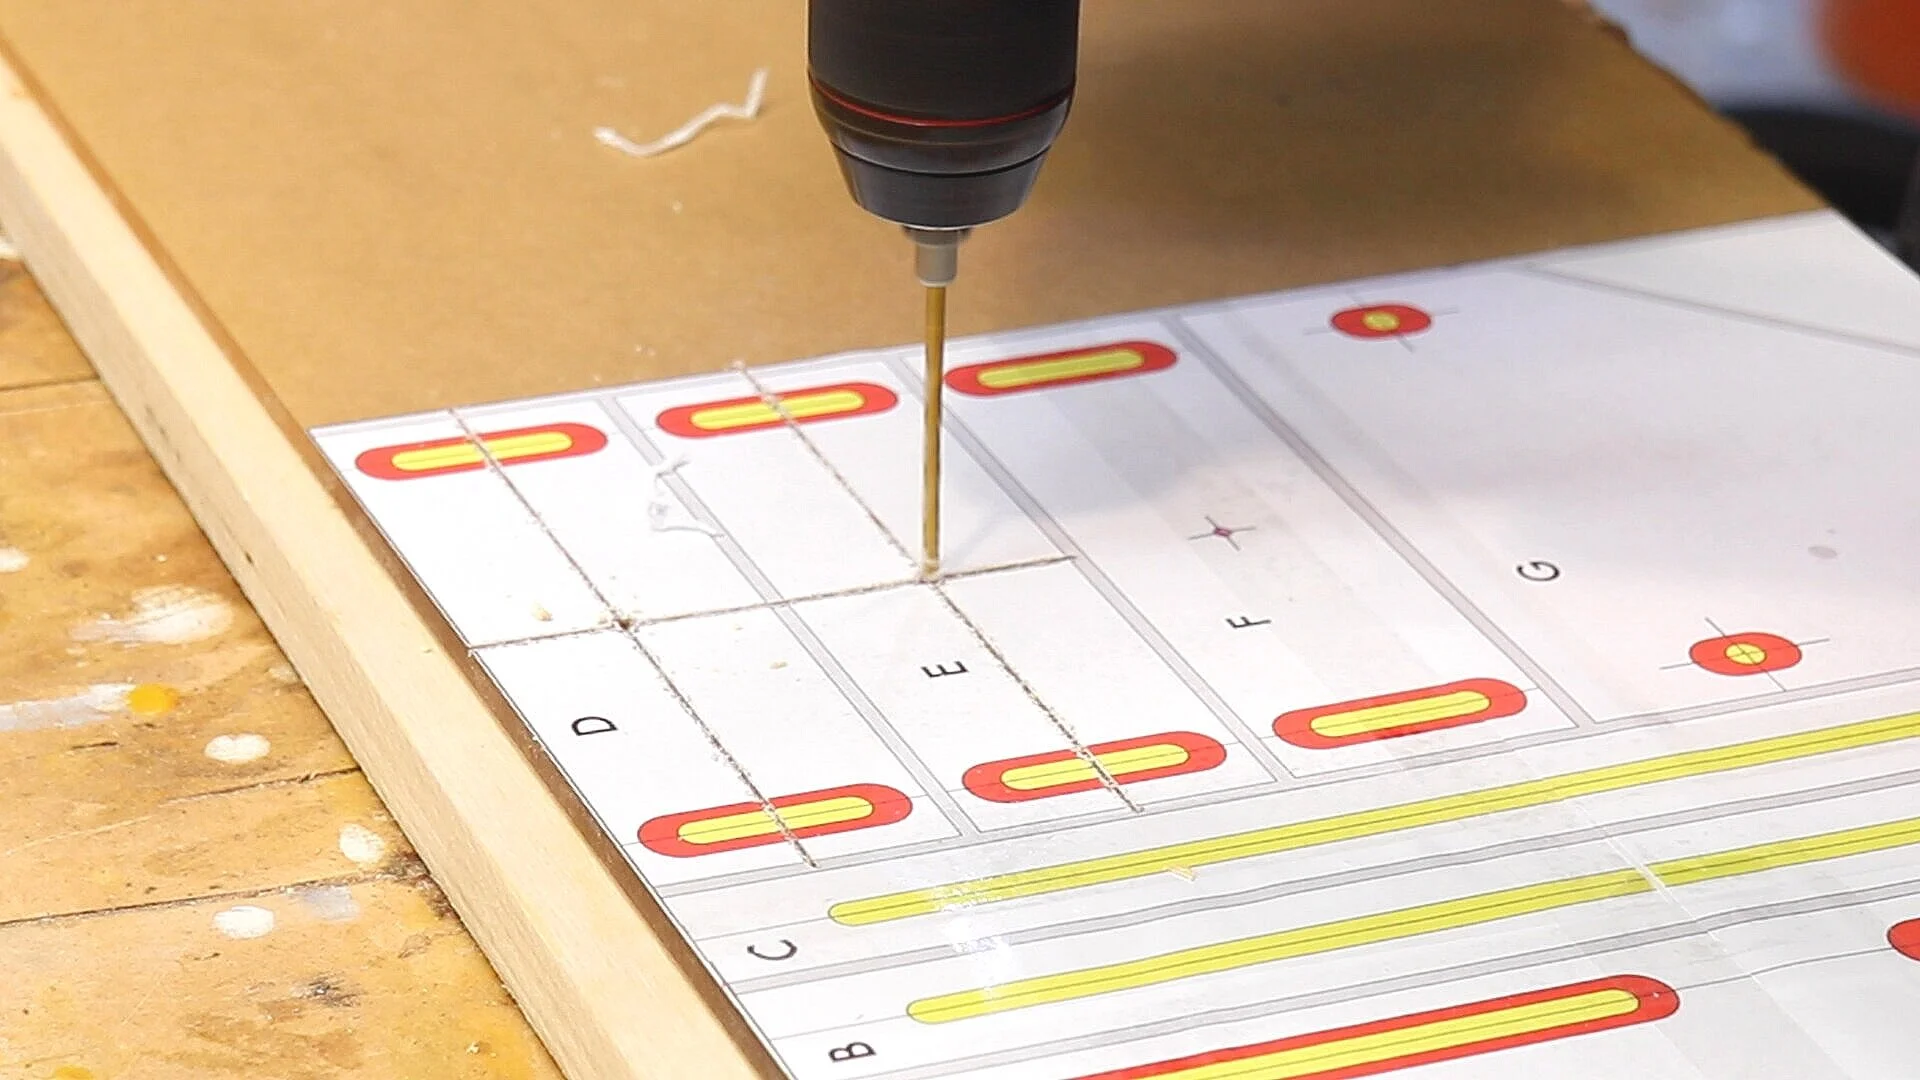
Then drill the 1/4” holes marked on the plans.

Now’s the fun part!
Take a straight edge and route 1/4” grooves on all the yellow marks indicated on the plans.
These grooves should go all the way through the material, to be safe, you can do this in two passes.
You can also do this on a router table if you have one!

Then make a recess with a 1/2” bit on all the red marks on the template.
These cuts will not go all the way through, they should only be as deep as the thickness of the head of the T-Bolt you are using.

Now cut all the parts to size!
All the cut lines are indicated as gray lines on the template.

Mark out the hole locations from your own router baseplate.

Drill 1/4” holes on all those marks.

Then countersink on those locations using a 1/2” forstner bit.
Make sure you drill deep enough that the head of the screw will not be poking through the bottom of the base but you should not drill all the way through.

Now with a smaller 1/4” drill bit, drill all the way through those holes.
Repeat the same process for the handles.

Drill out a large hole that is big enough to clear the largest router bit you will use for this jig. I used an 1-1/4” bit, but whatever you have that’s large enough is fine.

Attach the handles in the countersunk holes using screws.
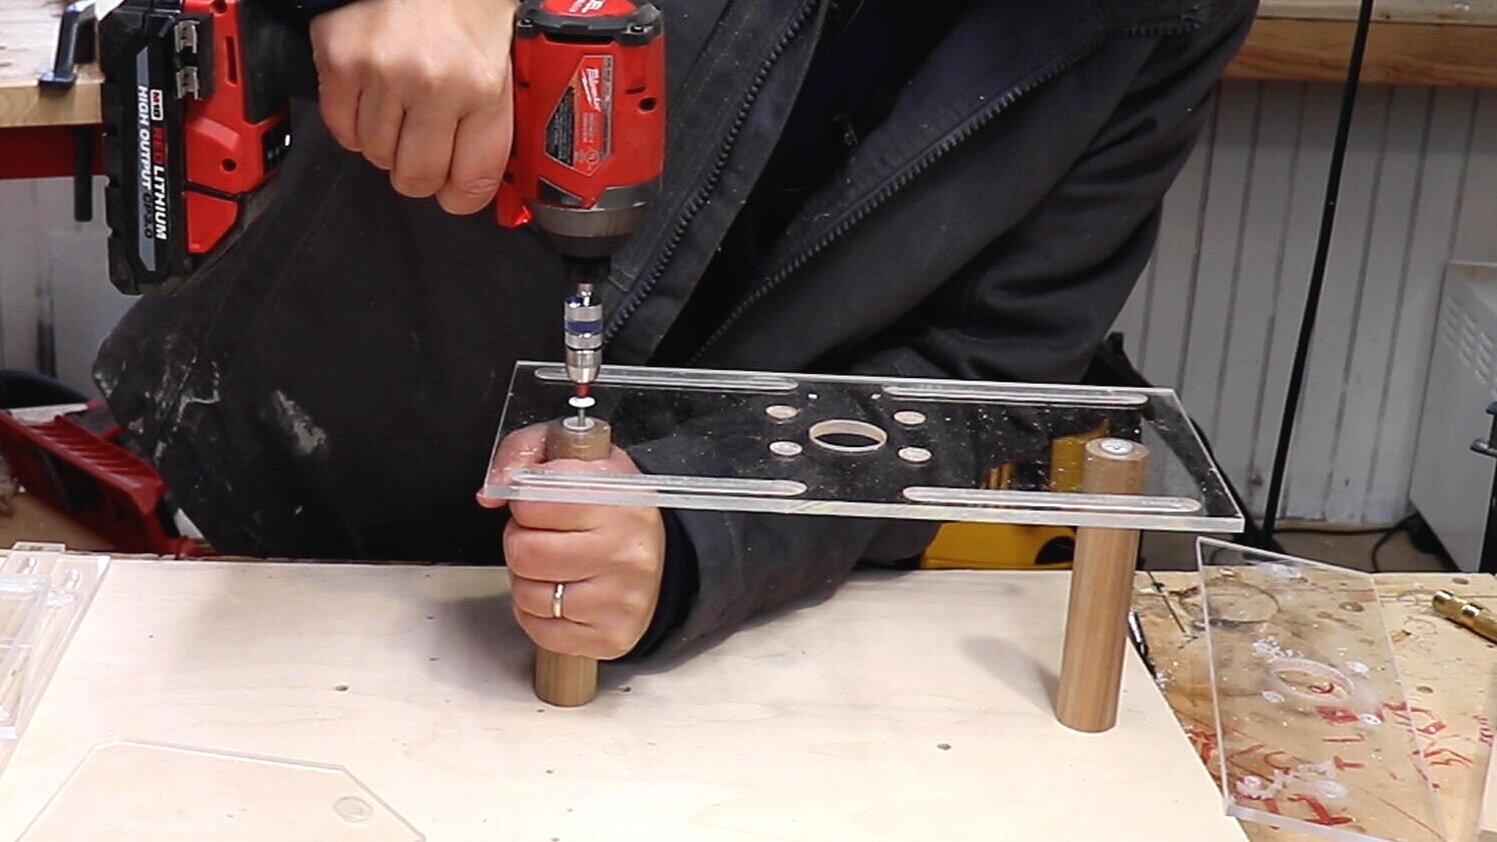
And attach your router to the baseplate!

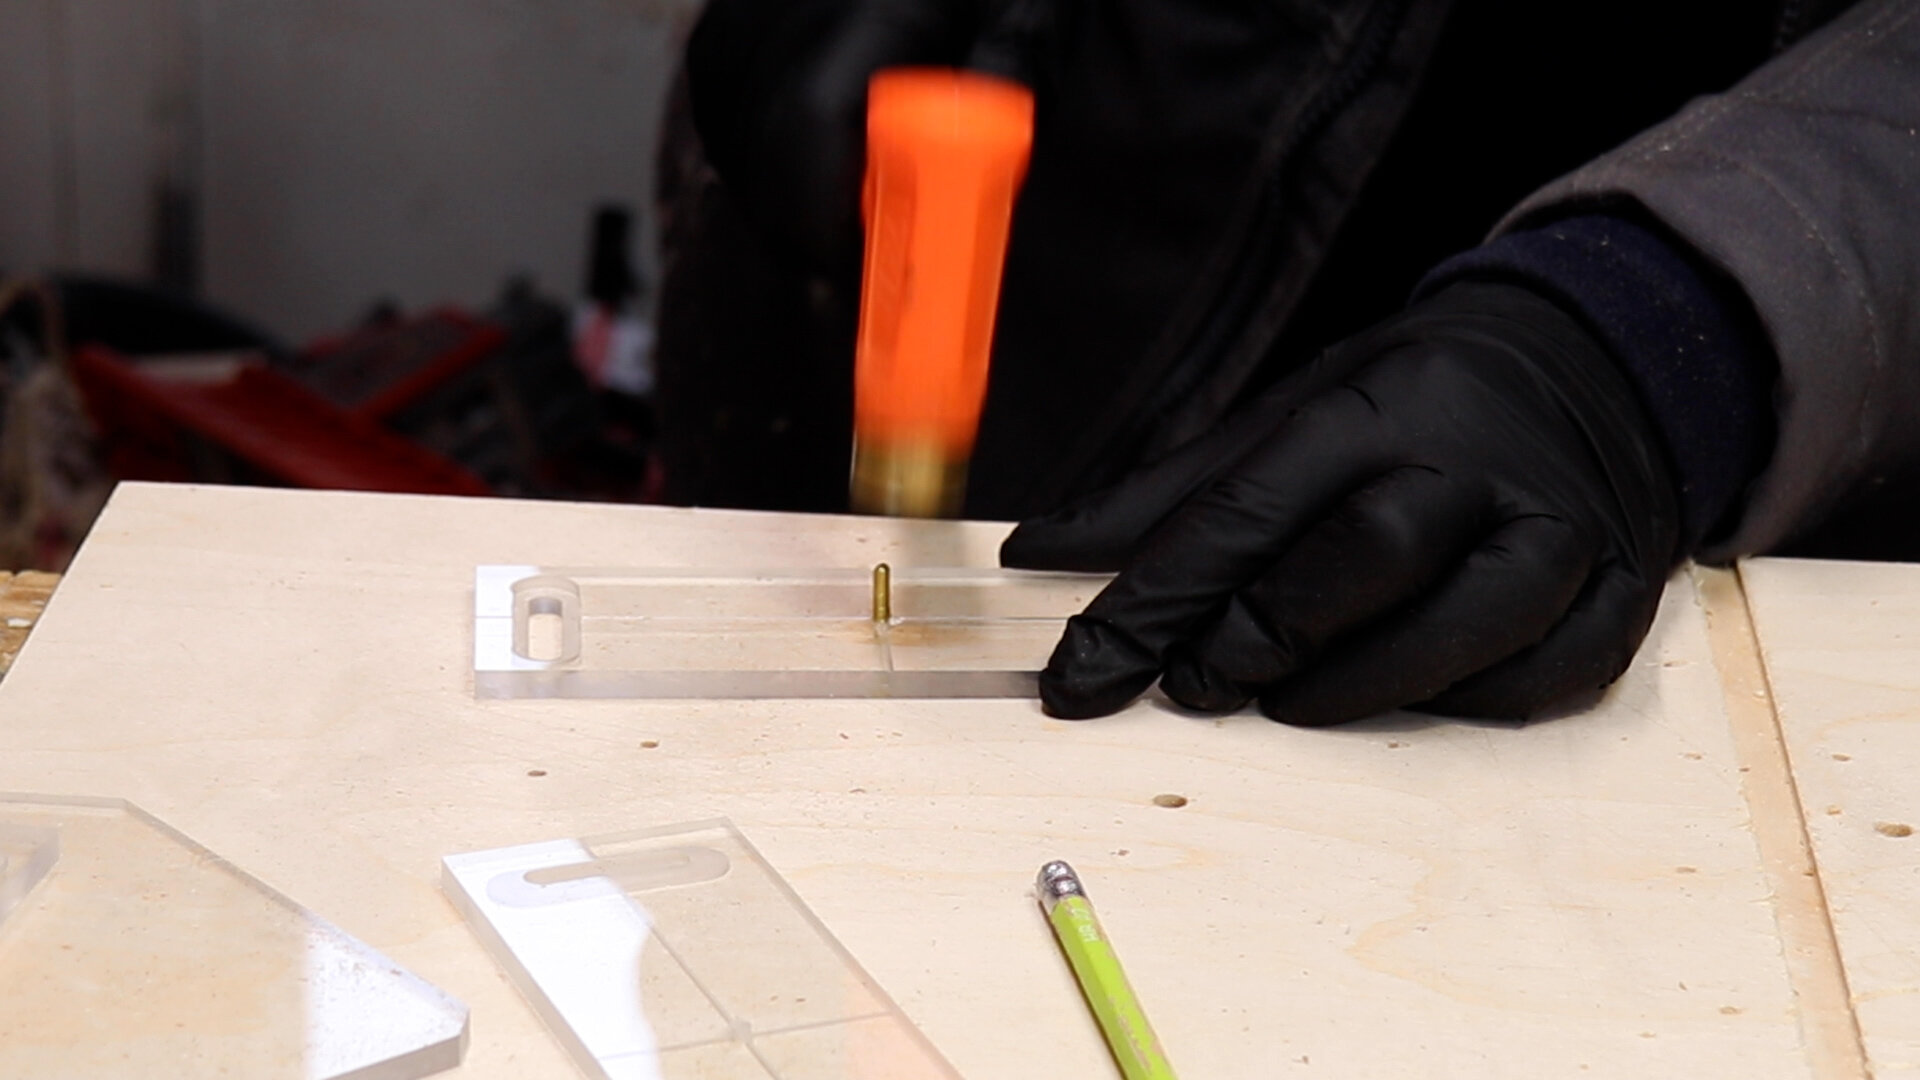
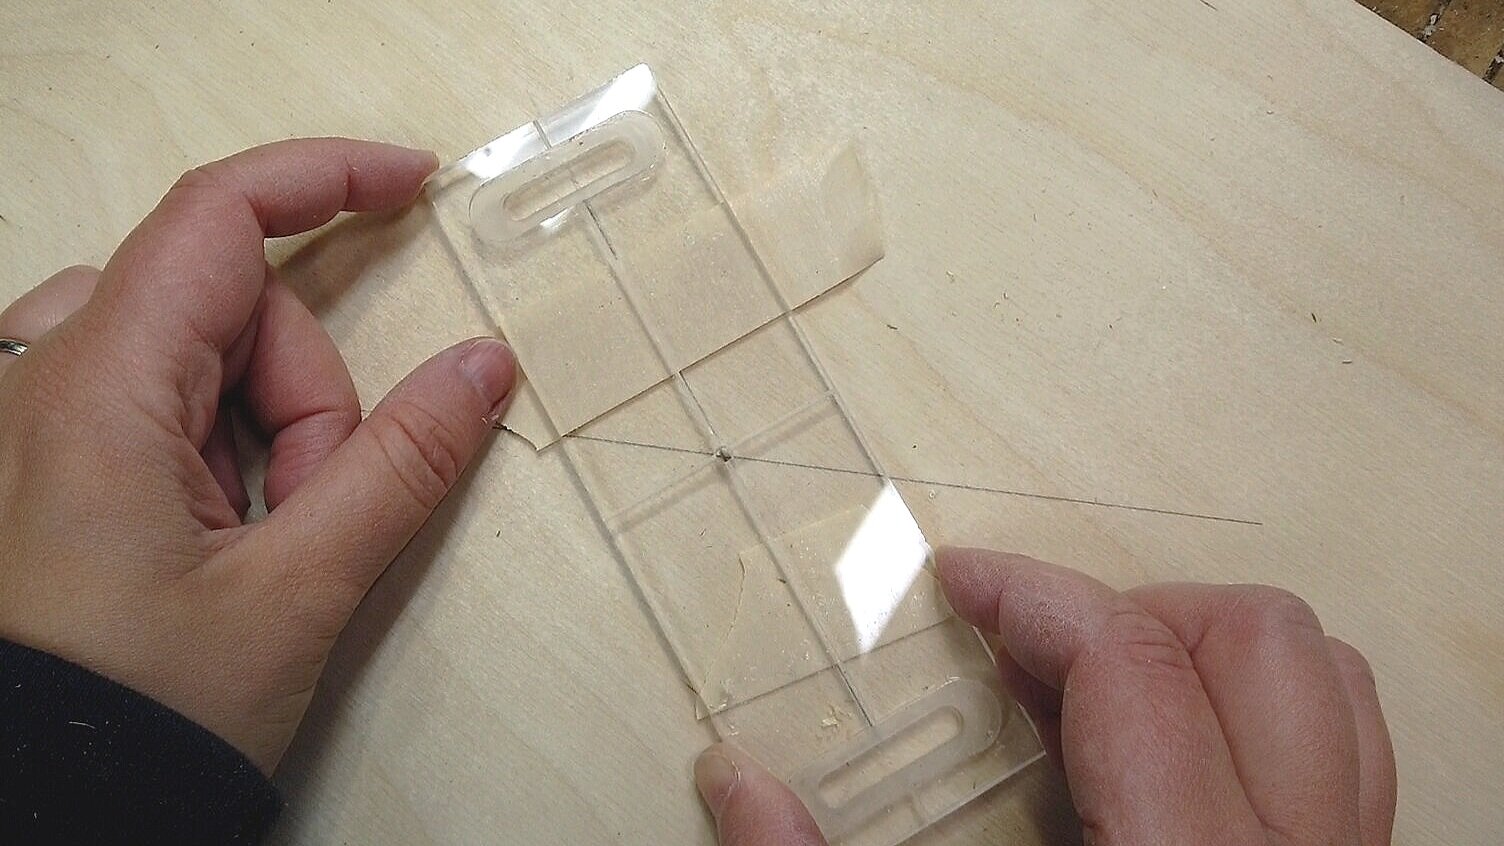
Last step is to glue a metal pin into one of the extension base pieces.
This is a 1/4” pin that should be 1/2” long.
And it’s done!
Here’s how to use it!
1 - Don’t attach any of the extra pieces and you have more control when you are freehand routing.

2 - Put on a couple base attachments and you can flush up inlays or proud joinery.
That walnut dowel is completely flush and the plywood around it did not get marred at all. awesome.

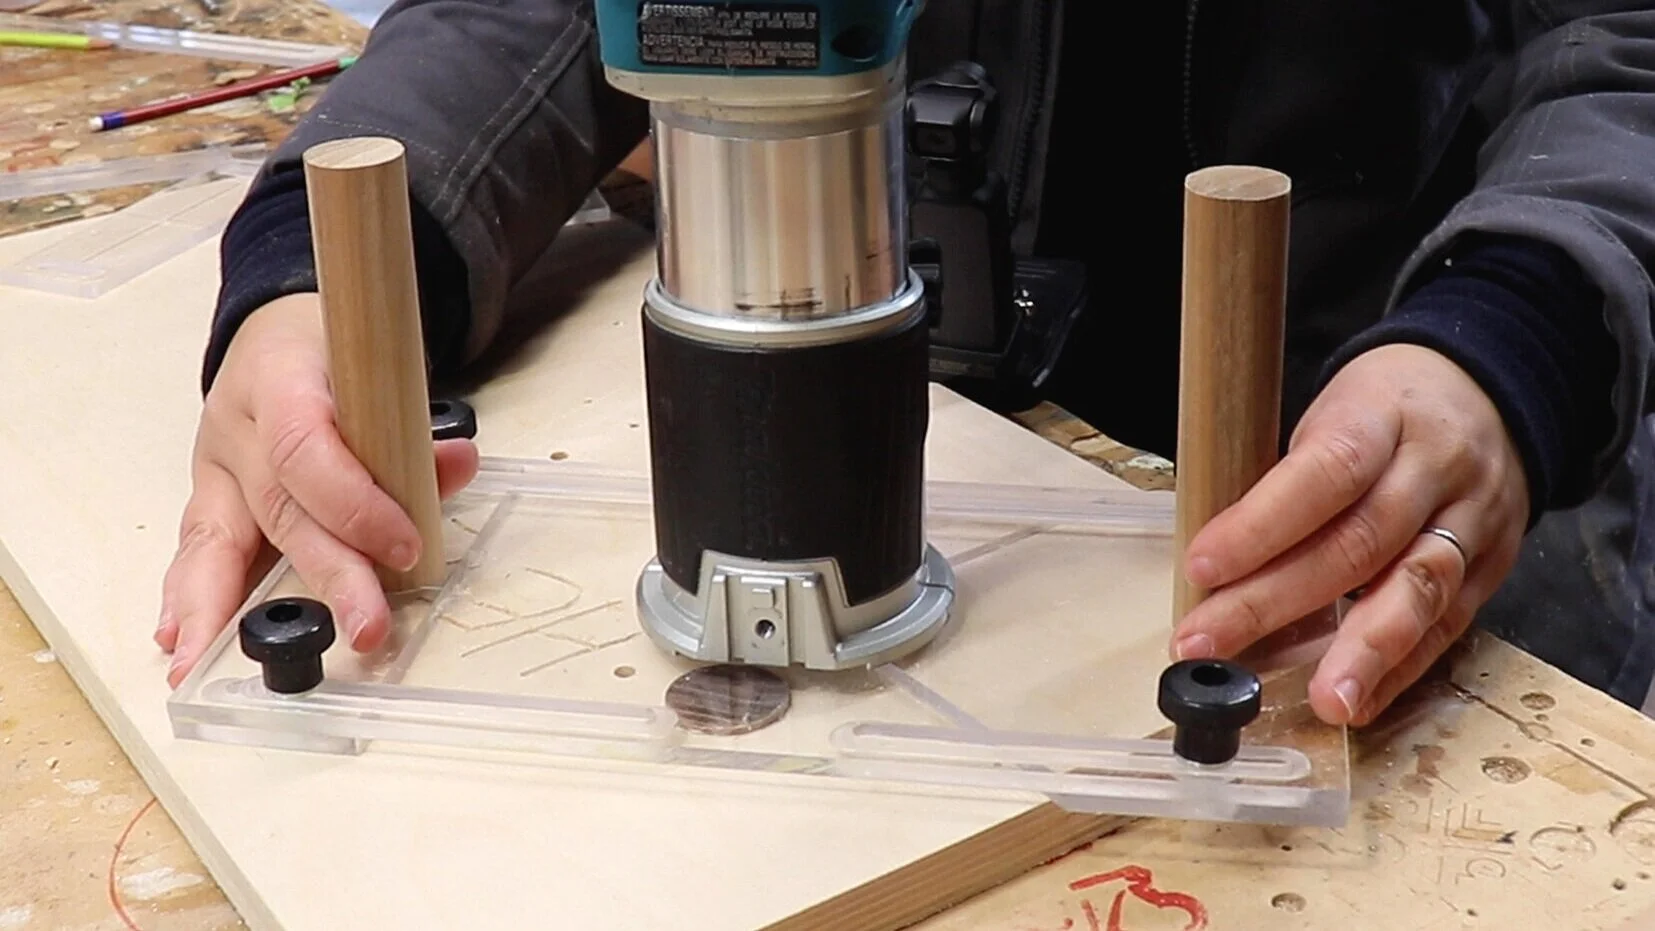
3 - Add on ALL 4 of the base attachments like the picture below and you can easily and safely trim edge banding.

This prevents the router from tipping in either direction so you won’t mess up your hard work.
You can also use this feature to flush up dovetails or box joints that are protruding.

4 - Add on any base attachment you like as an edge guide to make mortises, dados or grooves!

You can add 2 attachments on either side of the bit as pictured above or you can just reference off of one fence like the picture below!

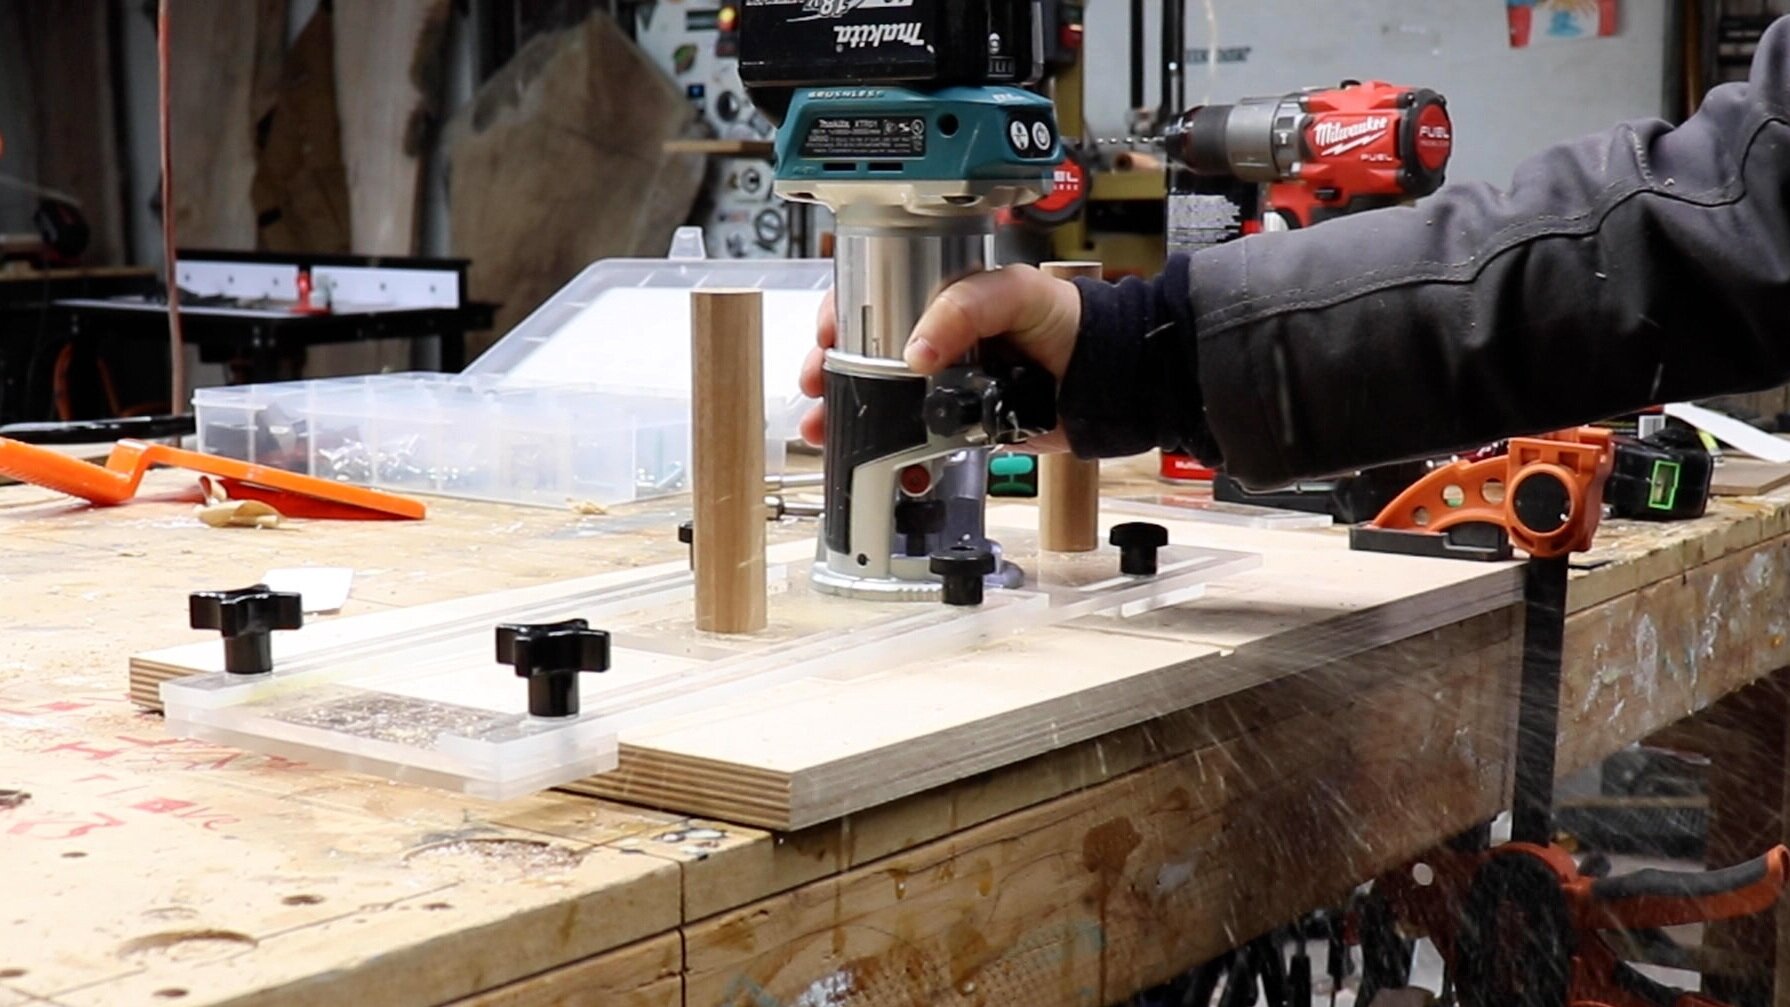
5 - You can add the extension bars to widen the base and make a longer edge guide.

Awesome.
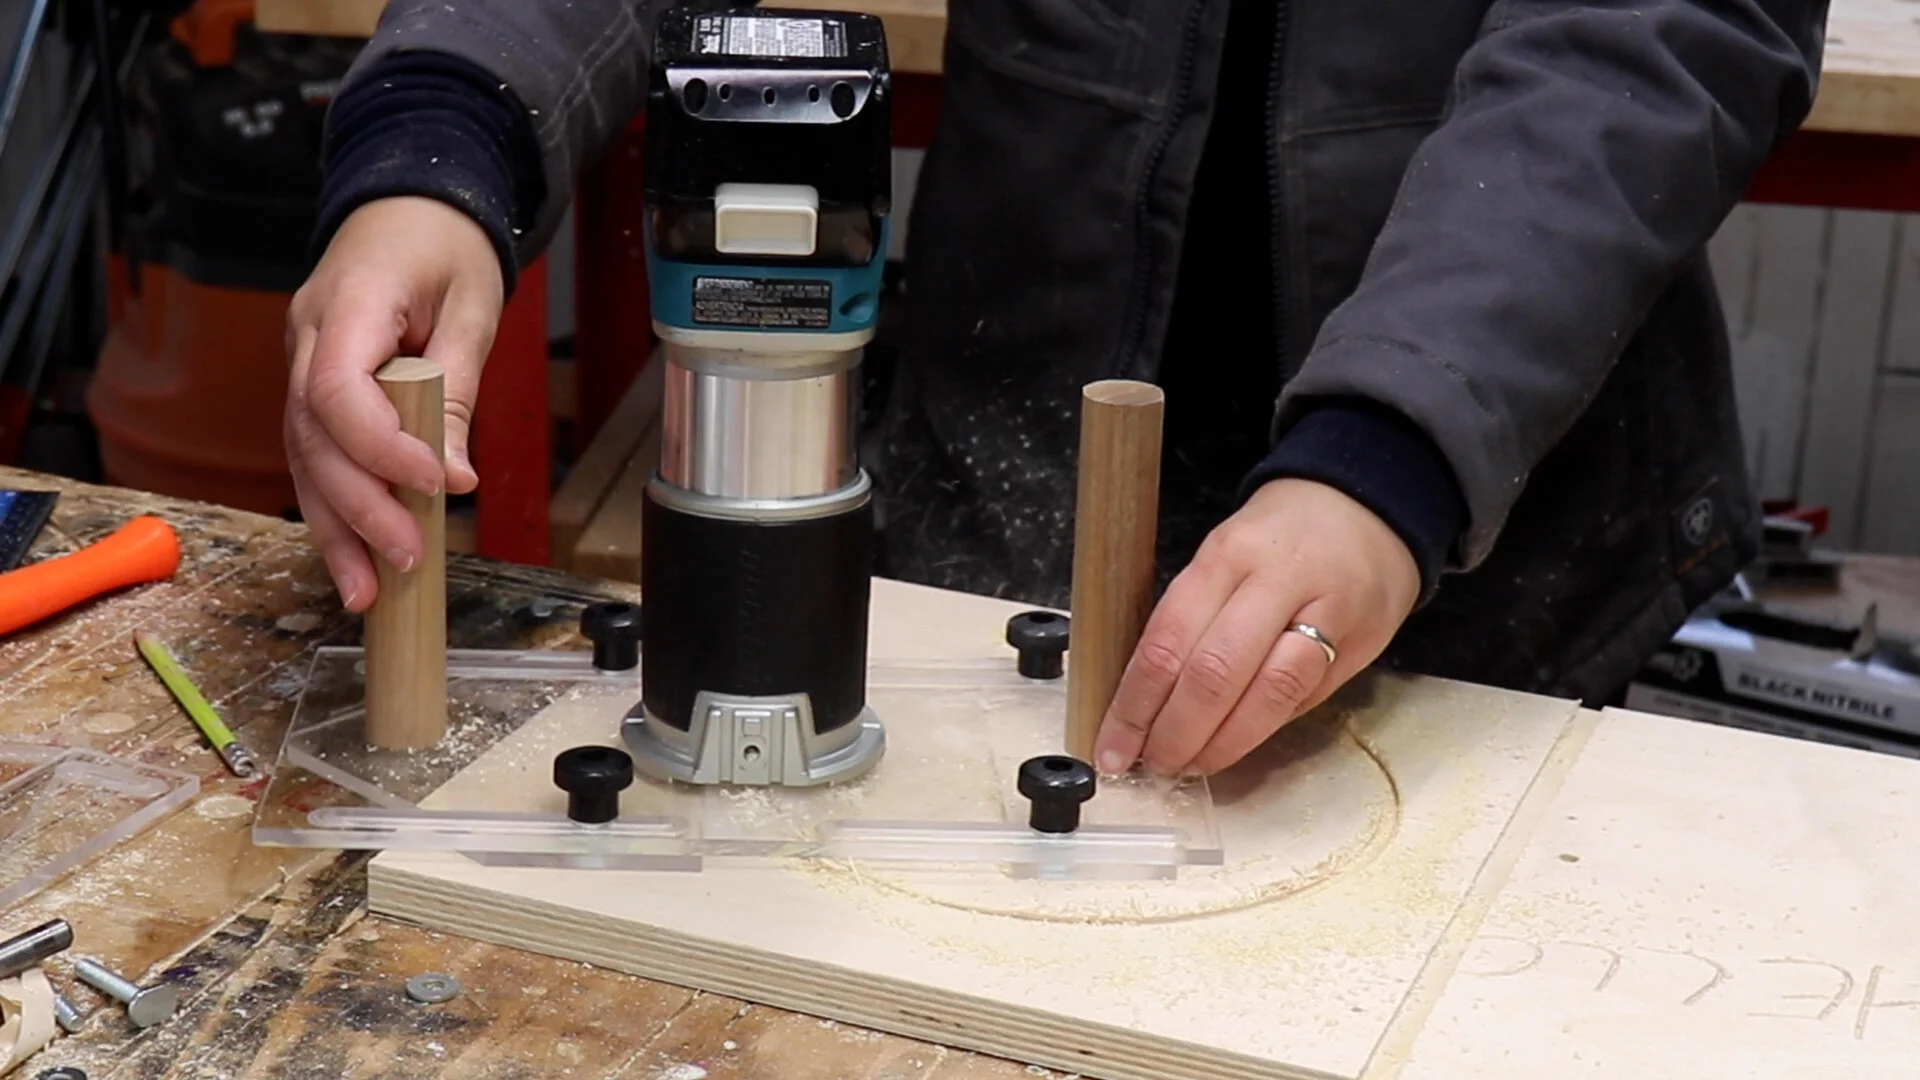
6 - Put on the base piece with the pin glued in it and you can cut circles!

You can drill a pivot hole in the center of you workpiece and rotate around it like the picture below.
OR! If you don’t want to drill a hole in the center of your work, you can use one of the extension feet that has a hole drilled in the center and double side tape that to your workpiece.
Than you can use that as your pivot point so you don’t have to mark up your work with holes!

And I am sure this jig has many more uses! I cant wait to use it on my future project to show off everything it can do!
