
Modern Storage Bench

This seasons Builders Challenge plans was this bench —> Builders Challenge Season 9 Bench.
The point of the challenge is to tweak the plans a bit and make them your own... So I switched up the design but still kept the curves and the storage element.
This bench will go in our mudroom, the bottom shelf will hold shoes and the middle storage compartment will probably change seasonally… Gloves and hats in the winter, goggles and sunscreen in the summer!
Check out the full build video below!
*Links below are affiliate links, clicking on them helps me keep this site going at no extra cost to you ;)
WANT TO BUILD THIS BENCH? DOWNLOAD THE PLANS HERE:
MODERN CURVED STORAGE BENCH PLANS
The first step is to print out the template from the plans above and mark out your lumber.
This template is the profile for the pieces that will make up the sides of the bench.

Mill up all your lumber to size.
Then rough cut all the pieces that are going to make up the sides of the bench.
I used a JIgsaw but If you have a bandsaw, I would recommend using it here!

Using the printable template as a guide, make a hard template out of MDF or plywood.
Then use that hard template to bring all the pieces to their final shape with a flush trim bit in a router.
If routers aren’t your thing, you can always just shape the sides with a belt sander after the glue up…

Glue up all of those individual pieces to make the two sides of the bench.

While the glue is drying, rip two pieces for the stretchers.

And rip thinner material into strips for the storage lid.

Then glue those strips together for the storage lid.
Make sure this is oversize for now so you can trim it to final length after the glue up.

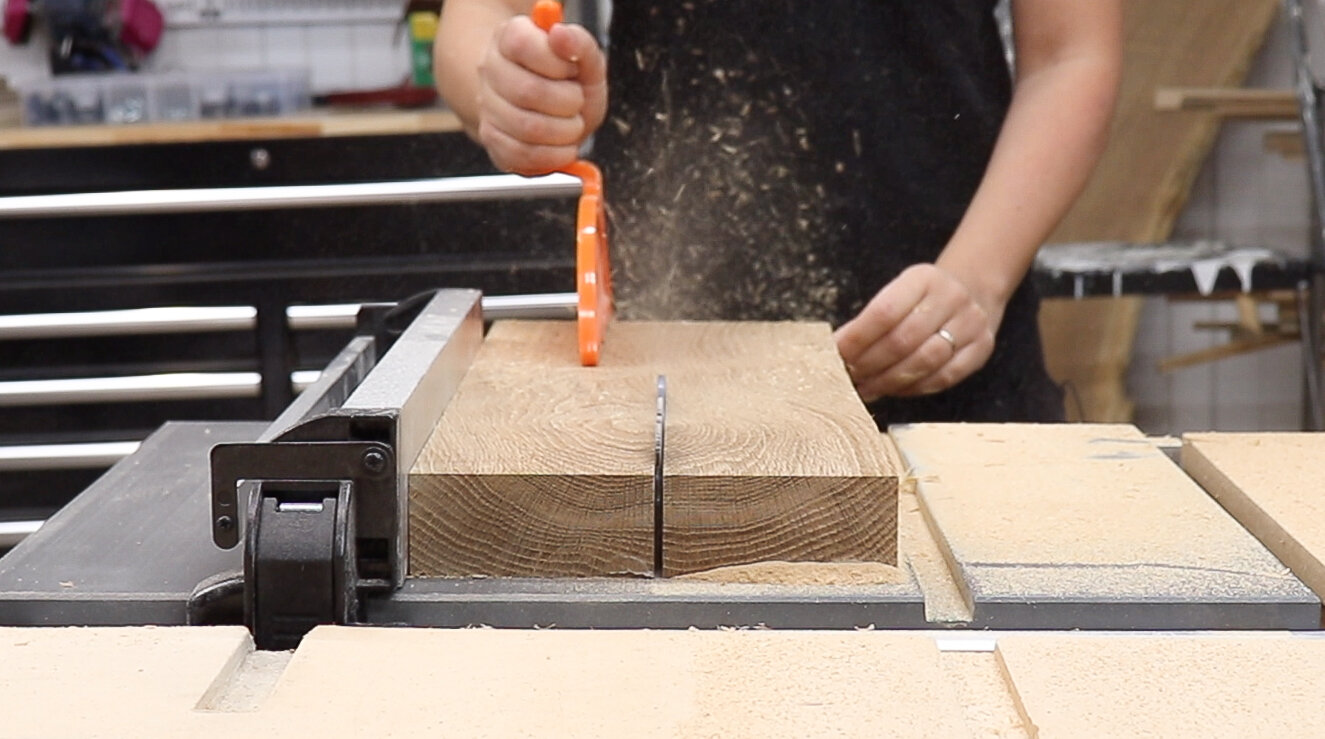
Cut the stretchers to their final length and it’s time for some joinery!
(Interested in that cross cut sled? Check out that post here - Multi Function Cross Cut Sled)

To join the stretchers to the sides I decided to go with dowels but you can choose any joinery method you prefer!
To make the dowel joinery easier, I made this little jig... It consists of 2 pieces that are perfectly square to each other (I joined them with CA Glue) and the long piece is the exact thickness of the pieces of the bench.

To use the jig, I just need to flush the edges up and tap the nails into the wood.
The nails, will make little points in the wood that will act as guides for where to drill the holes for the dowels.

I used this jig on the side pieces and on the end grain of the stretchers.
Using a jig like this makes it easier to mark out all the holes for the dowels to make sure they will all be in the same location on all the pieces.

When doing this method of joinery it’s important to use a brad point bit so the tip of the bit can be aligned with the points made by the nails in the previous step.

I also used a drilling guide block to keep the holes as straight as possible.
I drilled in the sides of the side pieces.

And into the end grain of the stretchers.

Next drill out the holes that will hold the tubing for the shoe shelf.
I chose to use brass tubes which you can find here —> Brass Tubing
But it would also be cool to use dowels in contrasting wood or steel tubing like DIY Huntress did on her waterfall bench —> DIY Huntress Waterfall Bench

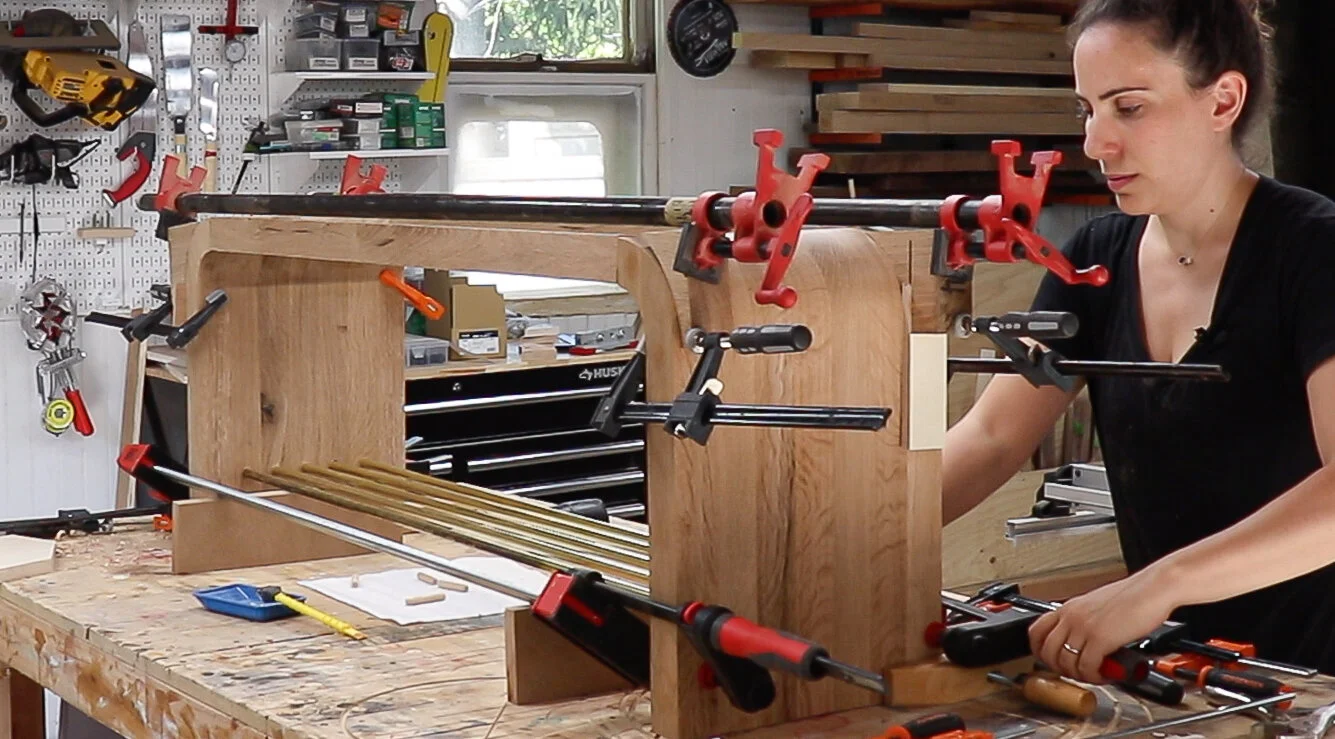
The frame of the bench is now ready for glue up!
Attach the stretchers to the side pieces and install the tubing in the bottom holes.
This glue up was a bit stressful, it definitely helps to do a dry run before actually applying glue.
While that dries, trim up the storage lid. Trim off about 1/8” from each side and cut it length so it fits the opening with an 1/8” reveal all around.

The main frame of the bench is all done, time to focus on the storage compartment.
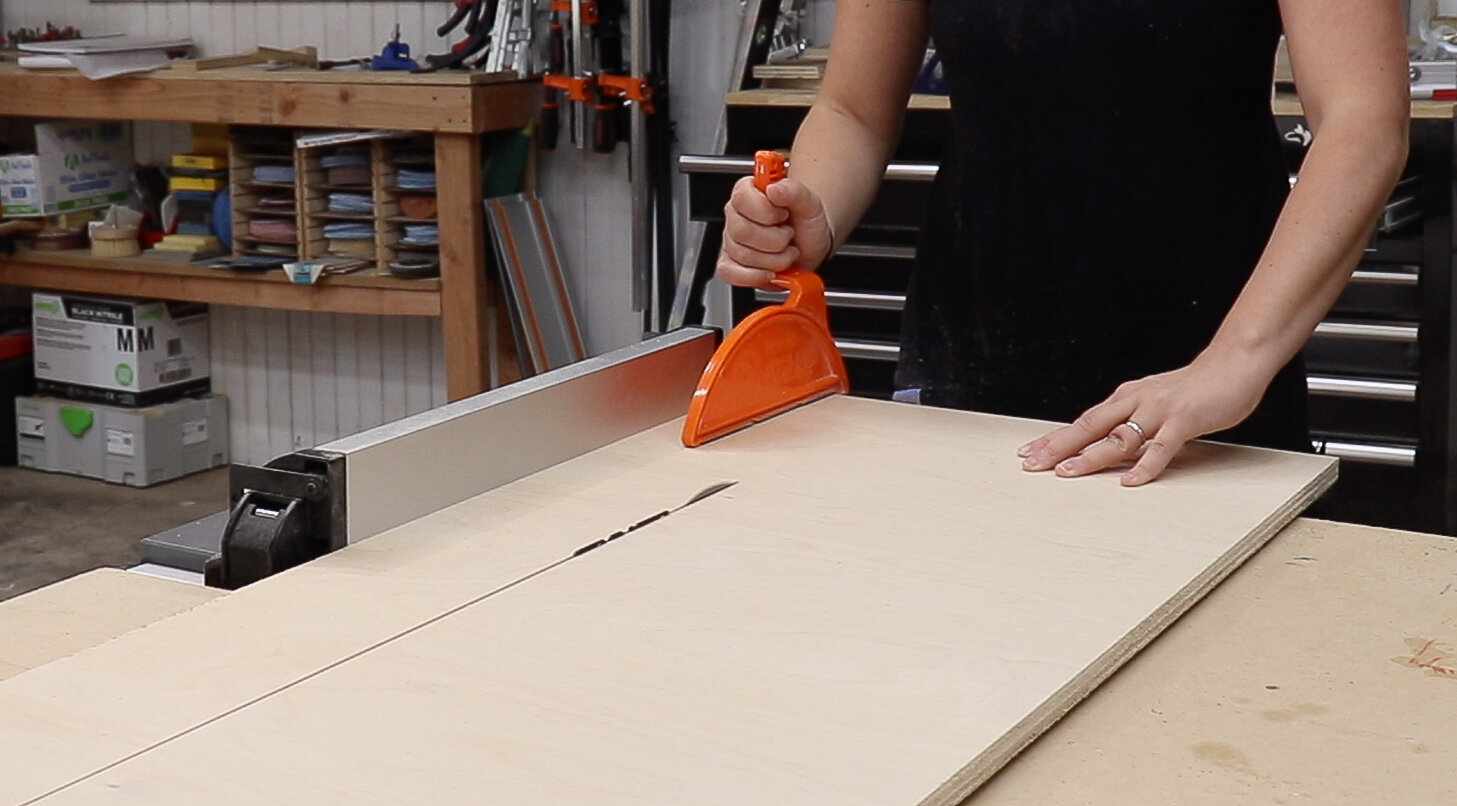
Rip the plywood into strips, this will determine how deep the storage compartment will be.
You will need 2 pieces for the front and back and 2 pieces for the sides.
The storage compartment needs to fit under the curve of the bench, so lay it under the main frame of the bench to mark out the curves.
When doing this, make sure to use a spacer thats the same thickness as the lid at the top of this plywood piece to make sure you are marking it in the correct location.

Then cut out that curve using a jigsaw or a bandsaw.

I chose to make grooves on the bottoms of all the compartment pieces to hold the bottom.
You can also just use glue and screws.

This next step was probably not necessary, but I added a slot on the ends of some small pieces of plywood that are going to be used as a connection of the storage box to the main frame of the bench. This was just helpful for alignment.

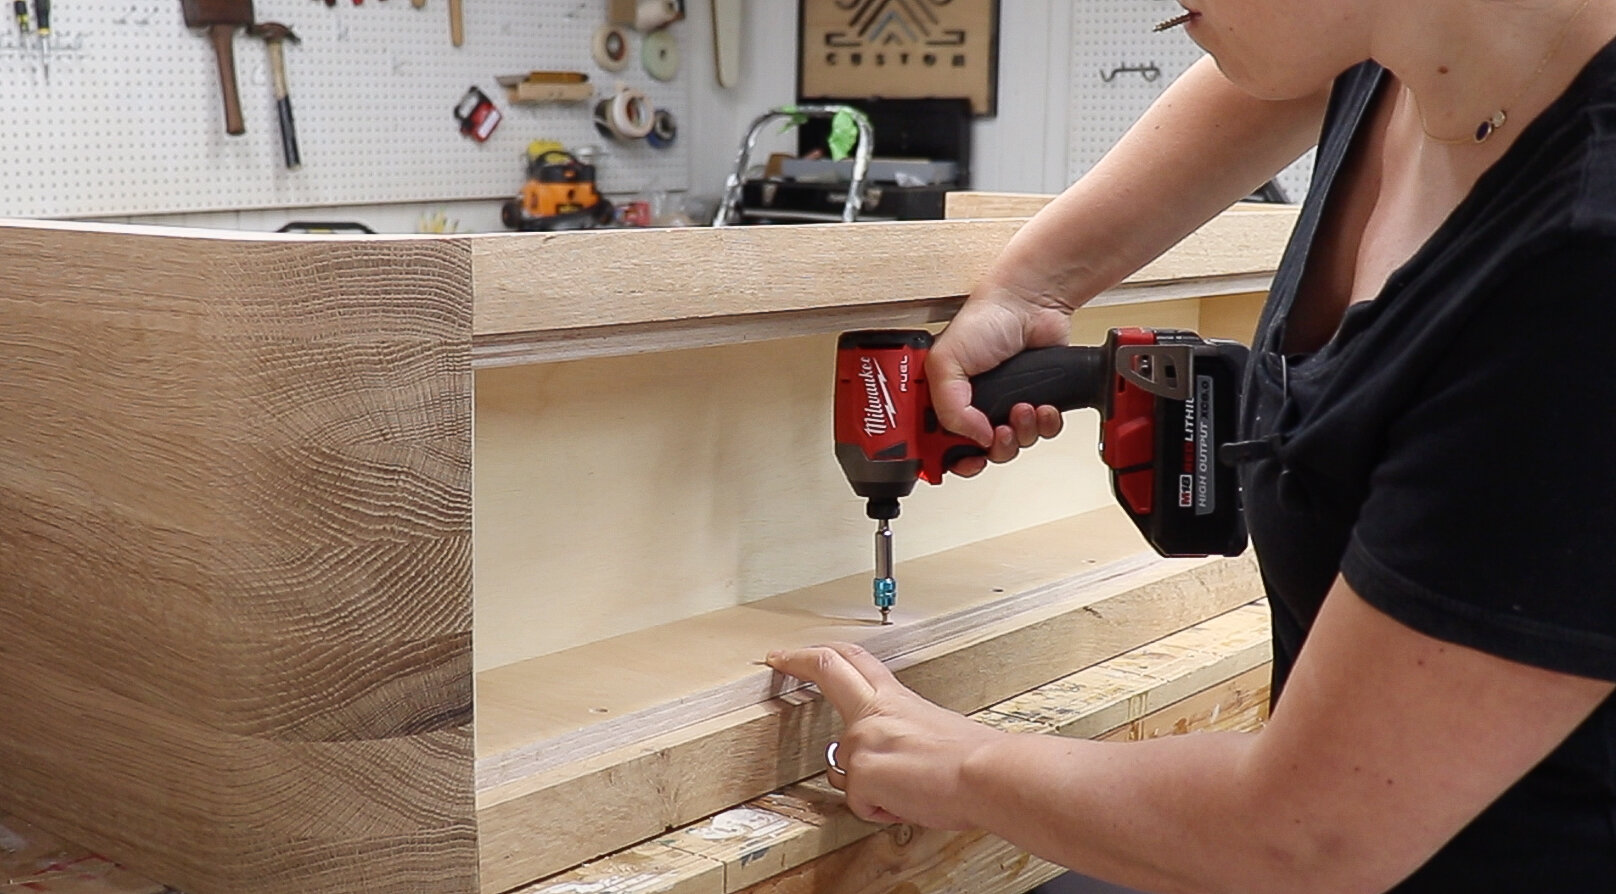
Then I drilled pocket holes on both sides of that connector piece.

Before assembling the storage compartment I predrilled and counter sunk some holes on the top edges of all the parts to make attaching it to the main frame easier.

Then I assembled the storage compartment using glue and screws.

The last little bit of the storage box assembly is the connector piece.
I glued plywood splines into the slots I made on the ends in an earlier step, slid it into place and locked it to the storage compartment with pocket hole screws.

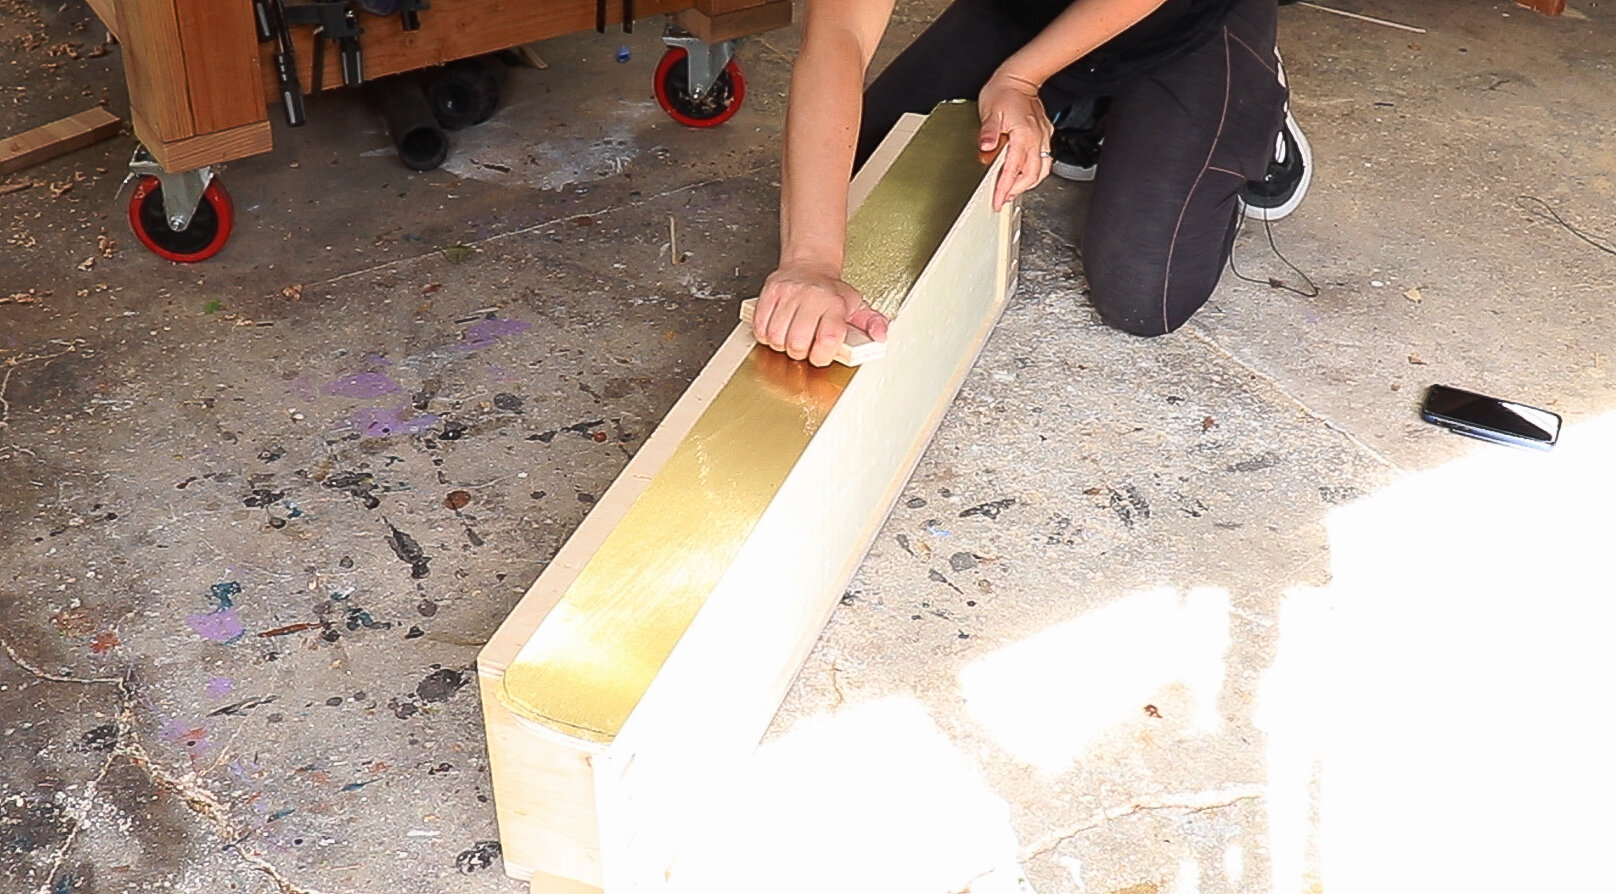
I chose to cover the front of the storage compartment with a brass veneer.
I used contact cement on both parts then pressed in in place.
This is a super cool look, but it would also be cool to paint it a contrasting color.
Slide the storage compartment into place between the main bench frame.
You can use spacers that are the same thickness as the lid to make sure it is in the correct location.

Then lock it into place using screws in the holes drilled out in a previous step.
Flip it over and lock the bottom into the sides using pocket holes through the connector piece.

Make some plugs to cover up all the screw holes, glue them in and cut them flush.

The lid needs a relief cut to be able to lift it up.
I rough cut out a shape with a jigsaw then used a template (from a previous project) to flush trim to final shape.

Then I used a cove bit with a bearing to round out the underside of this pull to make it more comfortable to lift.

I used this hinge jig to help with installing the hardware, and I totally recommend it!

This was my first time installing this particular hardware with lid stay and I am really impressed with it.
The instructions were a bit confusing, so I did a mock up on some scraps to make sure I was installing it correctly on the actual project.

Then I added a 5/8” round over to all the sides of the main frame.
This is a really large round over, but I think the look is super cool.
I probably also should have done this before installing the lid hardware…

Last step is to finish!
White oak tends to turn orange with oil based finishes… not the look I was going for here.
So I used Rubio Monocoat in Cotton White to balance out and neutralize that orange color.
Just rub it on and buff it off.

And it’s done!

My daughter was the most excited about this bench (she actually helped with the design a bit), she needed to test out if it was comfortable to sit on while putting on her shoes, and it passed the test!

I’m so excited about the storage lid here, no more scrambling running around looking for winter hats or gloves. They will be right where they are supposed to be! In the bench!
This soft close lid is a really cool feature and I am really happy my kids won’t be able to slam the lid on their fingers. (Or slam the lid in frustration, ha.)

While the brass is such a cool look in my opinion, I think it would also really make an impact if this storage compartment was painted in a cool color or design.

This was such a fun build to figure out, I hope you guys enjoyed and figure out ways to make it your own!

See you on the next project!
