
Hand Tool Sharpening
I just got some new hand planes, so I figured it was a good time to post about my sharpening process. I have also been meaning to make a sharpening stone holder for a while now, so I will go over that as well…
This is what works for me right now, it’s different than what I did a year ago and I might make some changes in the future too! What I am trying to say here, there is no right way to do this! There is just a way that works for you at that moment.
Check out the video below for more details!
Links below are affiliate links, I get a small commission if you click on them, at no extra cost to you ;)
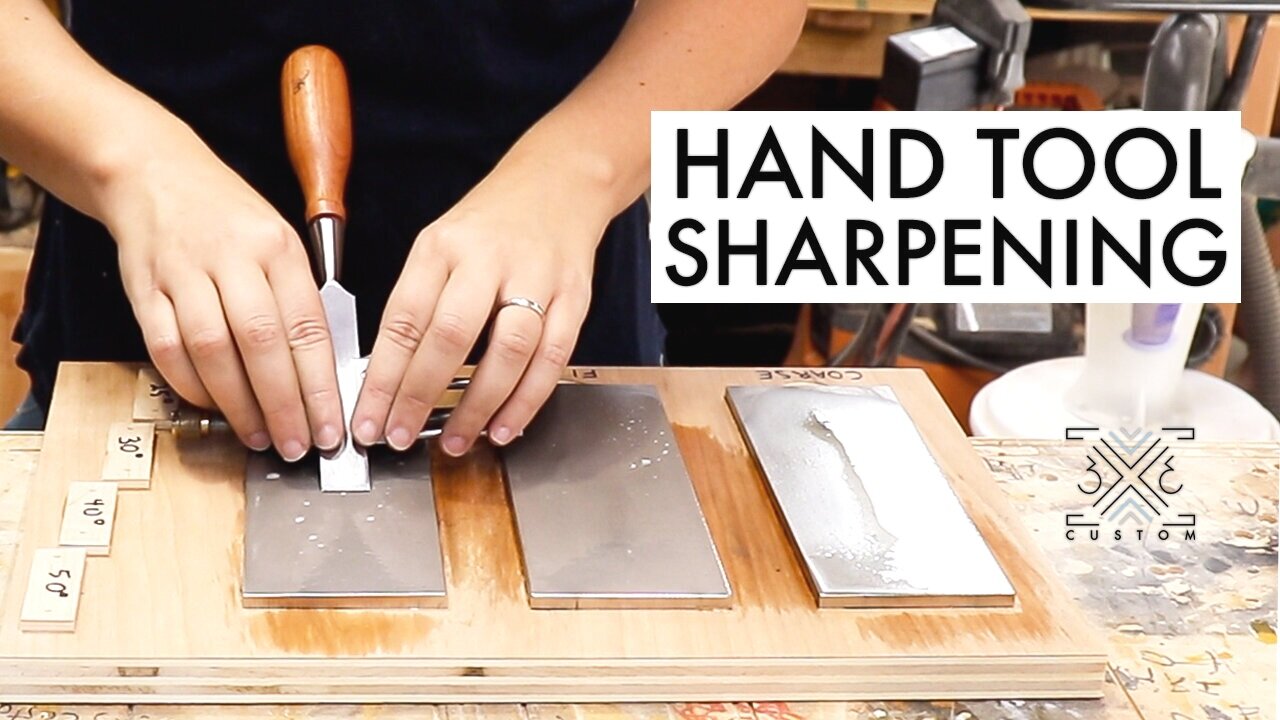
I use diamond stones to sharpen. I used to use water stones, but I found the maintenance to be cumbersome and messy… so I just stick with diamond stones. I use the Coarse, Fine, and Extra Fine stones which are equivalent to 300, 600, and 1,200 grit. These stones could get pricey but you only have to buy them once…
I know a lot of people go to much finer grits, but I follow Paul Sellers’ method of sharpening, and he doesn’t go above 1,200. Just strop after and it works great!
To make the holder for the stones, place them on a scrap piece of 3/4” plywood and traced around them with a marking knife.

Then clear all the waste between those markings. I did this with a router.
These recesses only need to be about 1/8” deep to hold the stones.
Instead of making recesses like this, you can also just attach thin strips of wood or plywood around the stones to keep them in place.

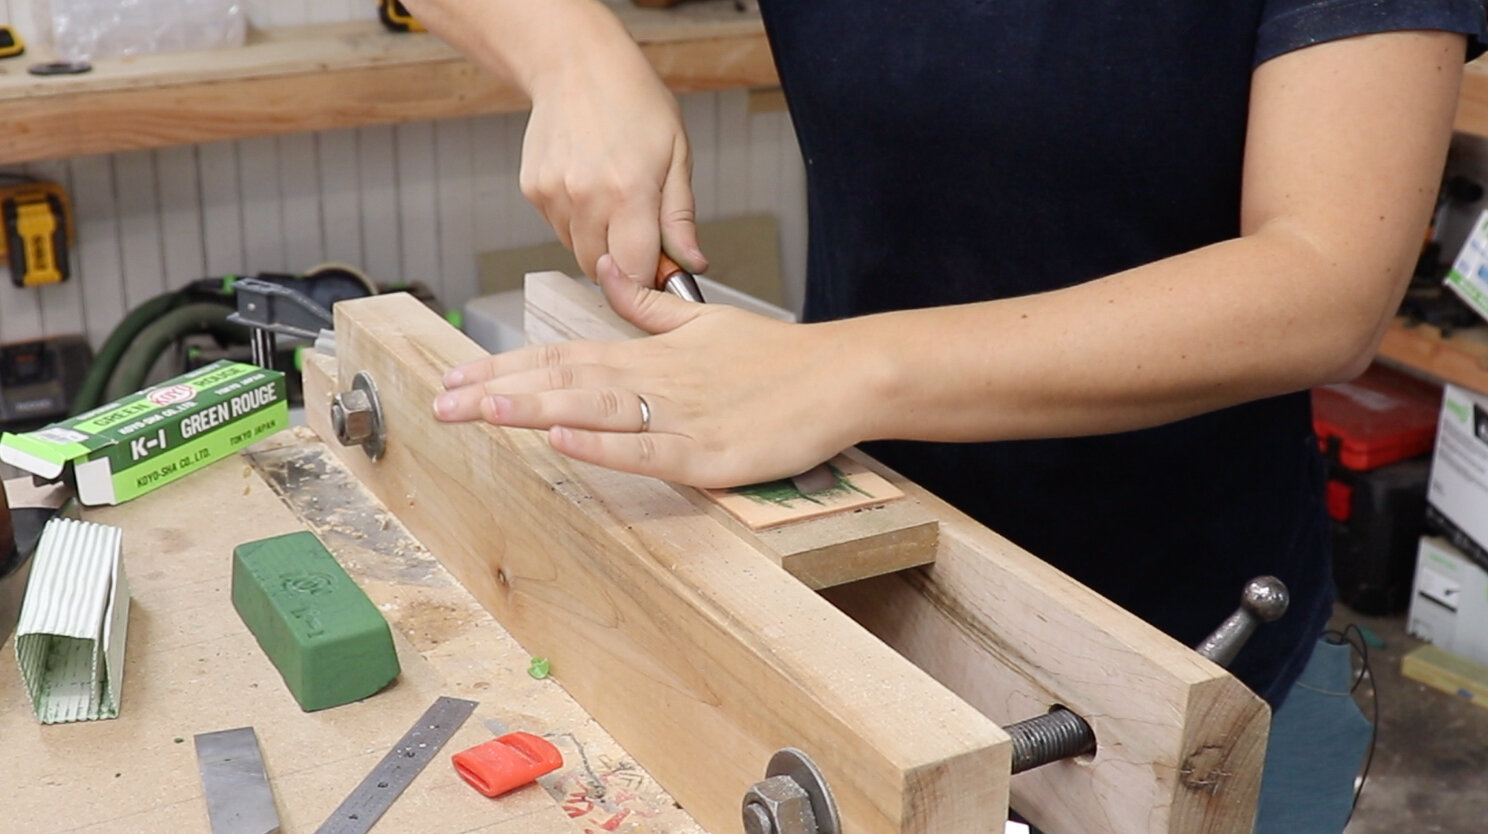
Once all the waste is cleared, use a chisel in the knife lines made earlier to make it a perfect fit.
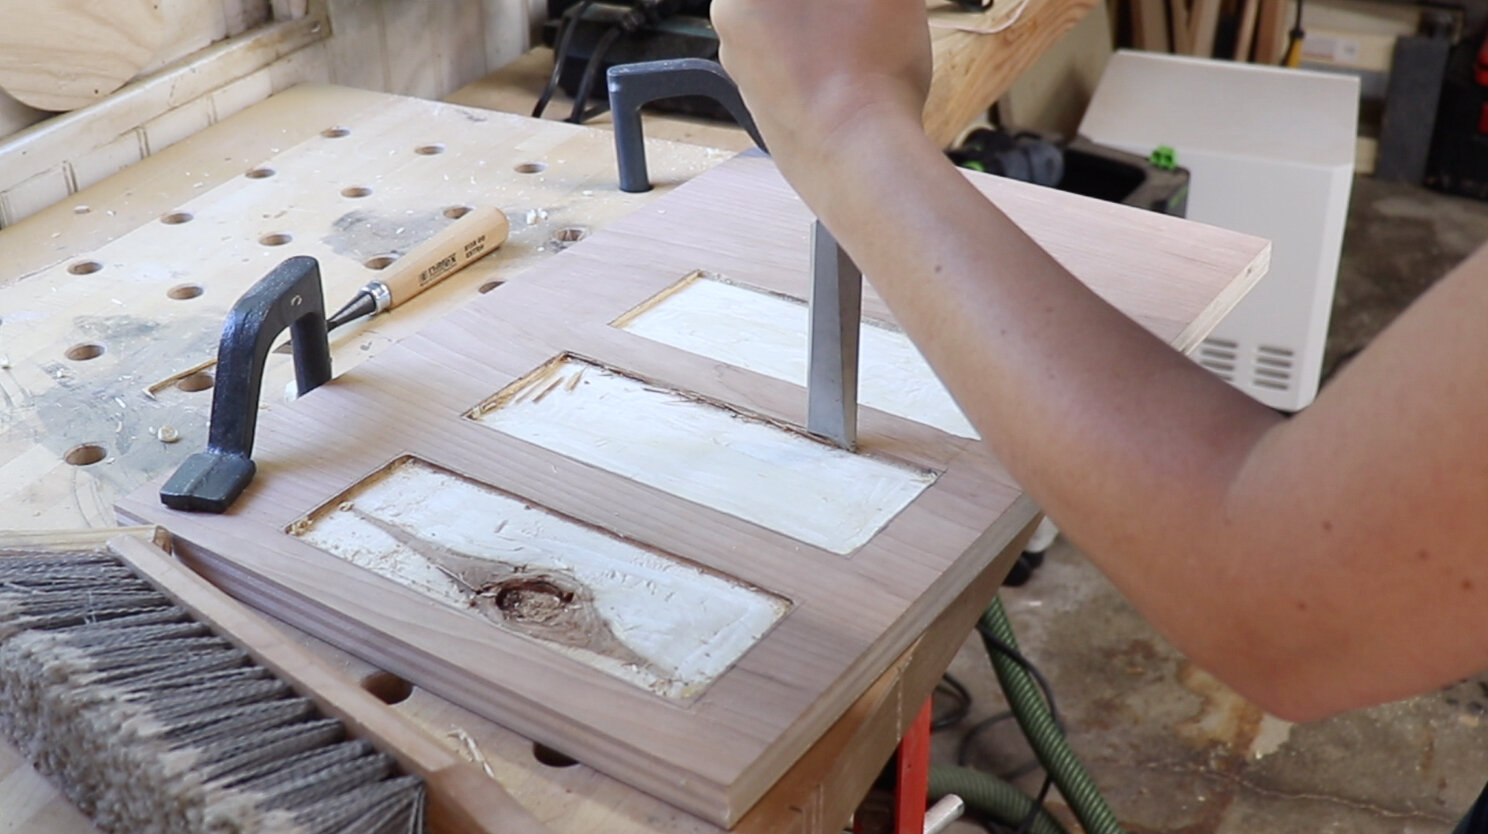
Use a forstner bit at the bottom of each recess to make it easy to lift out the stones if needed.

You can see in the picture below, the holes I drilled were slightly deeper than the recesses I made with the router. This allows me to reach under the stones and lift them out.

I like to use a honing guide to keep my chisels nice and stable while sharpening. The only problem is figuring out where to place the guide on your blade to get the correct angle you need.
The honing guide I use came with instructions for making a honing guide protrusion stop, but I lost those instructions… So here’s how to figure out the correct position to place your honing guide to make your own protrusion stop.
All you need is a digital angle gauge!
Place the blade loosely in the honing guide, zero out your digital angle gauge, then place it on your blade.
All you need to do is adjust your blade up and down the honing guide until the readout on the digital angle gauge is saying the angle you desire.
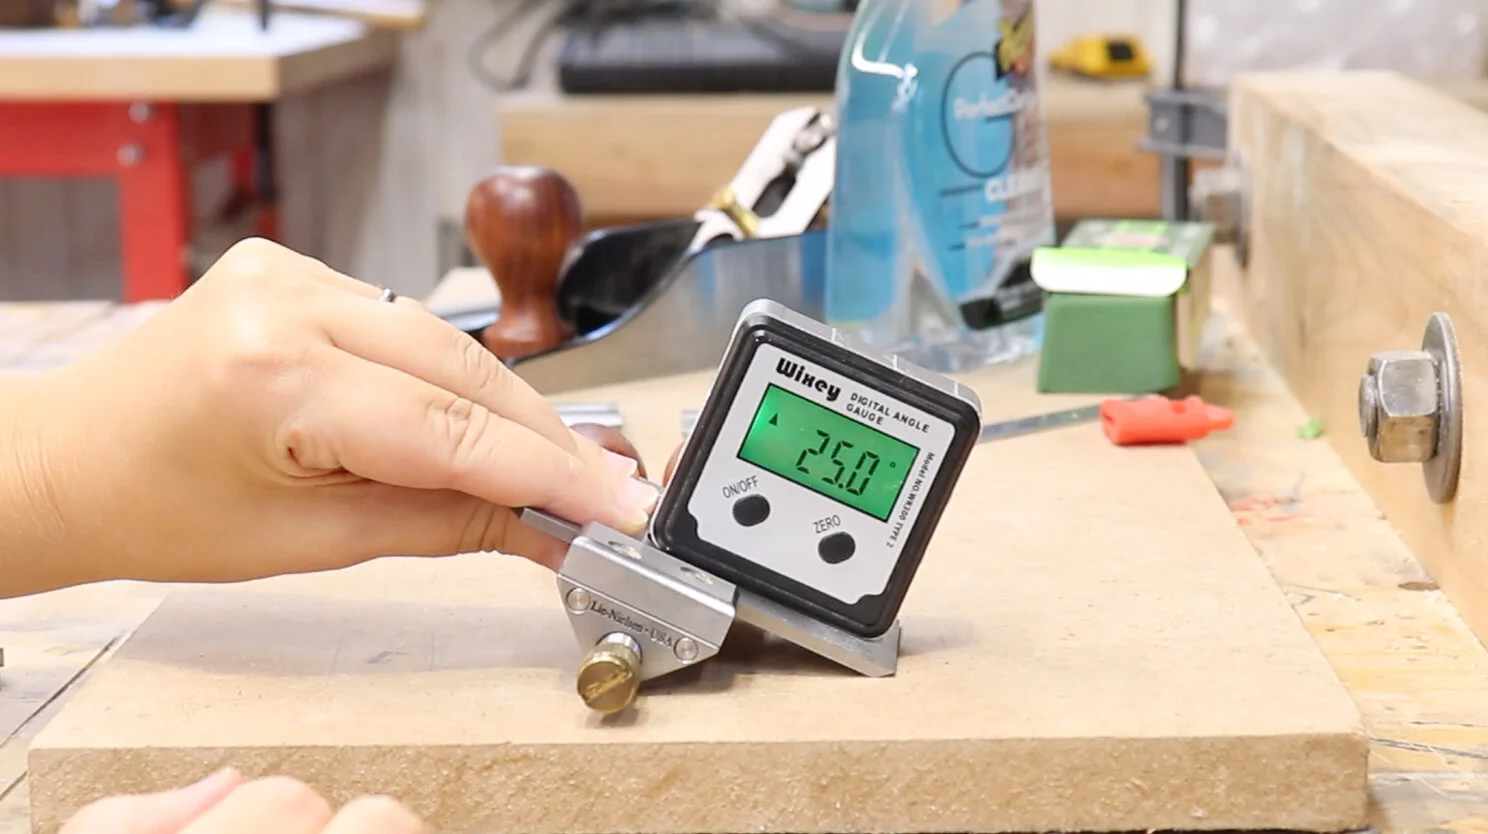
The typical angles I need are 25º, 30º, 40º and 50º.
So I cut four pieces of 1/4” plywood to about the width of a plane blade, and I will use those as the stops.
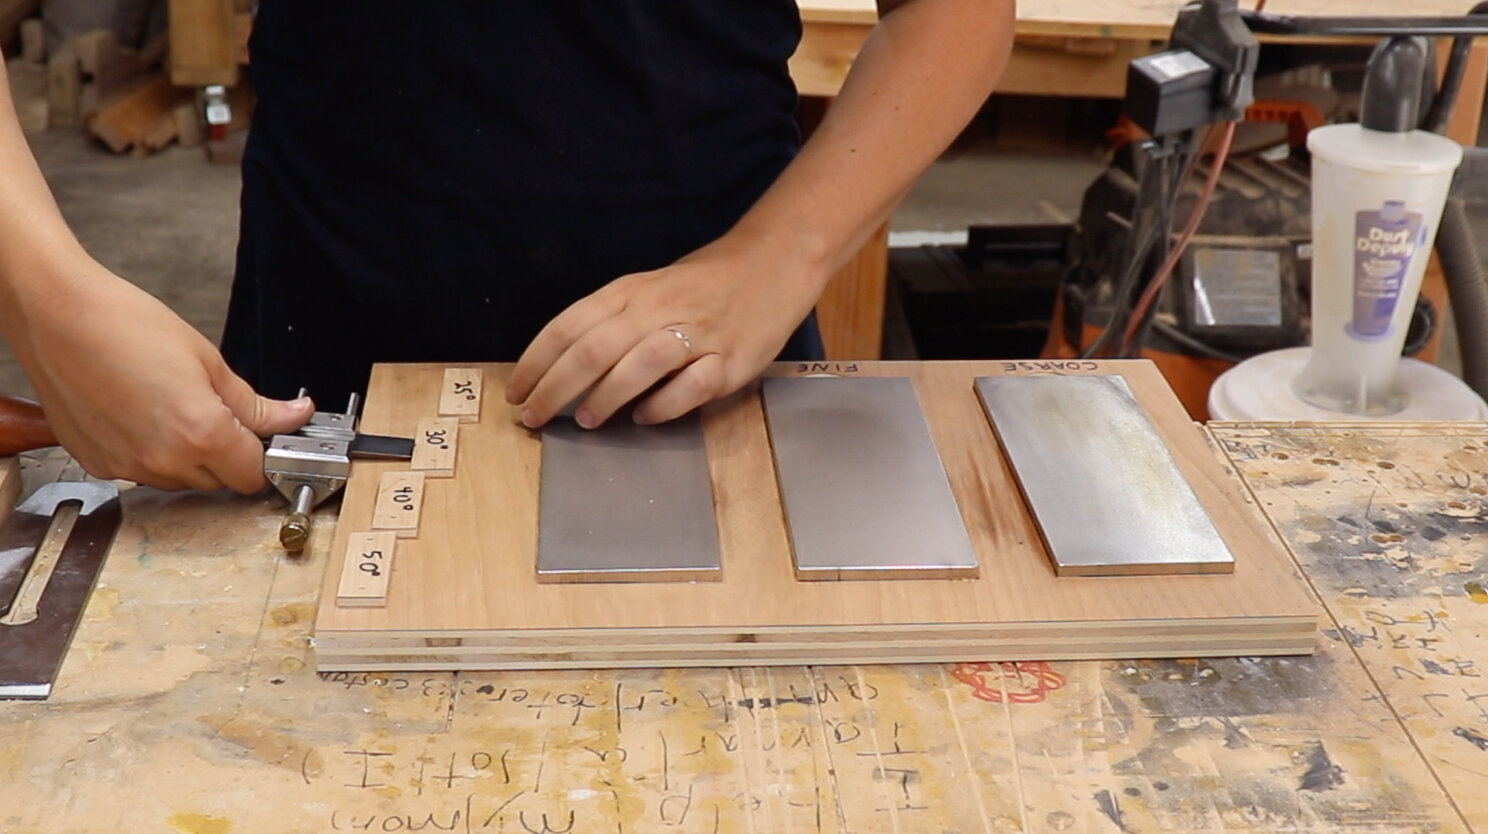
Using CA glue and Accelerator Spray I put each stop into place. Just butt the edge of the honing guide on the edge of the plywood stone holder and the protrusion stop should be placed right at the tip of the blade.

I locked the stops into place with brad nails and marked what angle each one is used for.

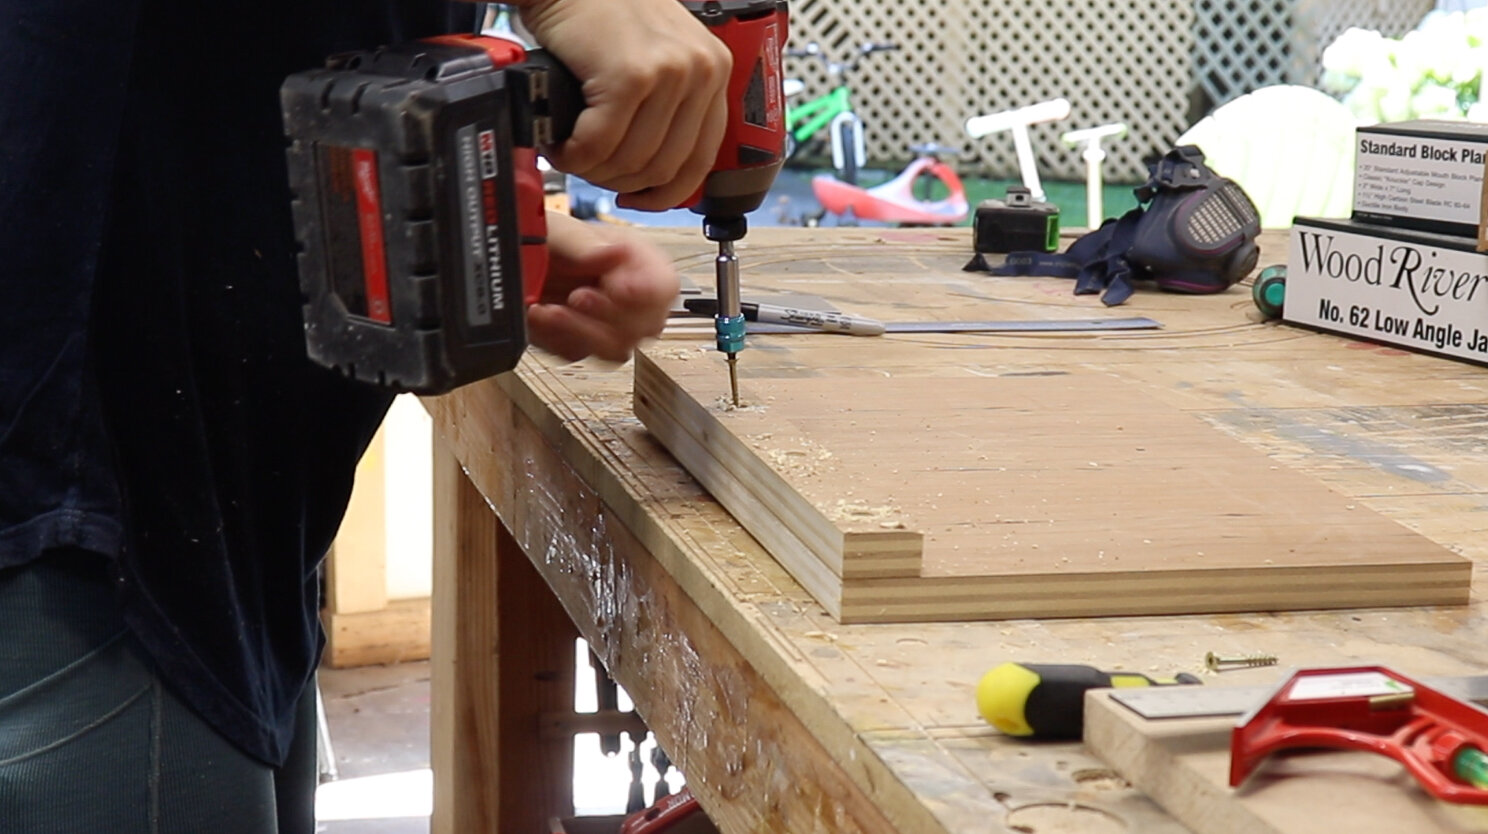
Last thing to do to the stone holding jig is to add a little strip of plywood that is going to act as a bench hook.
This ensures that the whole jig doesn’t slip and slide forward while you’re using it.
Just lock it into place with some glue and screws and it’s done!
Time to sharpen!
If you have ever read a woodworking forum on hand tool sharpening, you would know that everyone has their own opinion and method for everything.
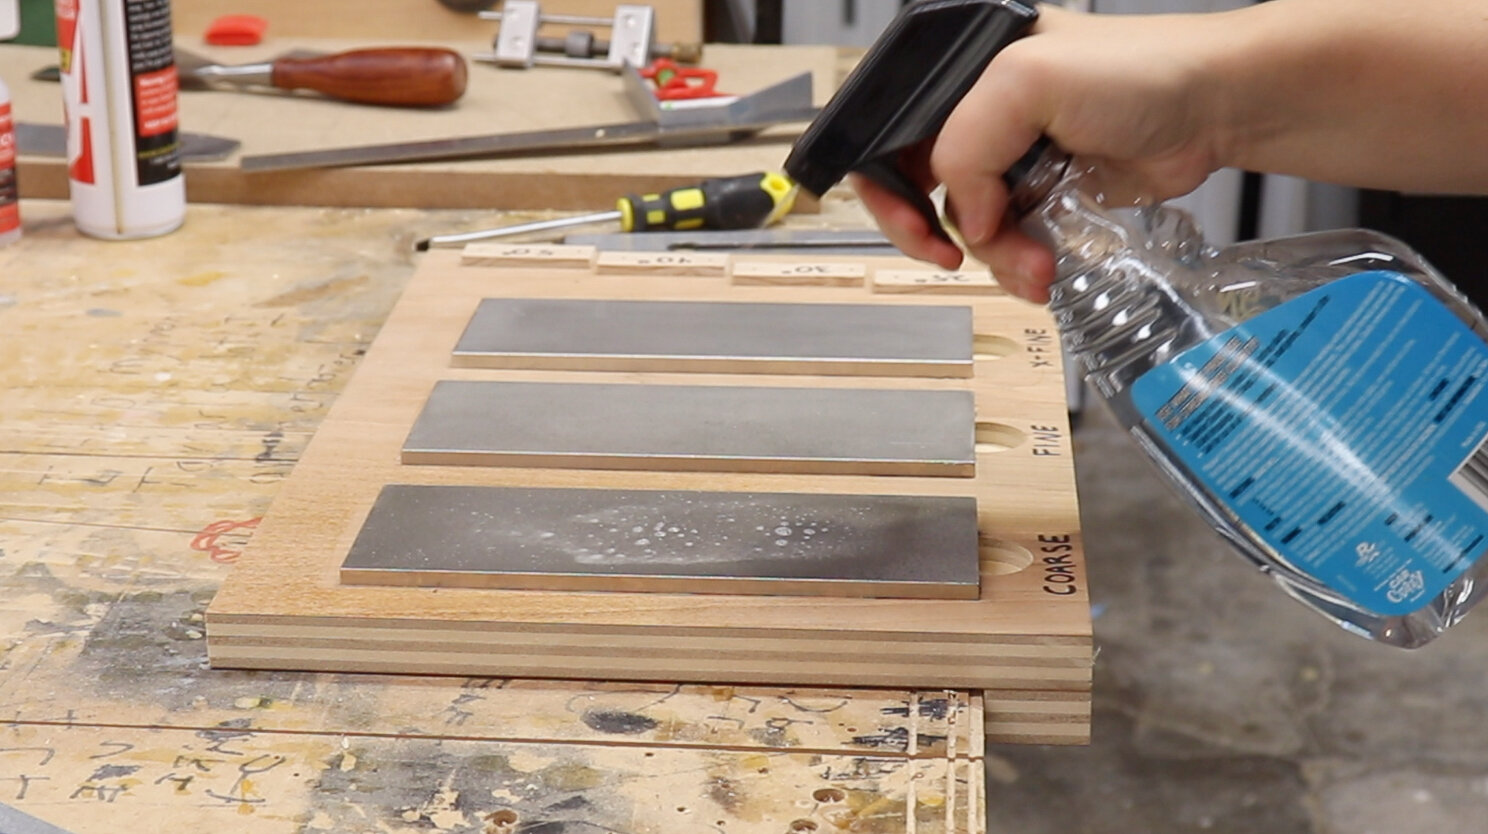
A popular debate is what to use to lubricate the stones. The manufacturer of the stones suggest that only water is required. While I am sure that works great, I follow Paul Sellers’ advice again and I use AUTOMOTIVE Glass Cleaner.
I have seen people use household winder cleaner (like Windex), but that actually has properties in it that could cause the stones to rust, where this Automotive Glass Cleaner does the opposite. It also smells a lot better than Windex and doesn’t have ammonia in it…
I also tried Simple Green in the past and I felt like the fumes were very strong even when I diluted it.
So this is really just all about experimenting and figuring out what works for you and what you are happy working with.
There are two sharpening processes that need to be discussed.
1) Fresh out of the box, brand new tools.
2) Maintenance sharpening as you are working.
Also, I will go over chisels and plane blades because they are slightly different.
CHISELS
Fresh out of the box, the first thing you need to do its FLATTEN THE BACK.
Start with the coarsest grit just to make sure that the back of the chisel is actually flat. This is SUPER important because the back of the chisel is used as a reference for cutting. If you want your work to be straight and square, your tools need to be square as well.
Go thought the grits on the back until you see a good section near the edge is nice and flat.
It’s ok if more material is removed from the sides of the blade, It’s not ok if more material is being removed from the middle of the blade… return the blade if that’s the case.
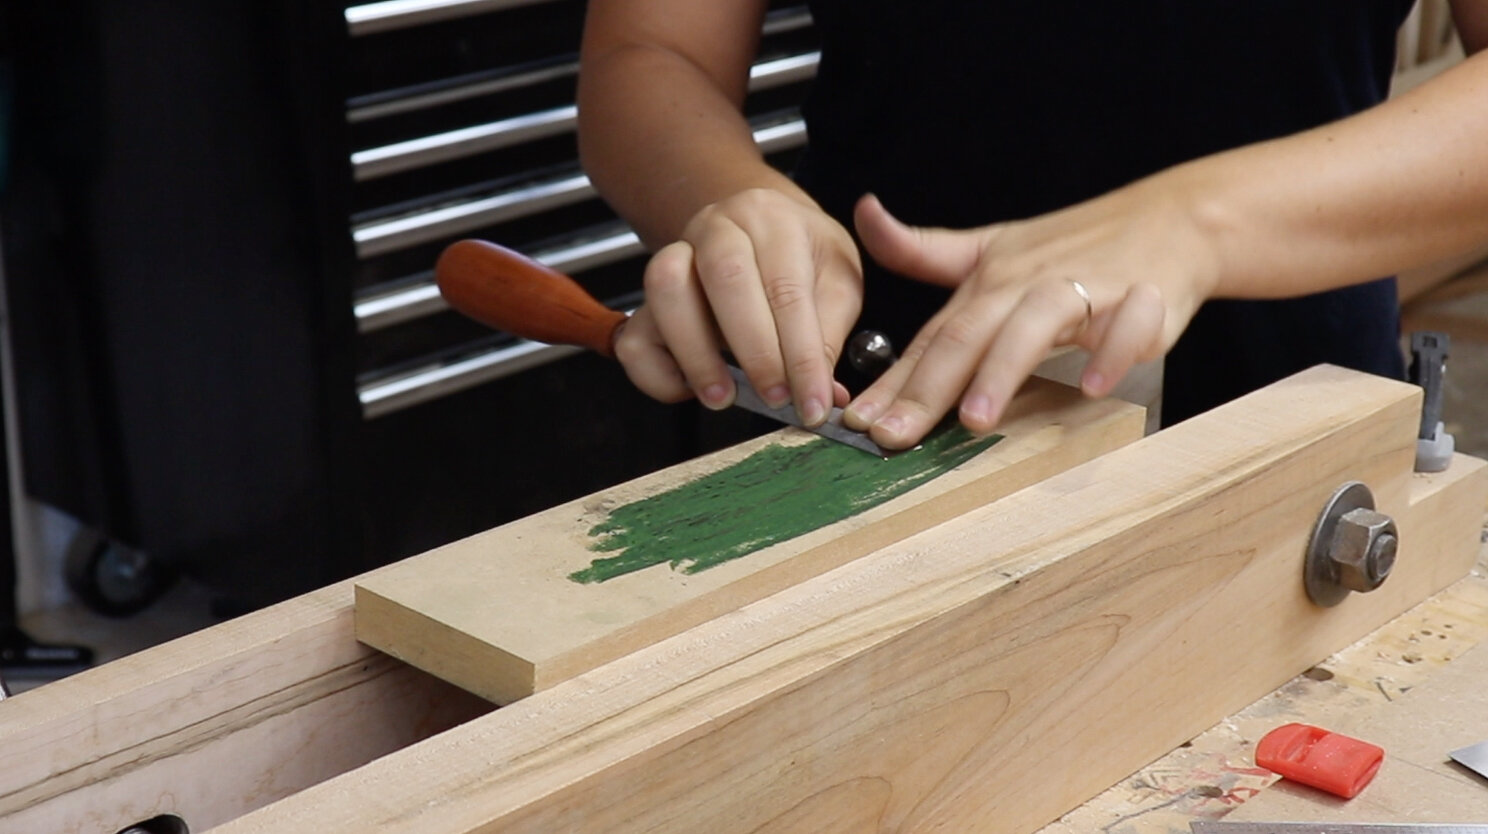
After going through all the grits, put some honing compound right on a piece of MDF, and strop the back. This makes sure the back remains flat like the MDF.
Once the back is flat, YOU NEVER HAVE TO TOUCH IT AGAIN! (Unless it gets damaged… but that’s another story.)
Now here is where taking a tool out of a box and general maintenance meet up.
From the factory, the bevel on your blade is probably ground to 25º. There’s no need to mess with that.
All you need to do is set your blade to 30º on the protrusion stop and focus on that secondary bevel.
The purpose of the secondary bevel is to make sharpening quick and easy.
Because the blade is held at a higher degree, there is less material that you need to remove to get it straight and flat across.
When the blade is new out of the box, I start with the coarse stone on the 30º bevel and work my way up to the extra-fine stone.
But when I am maintaining the sharpness on my chisels I ONLY USE THE EXTRA FINE STONE.
This really takes no time at all because there is not a lot of material that is being removed!

After sharpening the bevel, there will be a burr on the backside of the chisel.
This burr is a fine thin piece of metal that is created from moving the metal.
To remove it, place the blade on it’s back on the highest grit stone you use and quickly, for like 3 seconds, rub it away.
If it’s a stubborn burr, you can also get rid of it by running the edge into the edge of some MDF…

After the secondary bevel is created and the burr is removed rub the beveled side of the blade on a leather strop with honing compound about 20-30 times until it is nice and shiny.
To sum up, when a chisel is new, flatten the back by going through the grits and strop. Then create a secondary 30º bevel on the front side by going through the grits and then strop.
For general maintenance, do not touch the back! Only sharpen at 30º on the highest grit stone and then strop.
The only time I will ever go back and regrind a 25º primary bevel on the chisel is when the 30º secondary bevel gets too tall and it is starting to take a long time to sharpen.
The point of the secondary degree bevel is to make sharpening quick and easy. So when it is no longer easy, because too much material needs to be removed, I will start from square one and go back to a primary 25º bevel then add my smaller 30º bevel.
PLANE BLADES
Plane blades are slightly different…
The back needs to be flat, but the WHOLE back doesn’t need to be flat, only the little edge near the tip of the blade needs to be flat.
The plane blade is held in place by the plane, so the actual blade is not being used as a cutting reference like the chisel is.
This method is not my own, it’s been around for a while…
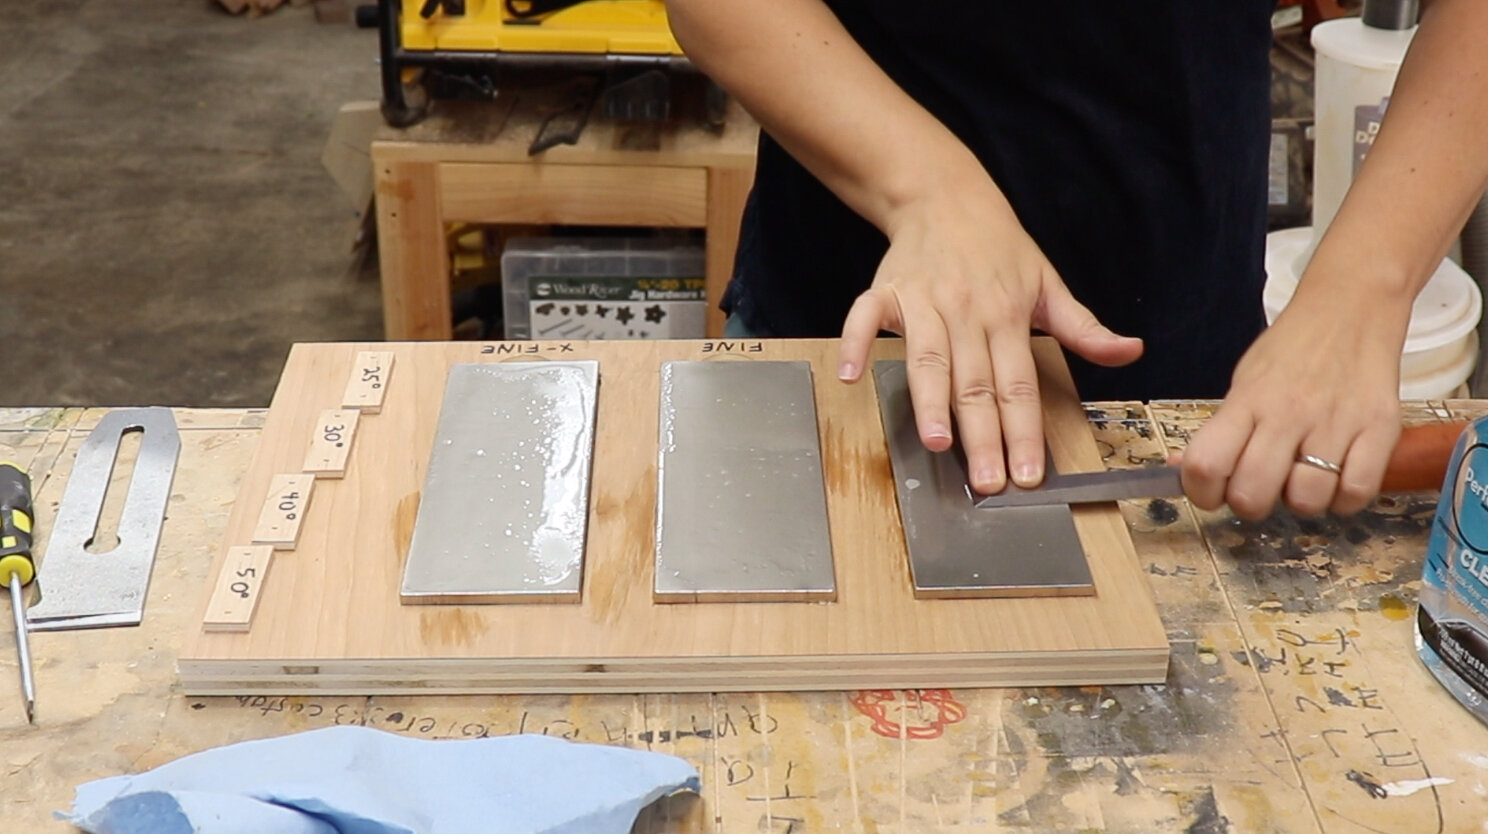
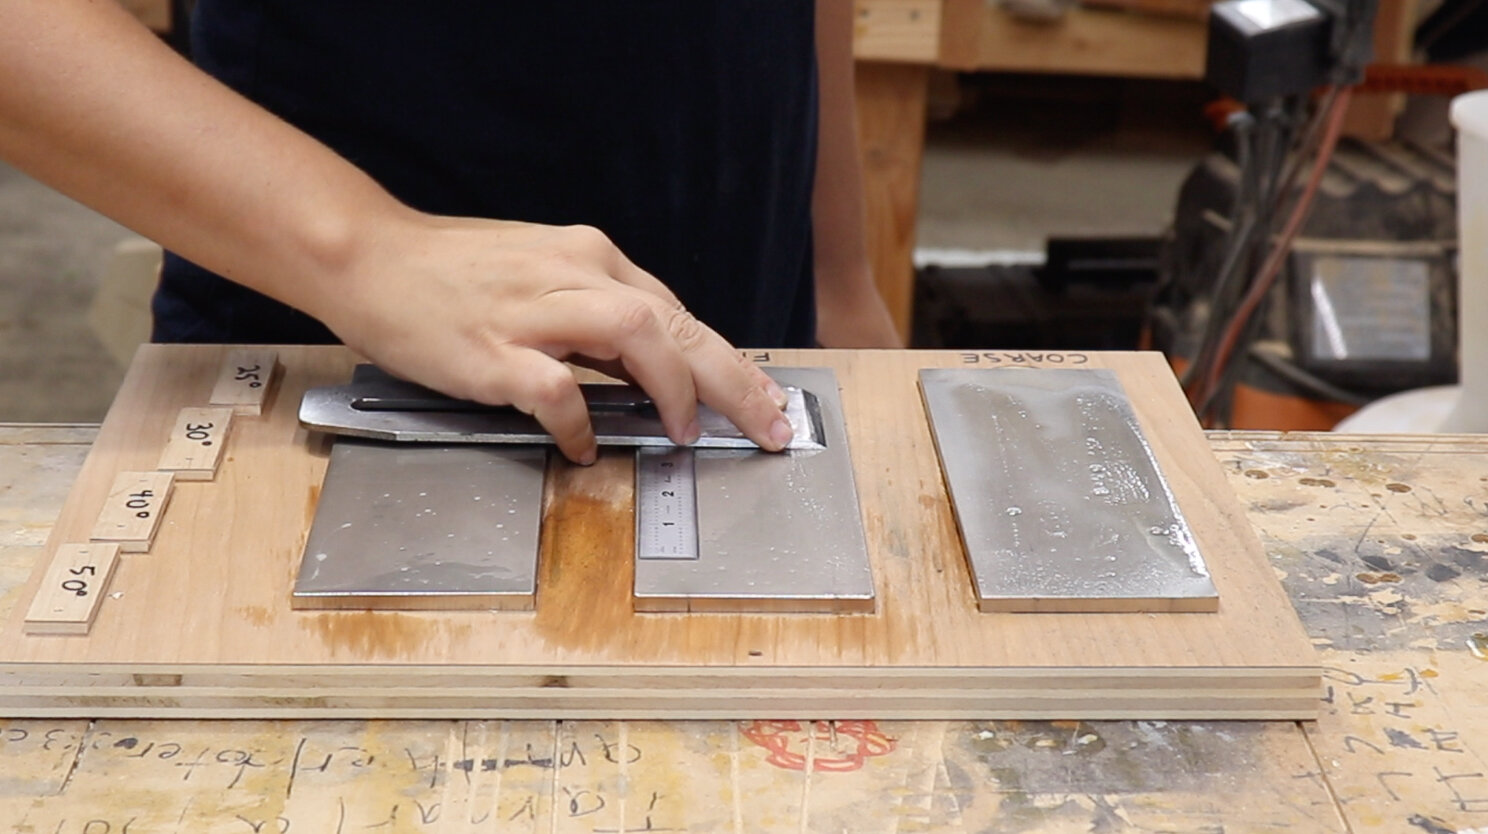
To flatten the tip of the plane blade, place a thin metal ruler on the edge of the stone, that will lift the plane slightly so that just the leading edge is touching the stone.
And just go through the grits until you see a nice shiny smooth flat bevel going across the back of the plane blade.
I also add the ruler to the MDF strop to make sure it is lifted as well.
THIS ONLY NEEDS TO BE DONE WHEN THE PLANE IS NEW! There is no need to touch the back when maintaining because you know it is flat from when you took it out of the box.
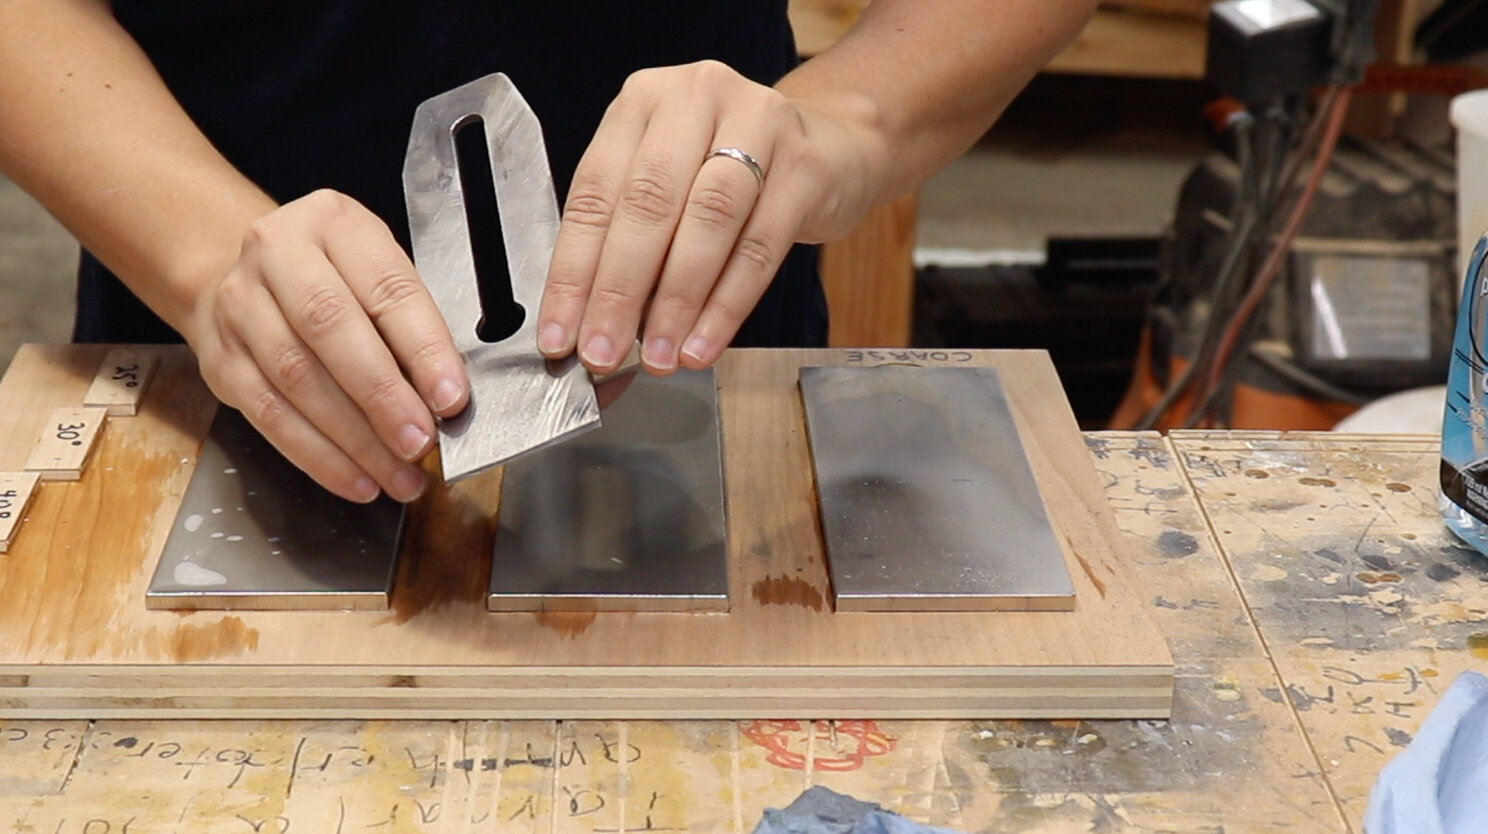
Just like the chisels, I disregard the factory ground 25º bevel and just go straight to the 30º secondary bevel.
I do this on the course and fine stones just to get that secondary bevel started…

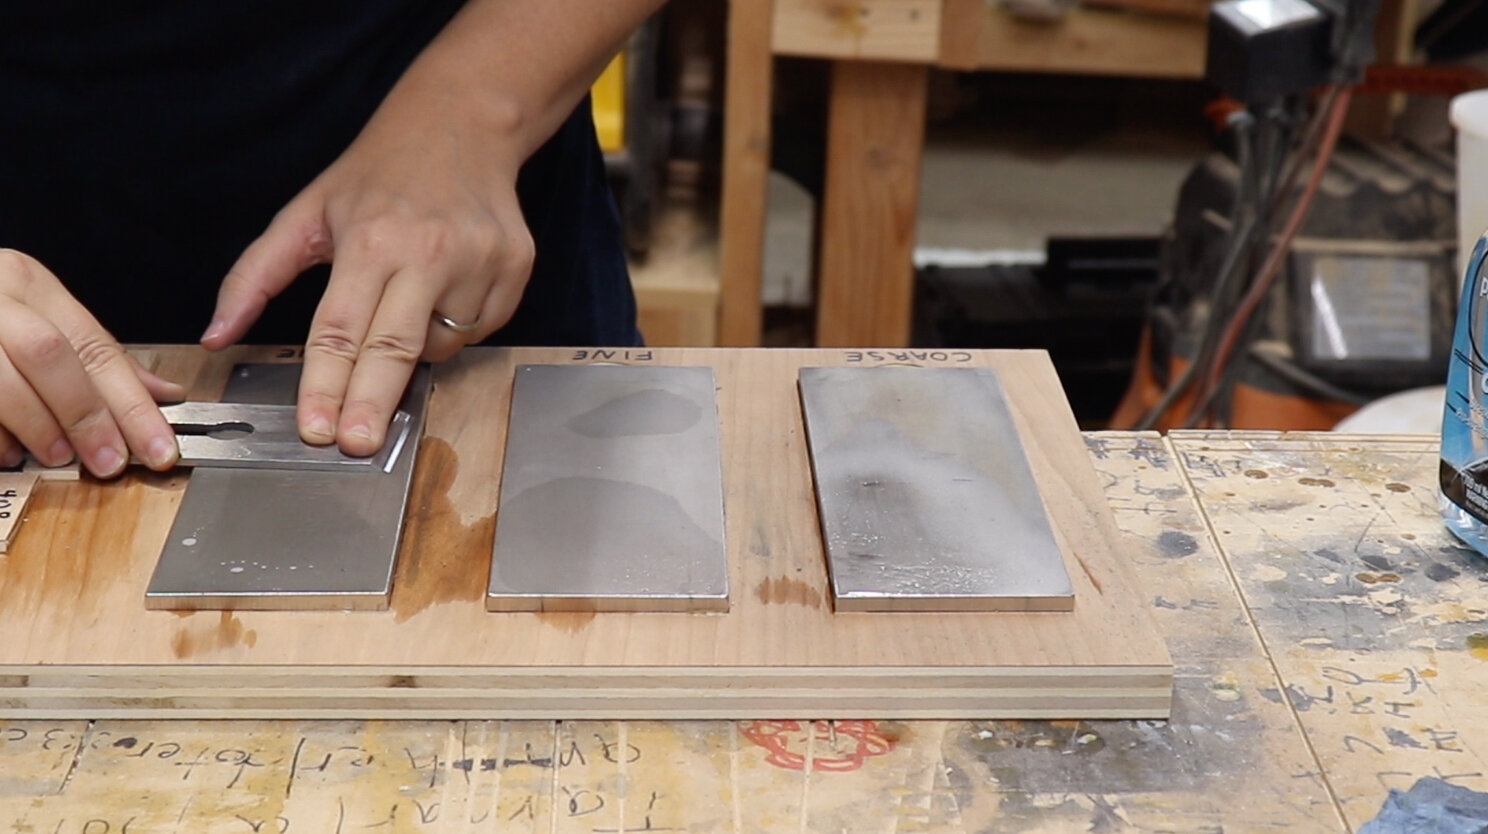
Now here’s another place where plane blades differ from chisels… When you get to the finest grit, you actually want to create a roundedness to it instead of making the edge straight.
This is called a camber. The reason for this is to avoid plane tracks. If the bevel of your plane was straight across, the corners would dig into the wood you are planing, leaving unsightly lines that take forever to sand out (ask me how I know that… ha!).
So to avoid those plane tracks the corners of the blade need to be ground down slightly.
To do this, I do 10 strokes leaning the blade to the right, then 10 strokes leaning the blade to the left.
This really just takes some practice to get right to figure out how much of a camber you like on your planes.
Just like the chisels, you need to remove the burr from the back and then strop!
To sum up, when a plane is new, you need to flatten a small area by the edge of the blade by lifting it up on a ruler. Then create a 30º micro-bevel by going through the grits. On the highest grit, you create a camber to avoid plane tracks. Then strop!
When maintaining the plane blades, Do not touch the back! Only continue to create the camber on the finest grit and then strop. It should really take no time at all!
Just like the chisels I only go back to the primary 25º bevel if the secondary bevel is getting too big and it’s no longer easy to sharpen.
