Dust Collection Upgrade!

I believe dust collection is probably the bane of every woodworker’s existence. It was mine… until now!
I partnered with Oneida Air Systems and finally set up REAL dust collection in my shop!
Check out the video below to see how I assemble it and install the ductwork.
The ductwork was really where I struggled in trying to figure this out in the past, I am not an expert in this area, so figuring out the best ductwork layout for my shop was just something I was not comfortable with.
Well, Oneida has a “Duct Work Design Service” so you don’t have to figure anything out! You can find out more info here - Oneida Duct Work Design Service
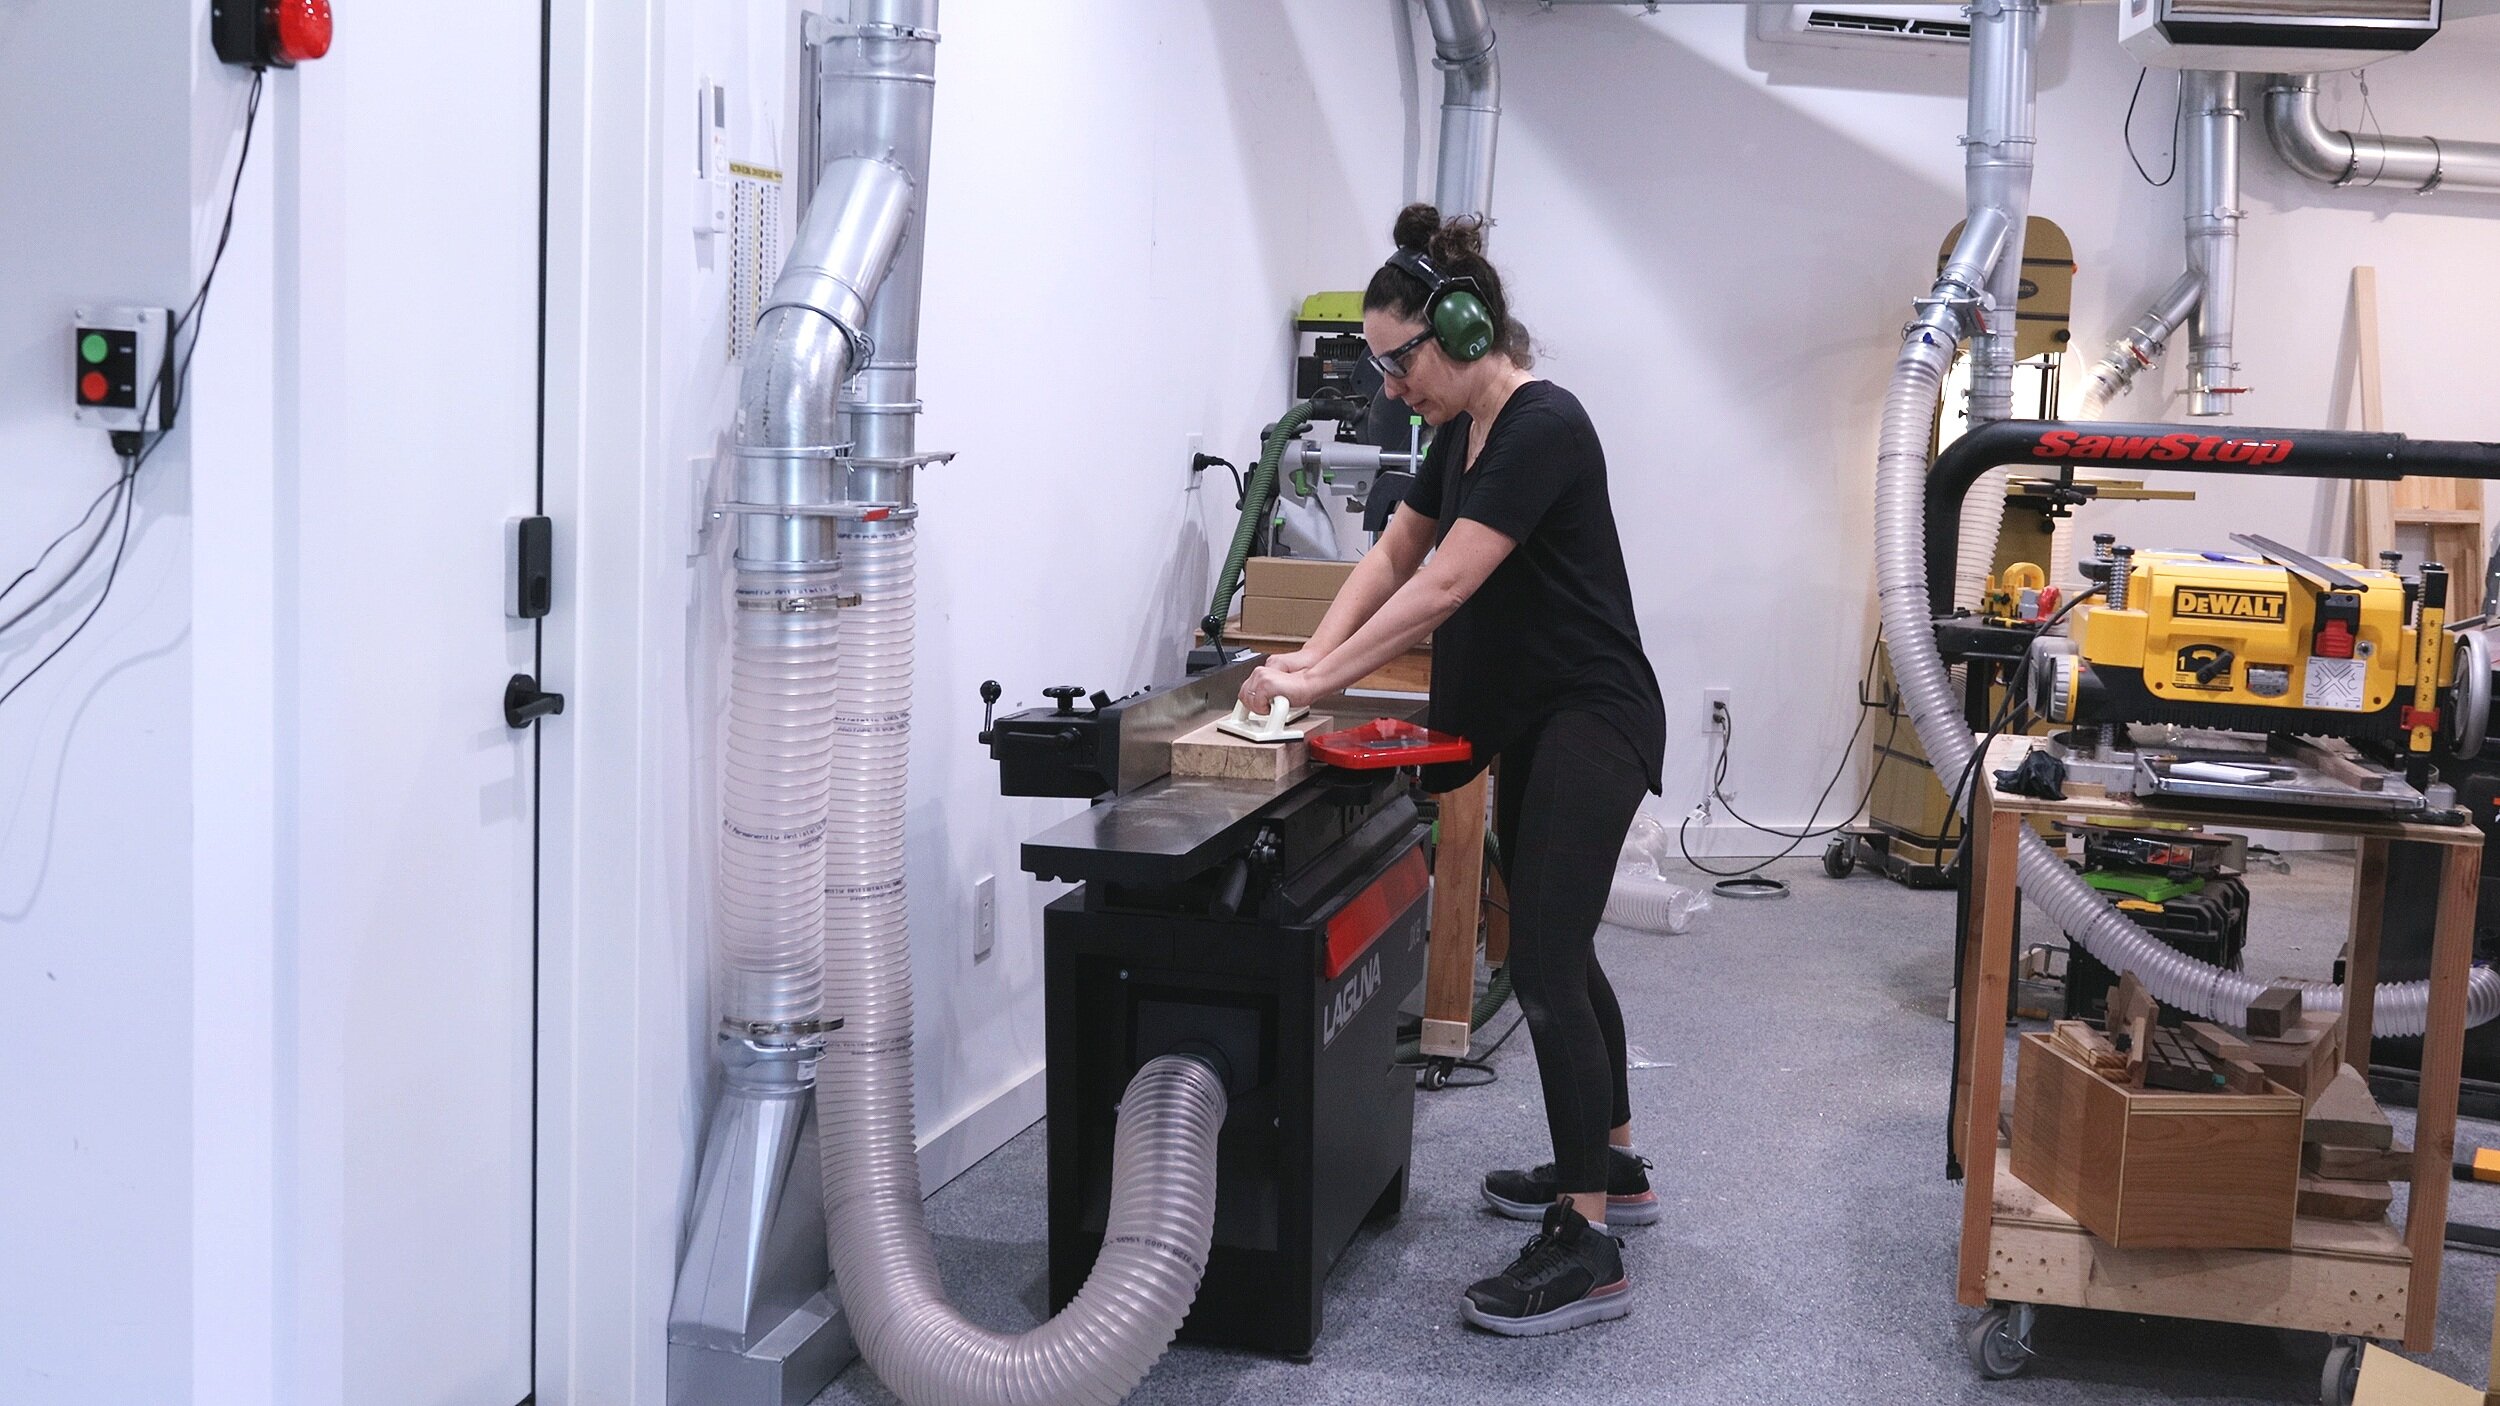
Let’s begin! You can see below, why installing a real dust collector was necessary… This is what the walls behind my old collector looked like. Horrible.

I decided to go with the 5HP Dust Gorilla Pro with SMART Boost based on the recommendation of the good people at Oneida. This was Oneida’s recommendation for me because I have a few tools with multiple ports and I want to be able to run it with both ports open at the same time.
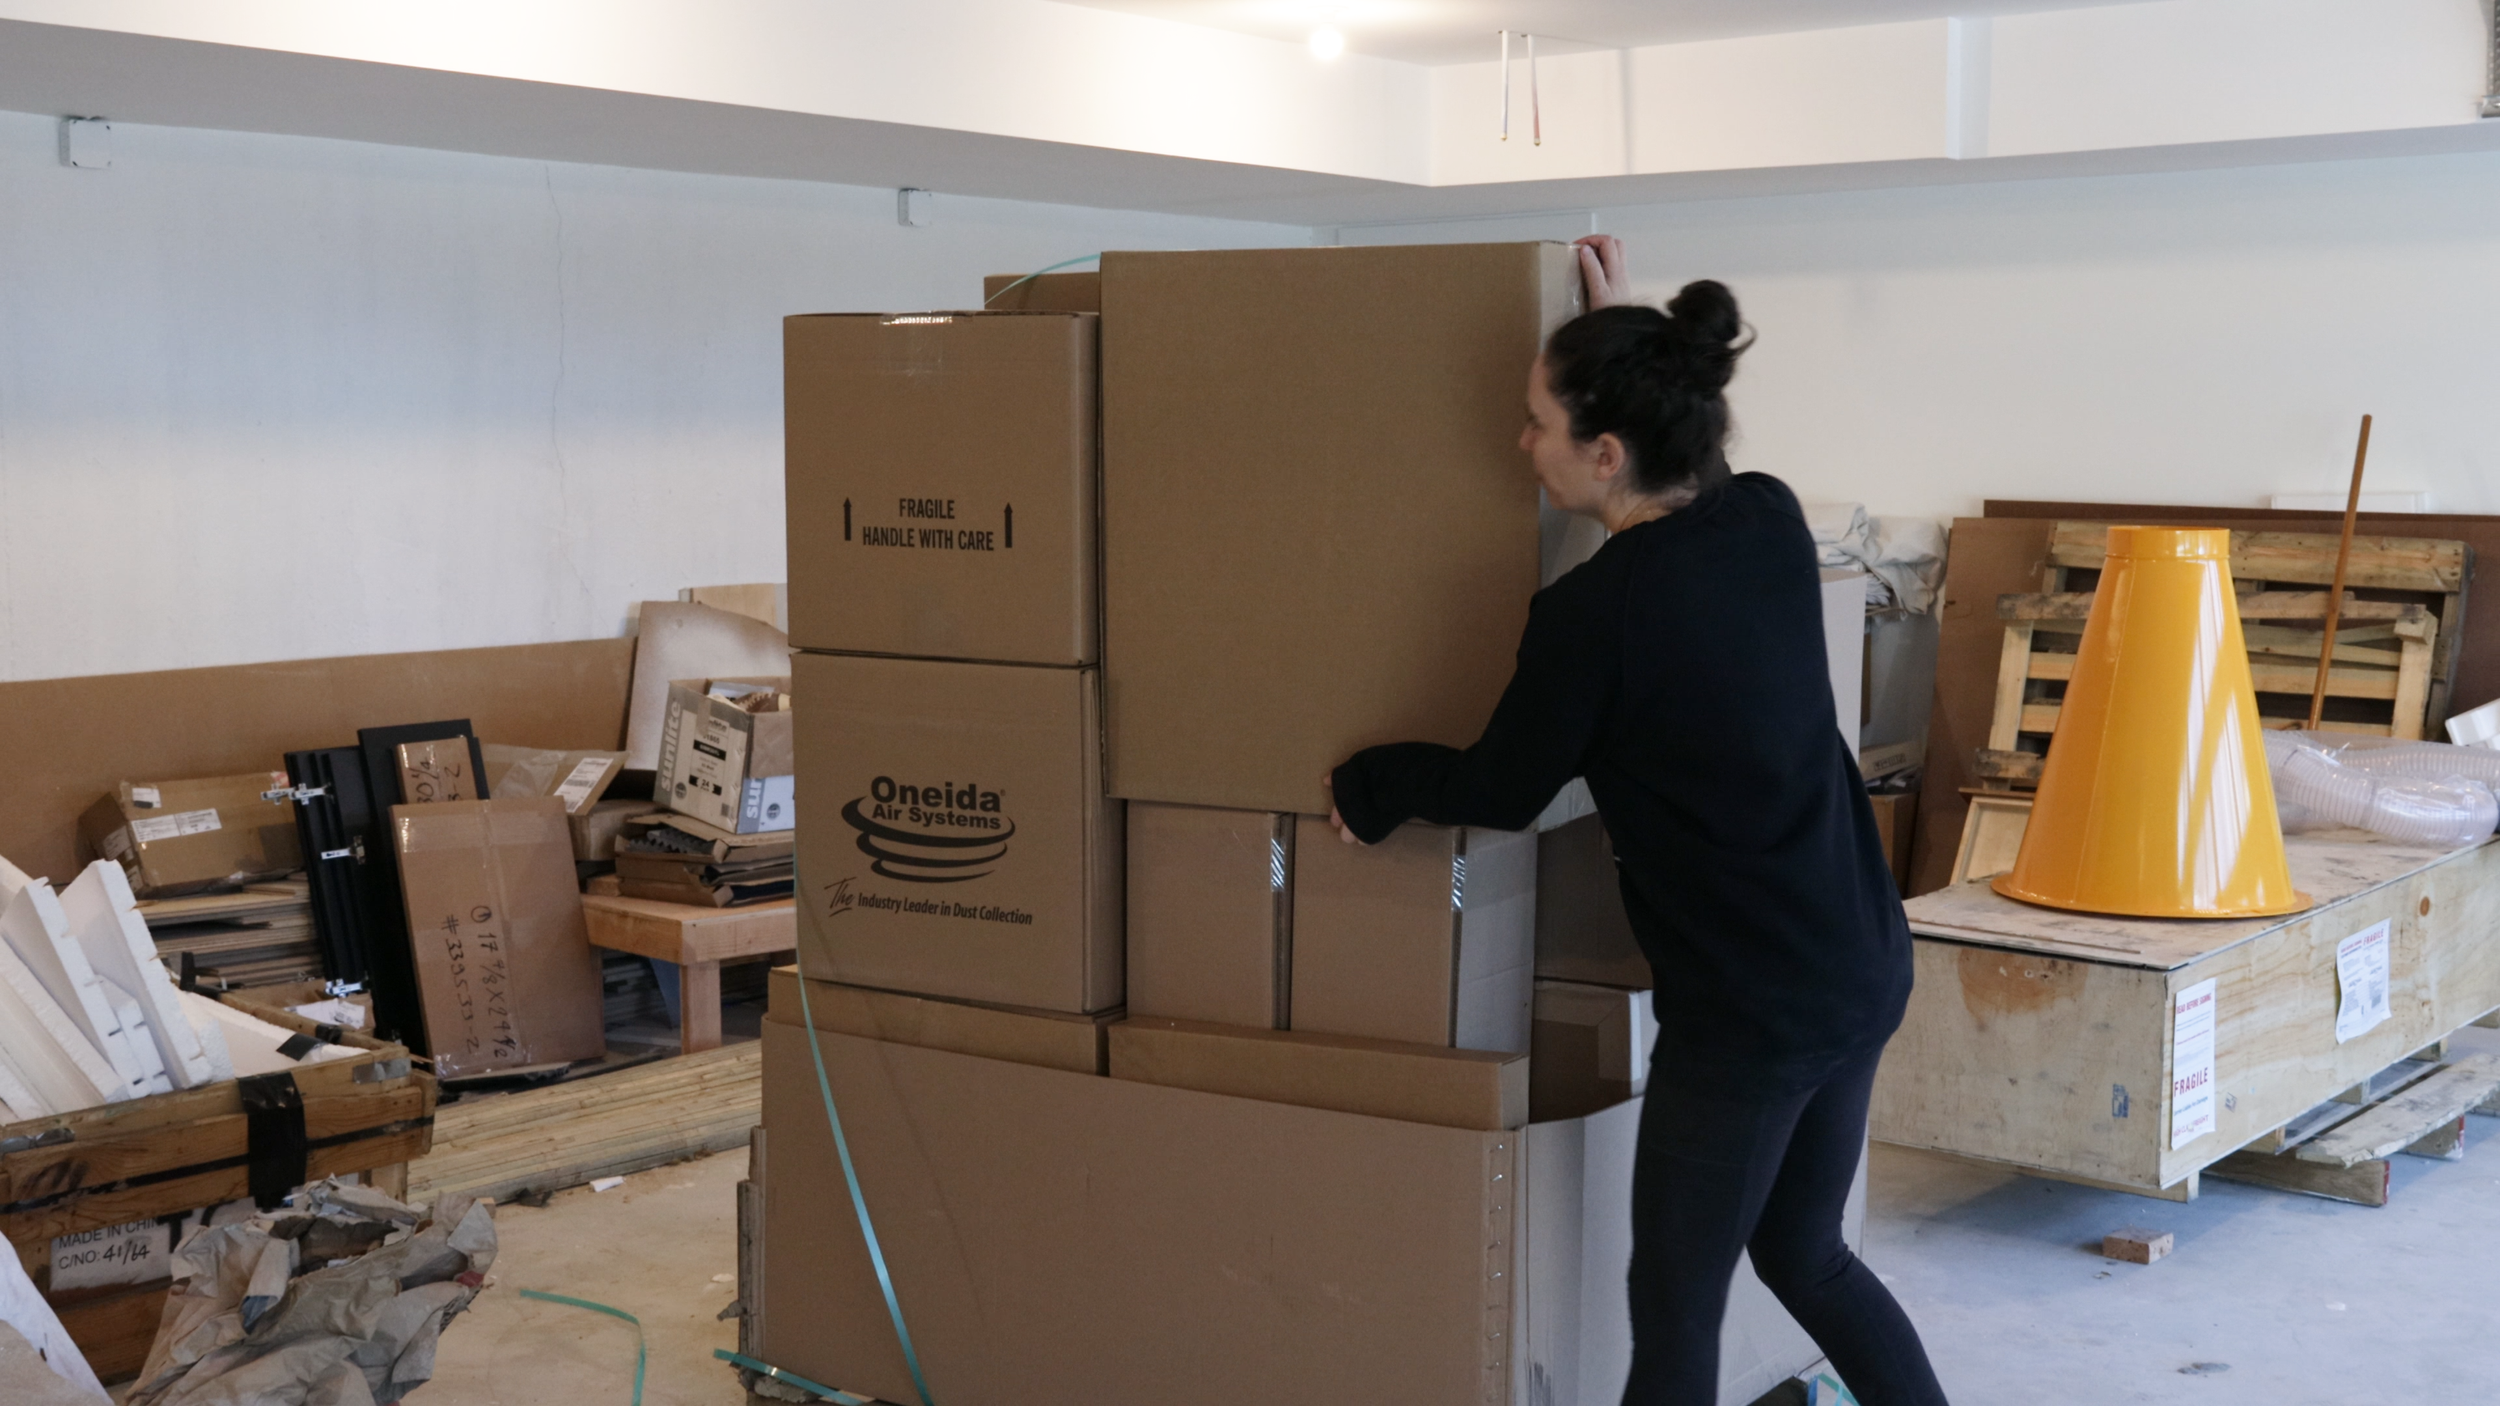
The unit arrived via freight and I started to unpack all the boxes.
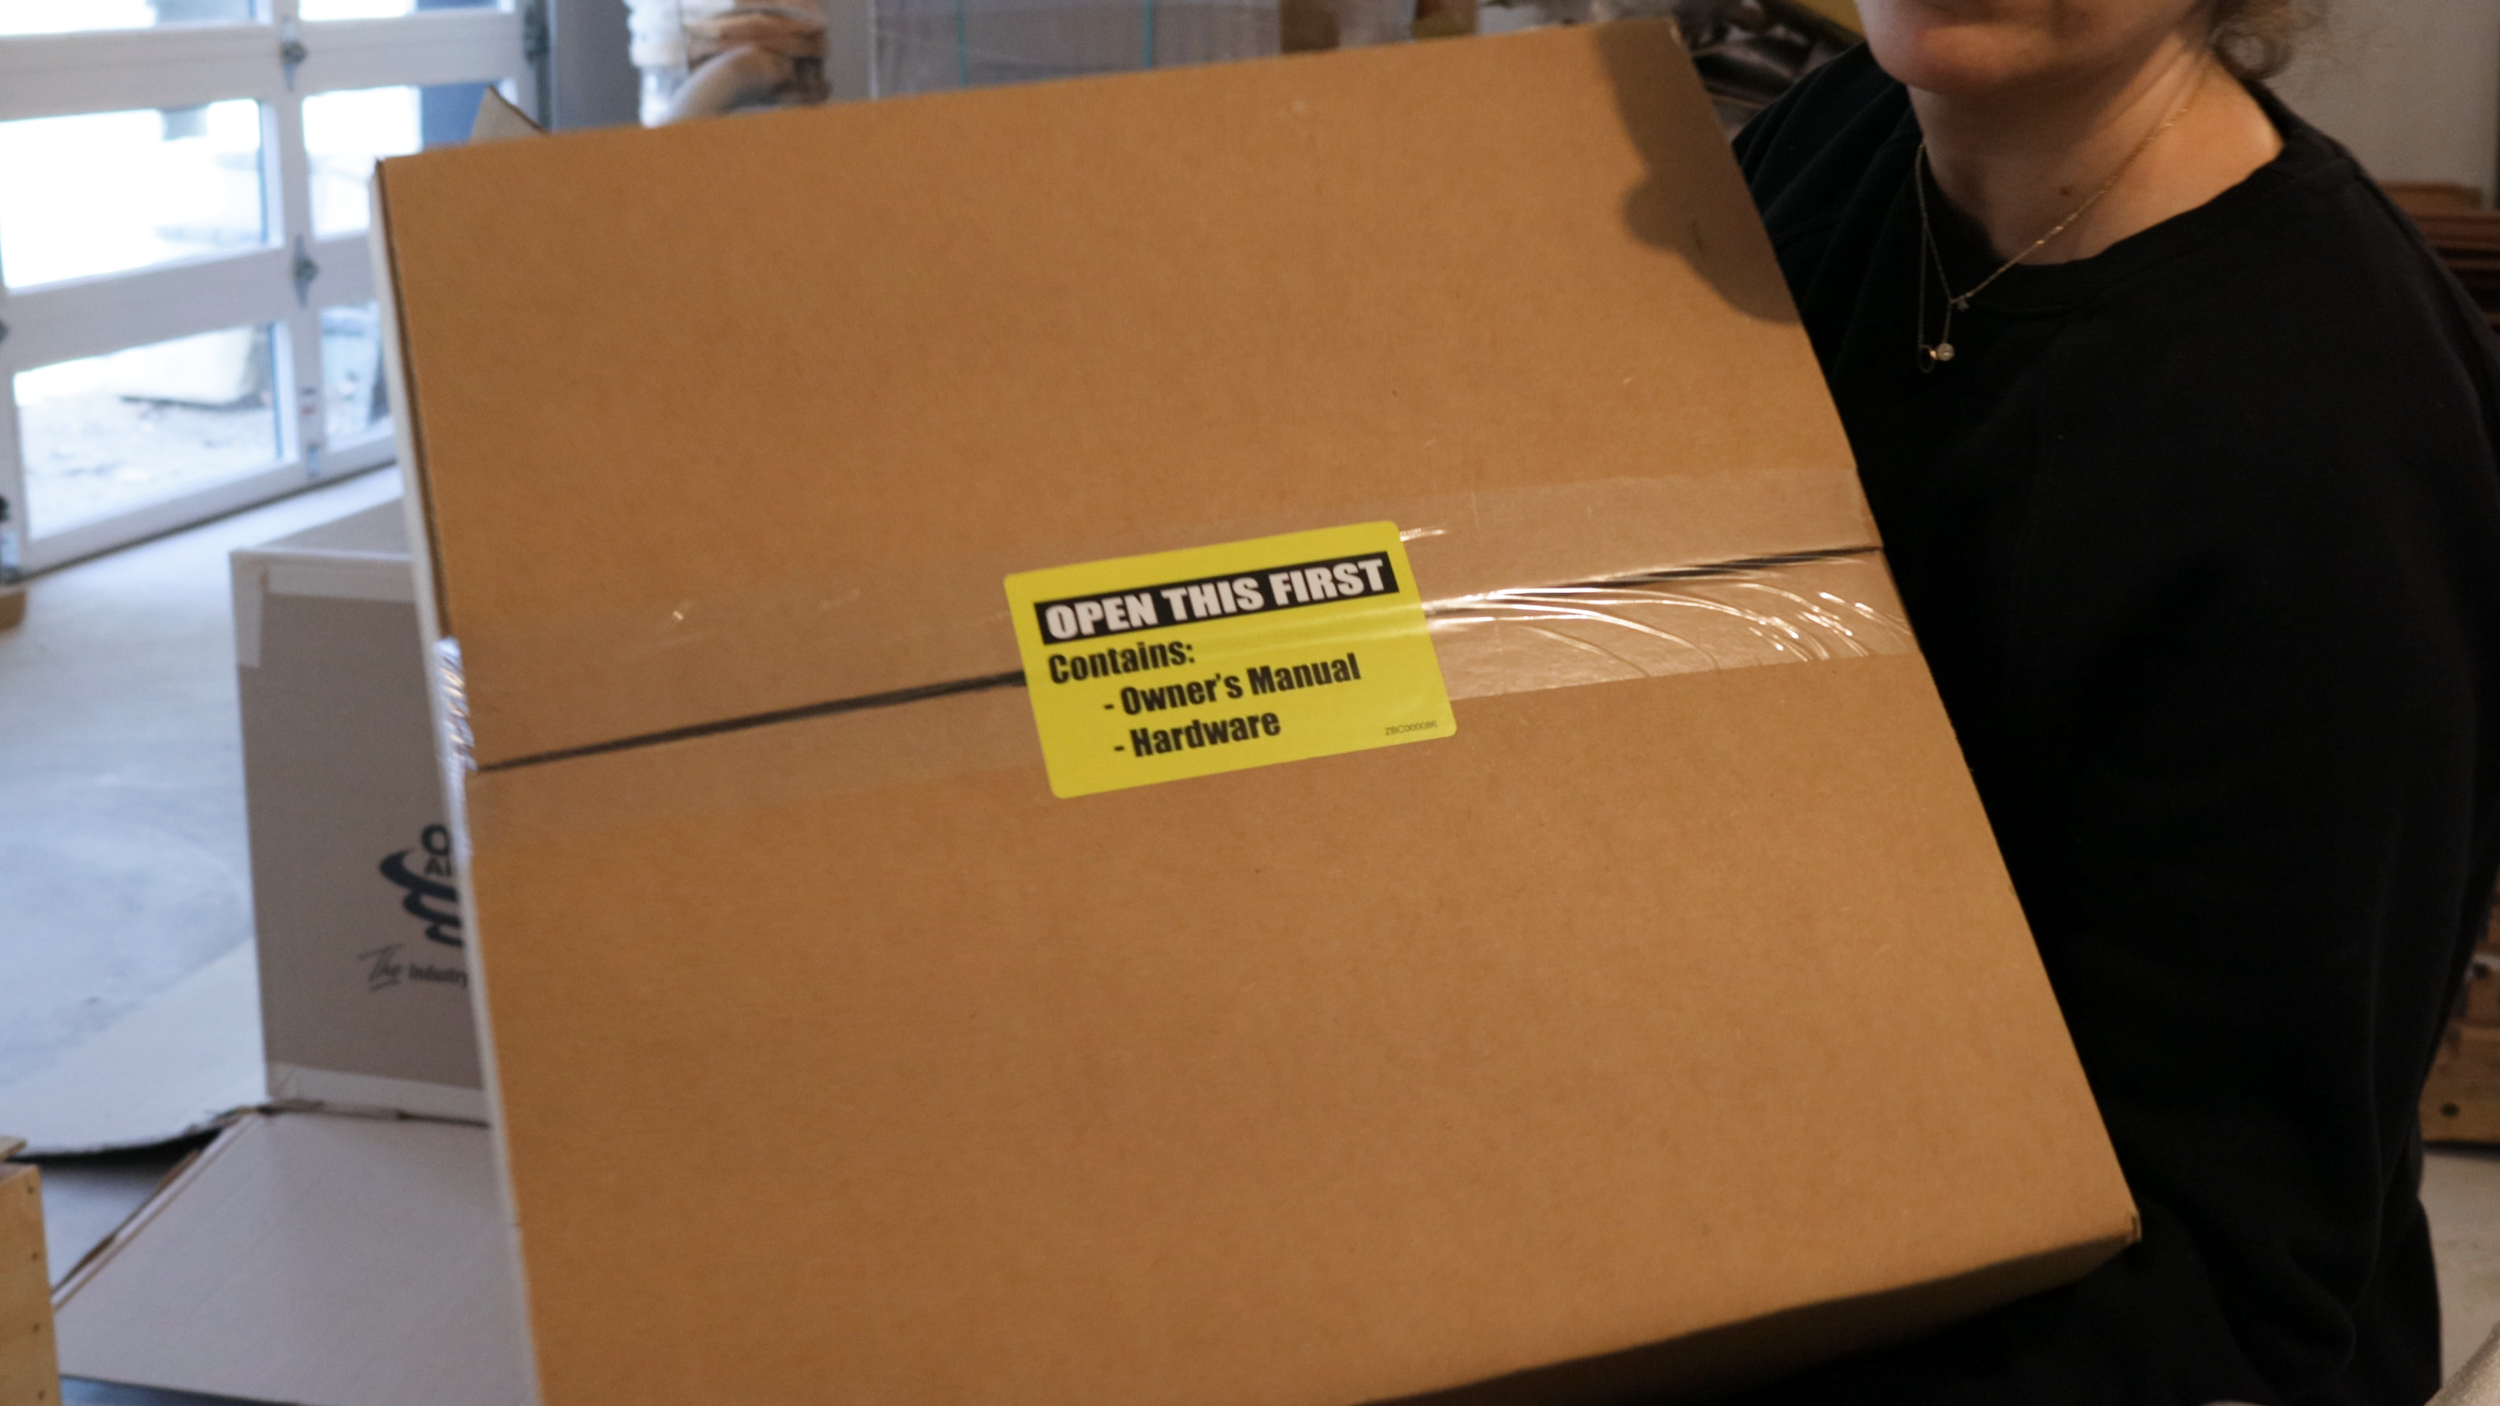
When unpacking, I made sure to look inside anything to make sure I got everything. For instance, this box that read “OPEN THIS FIRST” was inside the 35 Gallon Drum.
You can mount this unit to a wall, but I opted to mount it on the freestanding leg kit. This way I can move it around my shop if I ever need to and I am not bound to one location.

The assembly of the stand is pretty straightforward. Assemble it on its side and leave all the bolts loose. Then flip it right side up, make sure all the parts are square, and lock down all the bolts.

Oneida supplies this gasket material that needs to be placed on a few parts. The instructions are very clear on where the gasket should go. The pictures where really helpful!
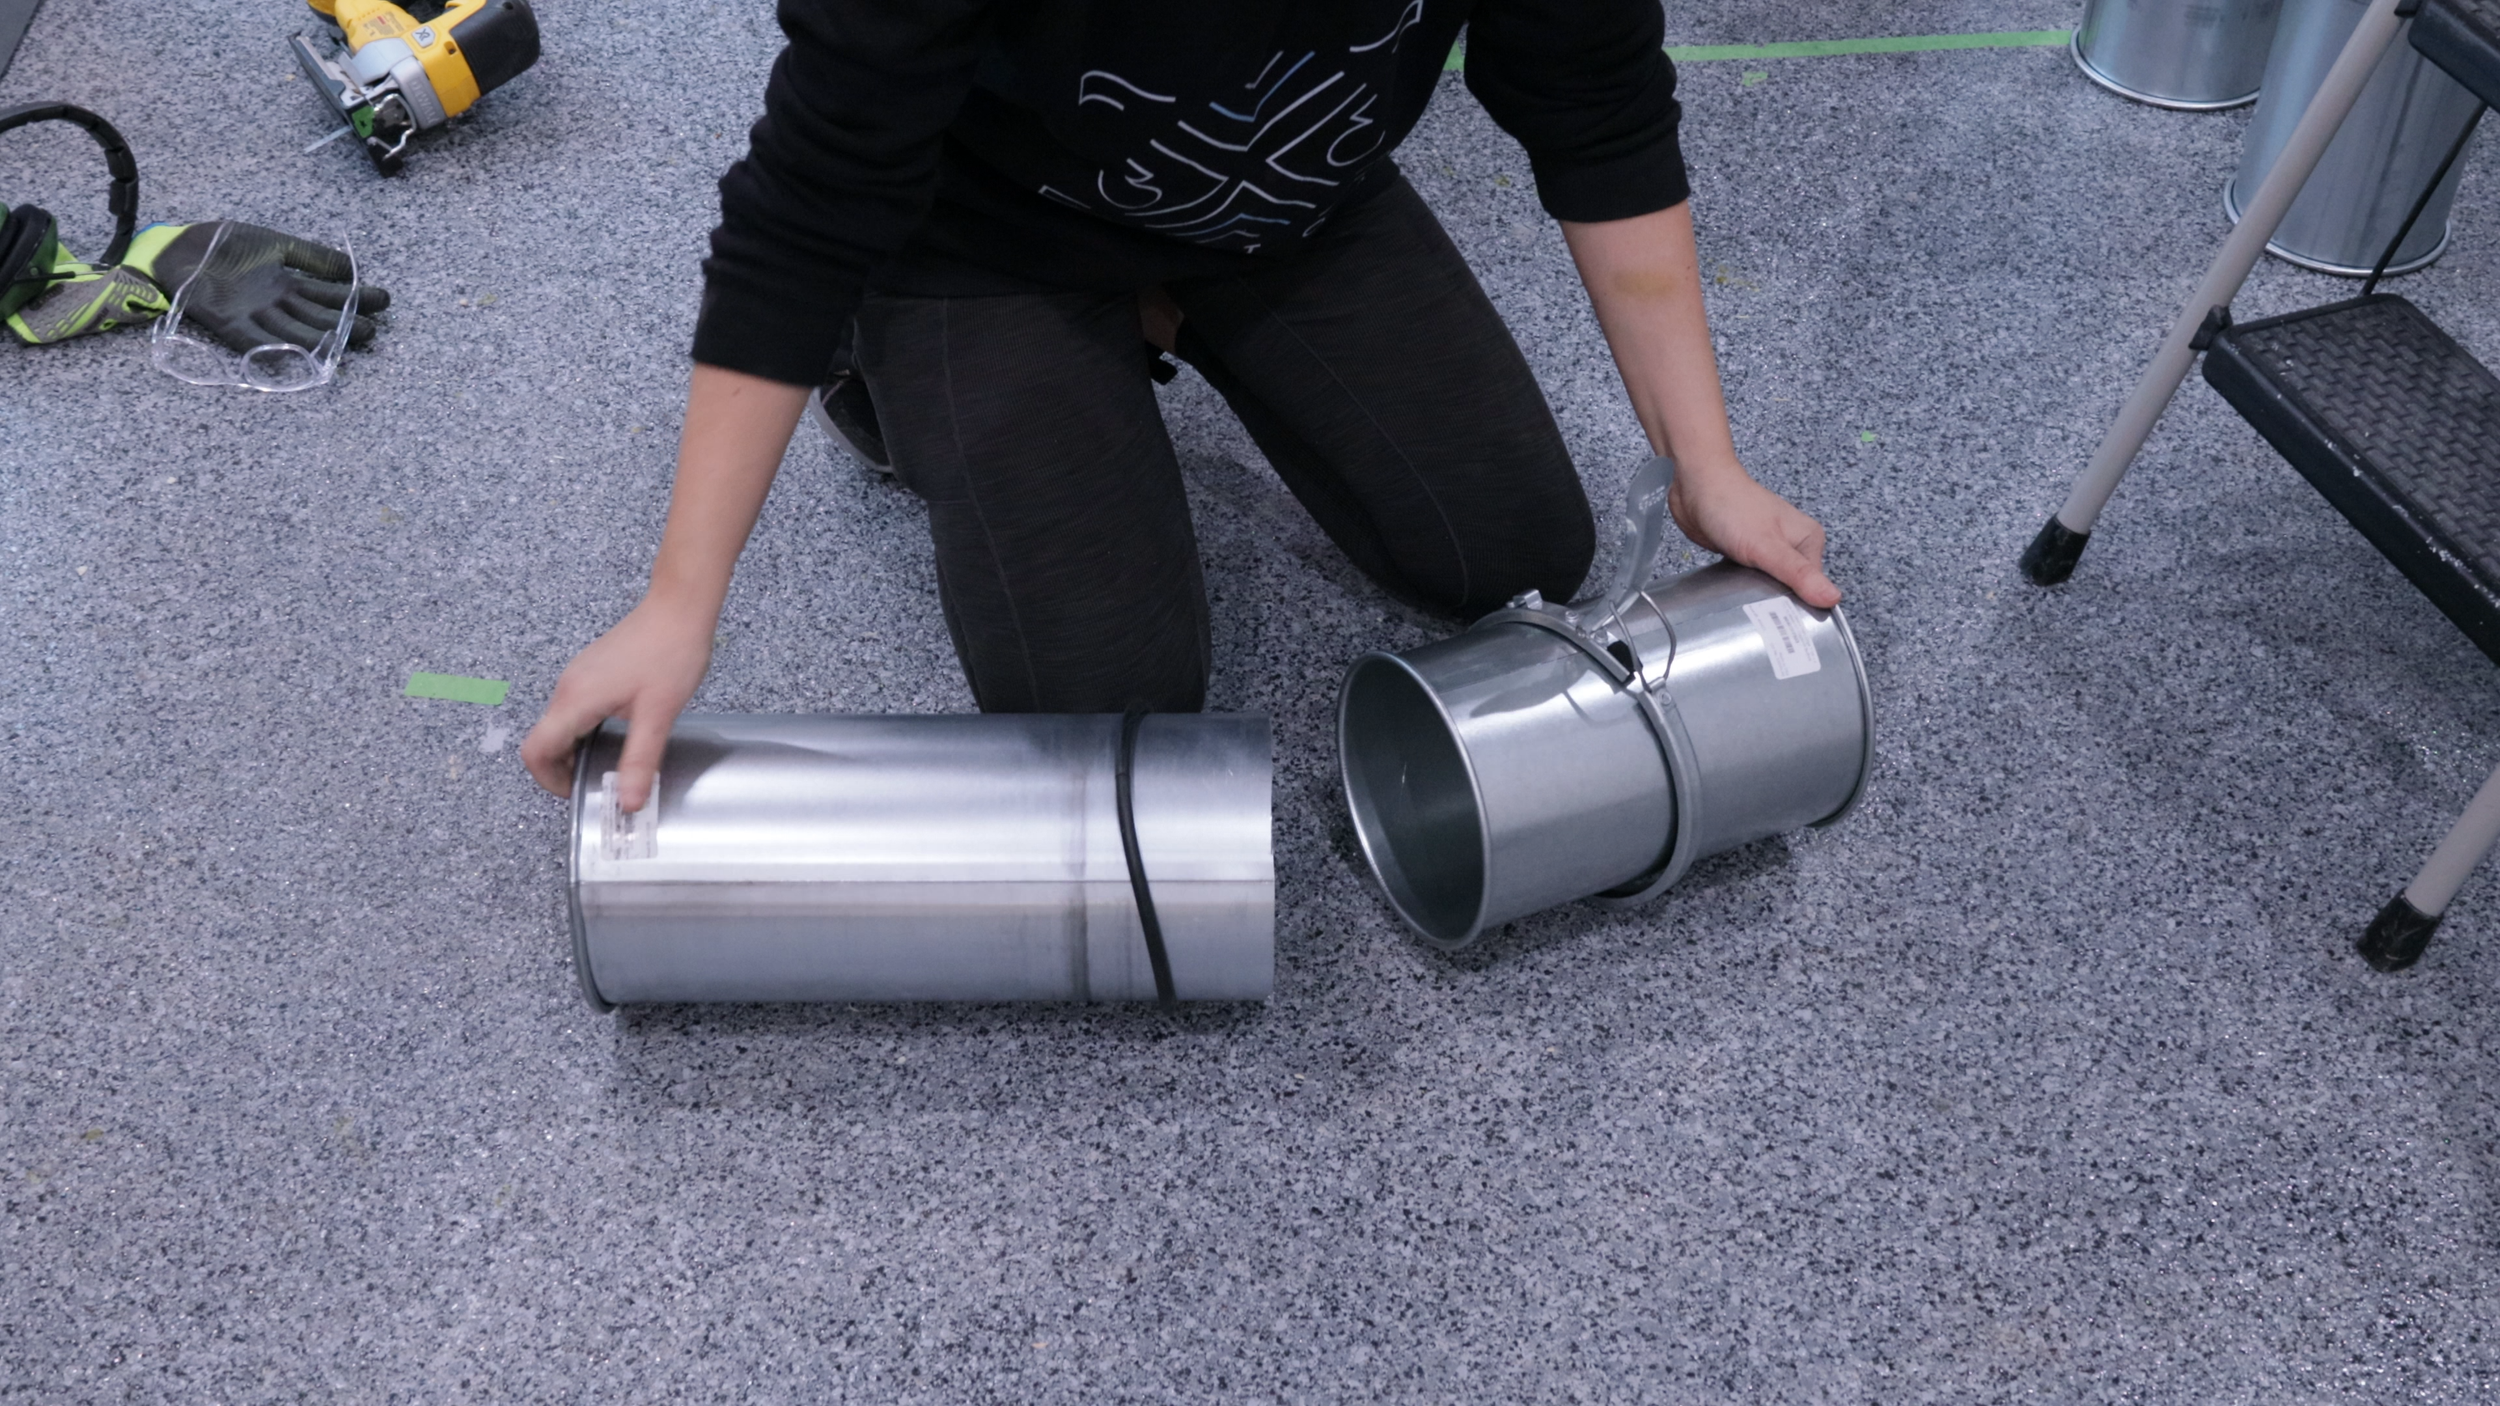
Time to assemble it!
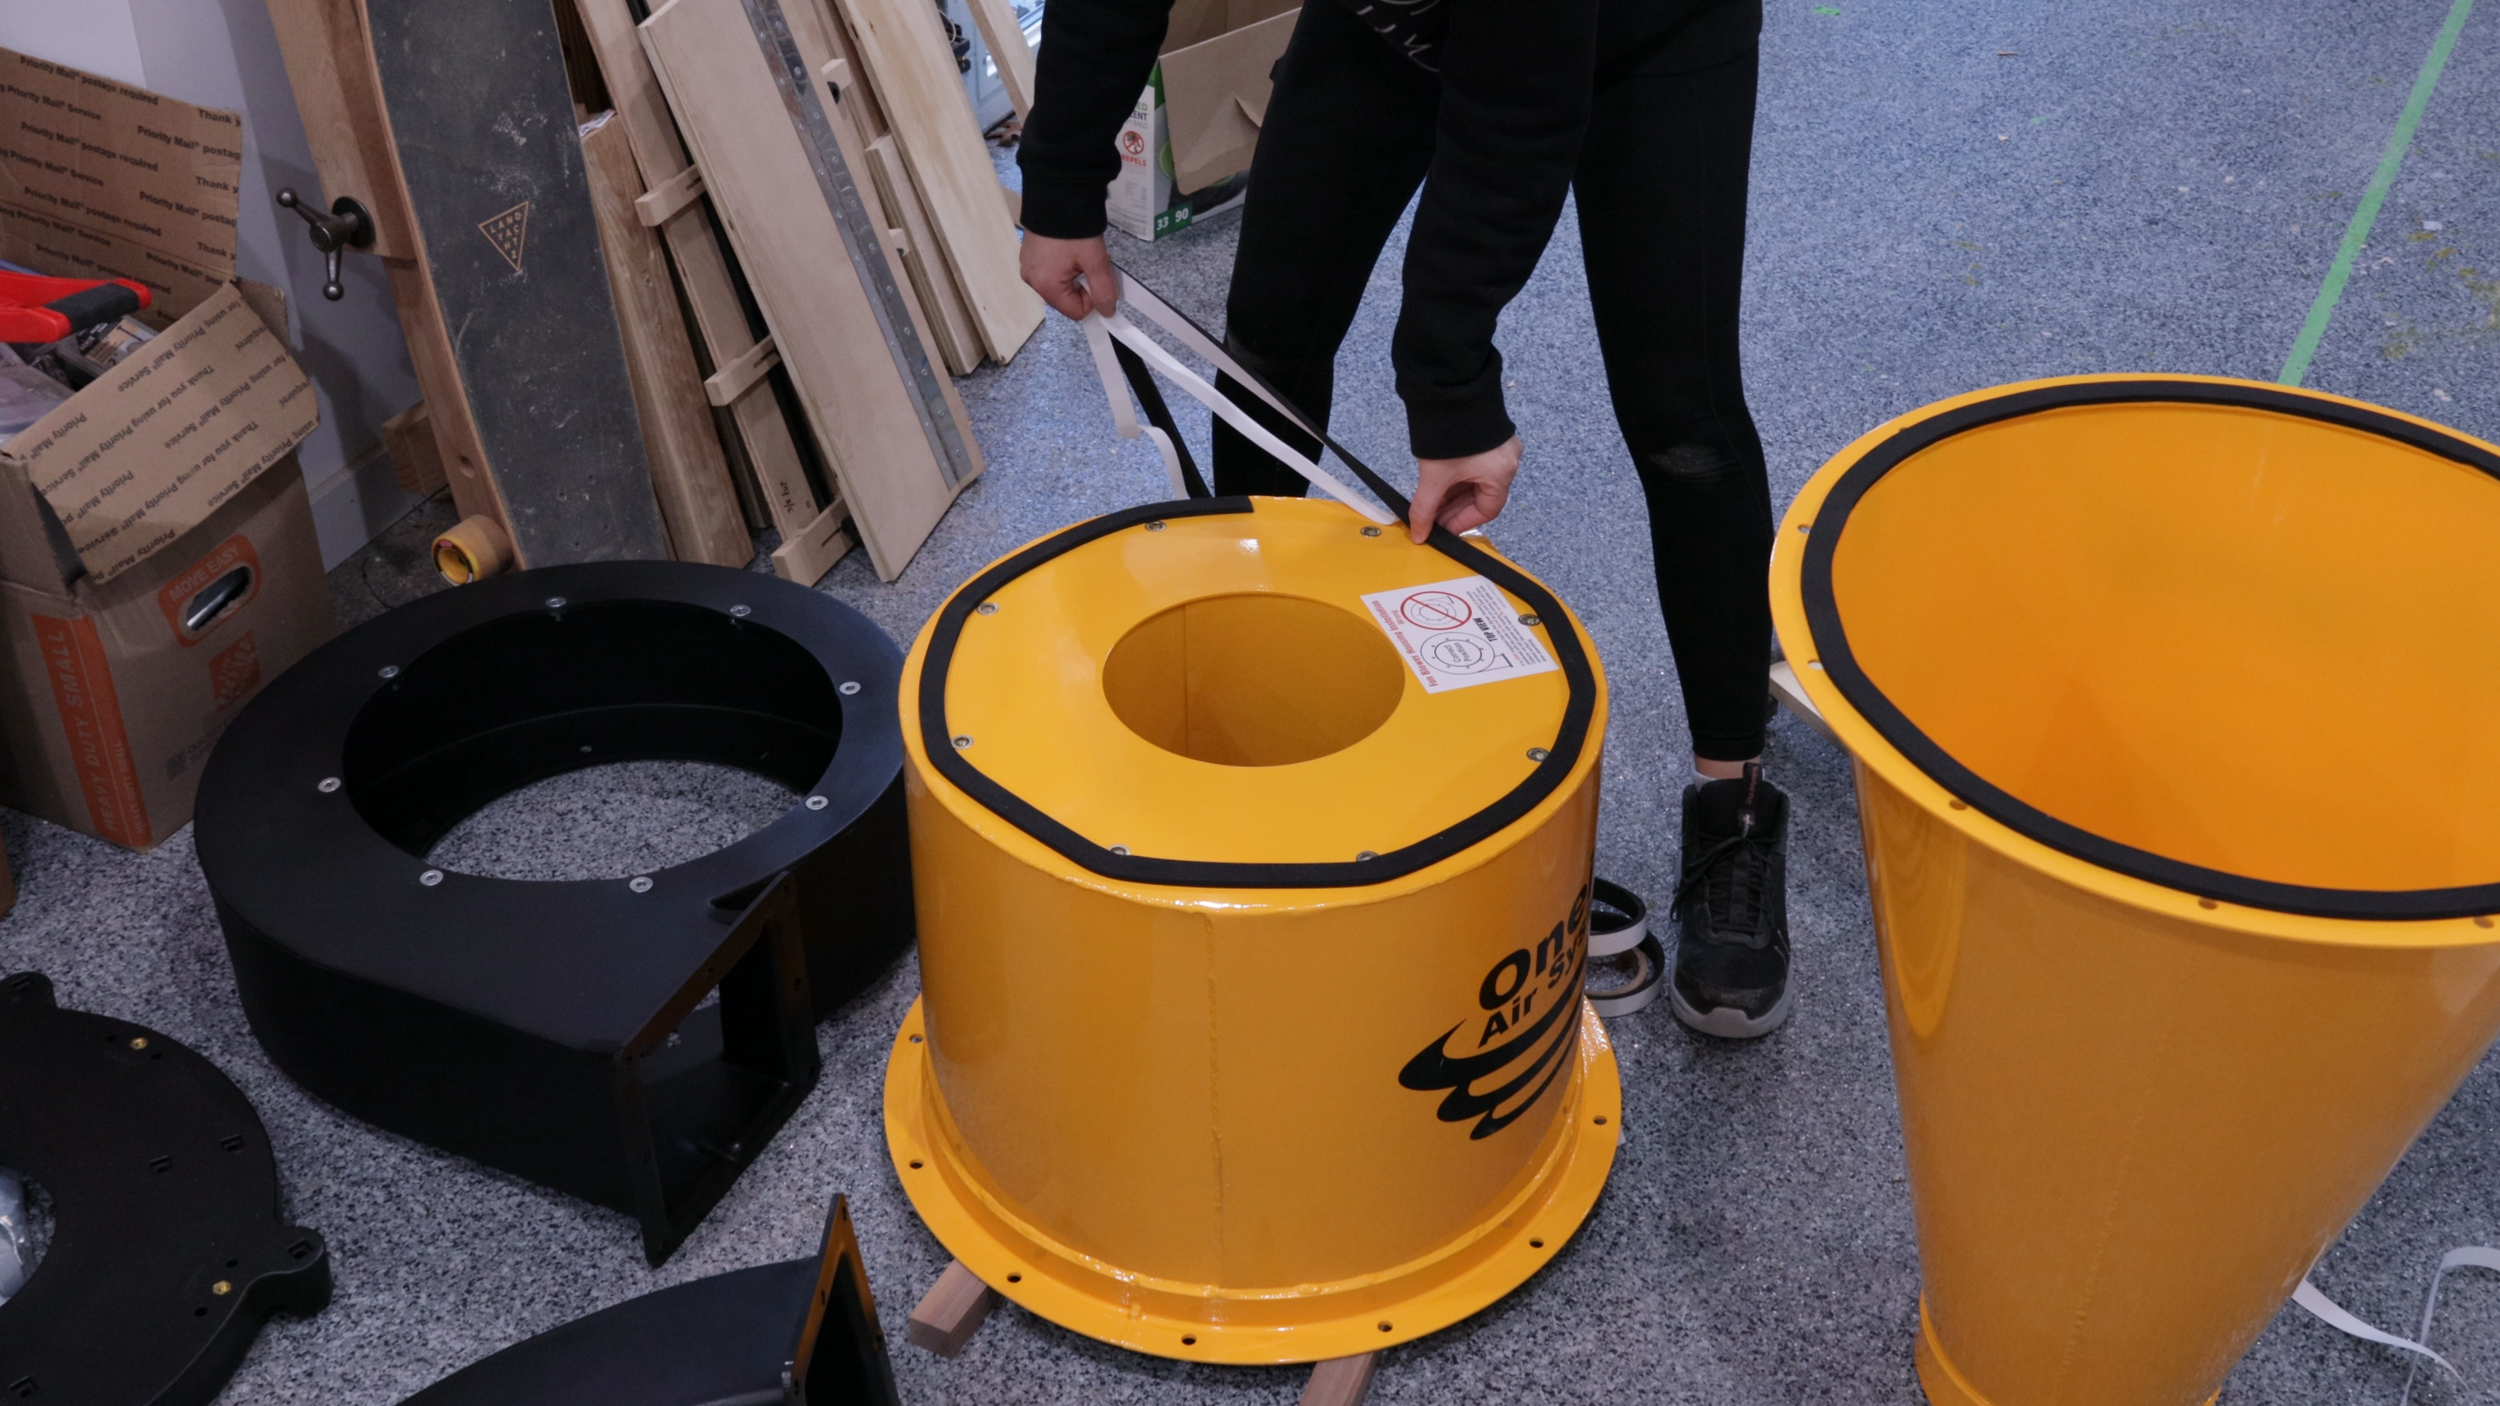
The Cone gets placed on the freestanding leg kit so that the bolt holes line up.

Then the Barrel gets placed on top of the Cone. At this point, you want to place the Barrel so the inlet is facing in the orientation you want it.

The Barrel and Cone are secured using bolts, and they are both secured to the freestanding leg kit where the holes line up.

Next, the Fan Housing is placed on top of the Barrel.
You are going to have to make a very big decision at this point… where do you want your Filter to hang?
The Fan Housing can be rotated in 45-degree increments, so choose the holes that go best with your shop’s layout.
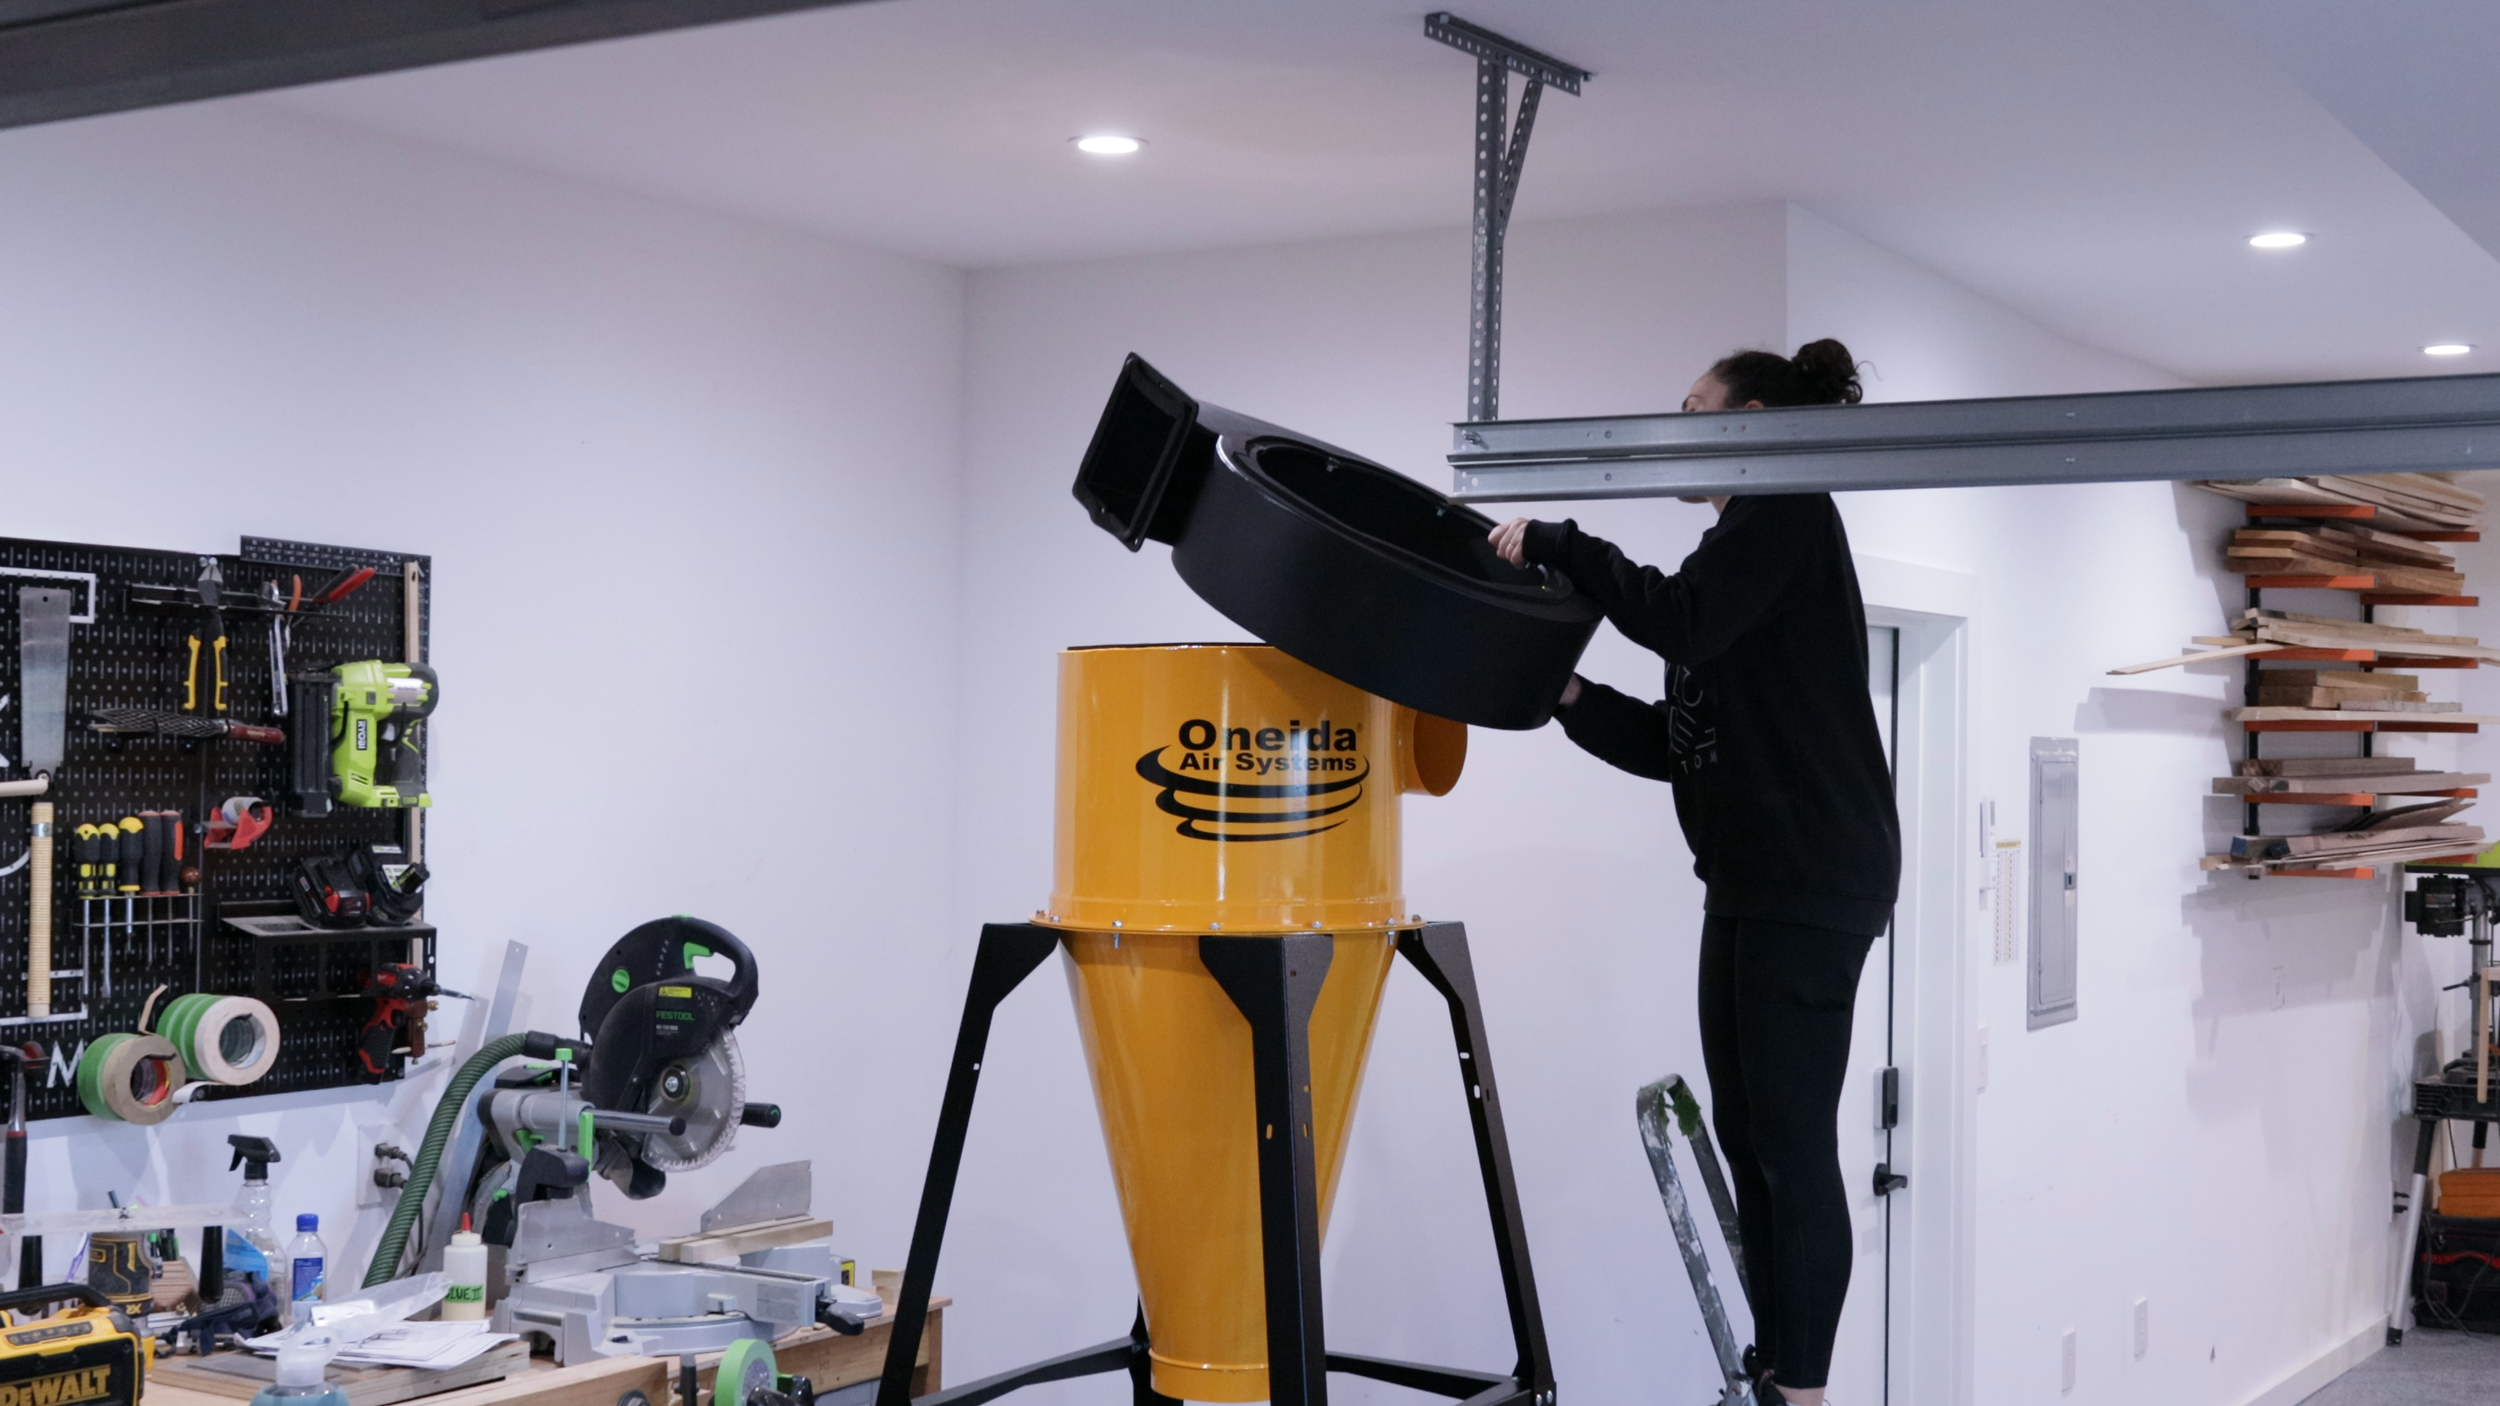
The hardest part of this whole build is getting the Motor Assembly on top of the unit.
This is VERY heavy, so I had to call in for some reinforcements….

After the motor is lifted up, it is attached with bolts.

The Filter Plate is then attached to the Filter Plenum Elbow with bolts.

And then that assembly is secured to the outlet of the Fan Housing through the Filter Plate with bolts.
The lower outer corner bolts are left off for now because the Support Brace will be attached through them.
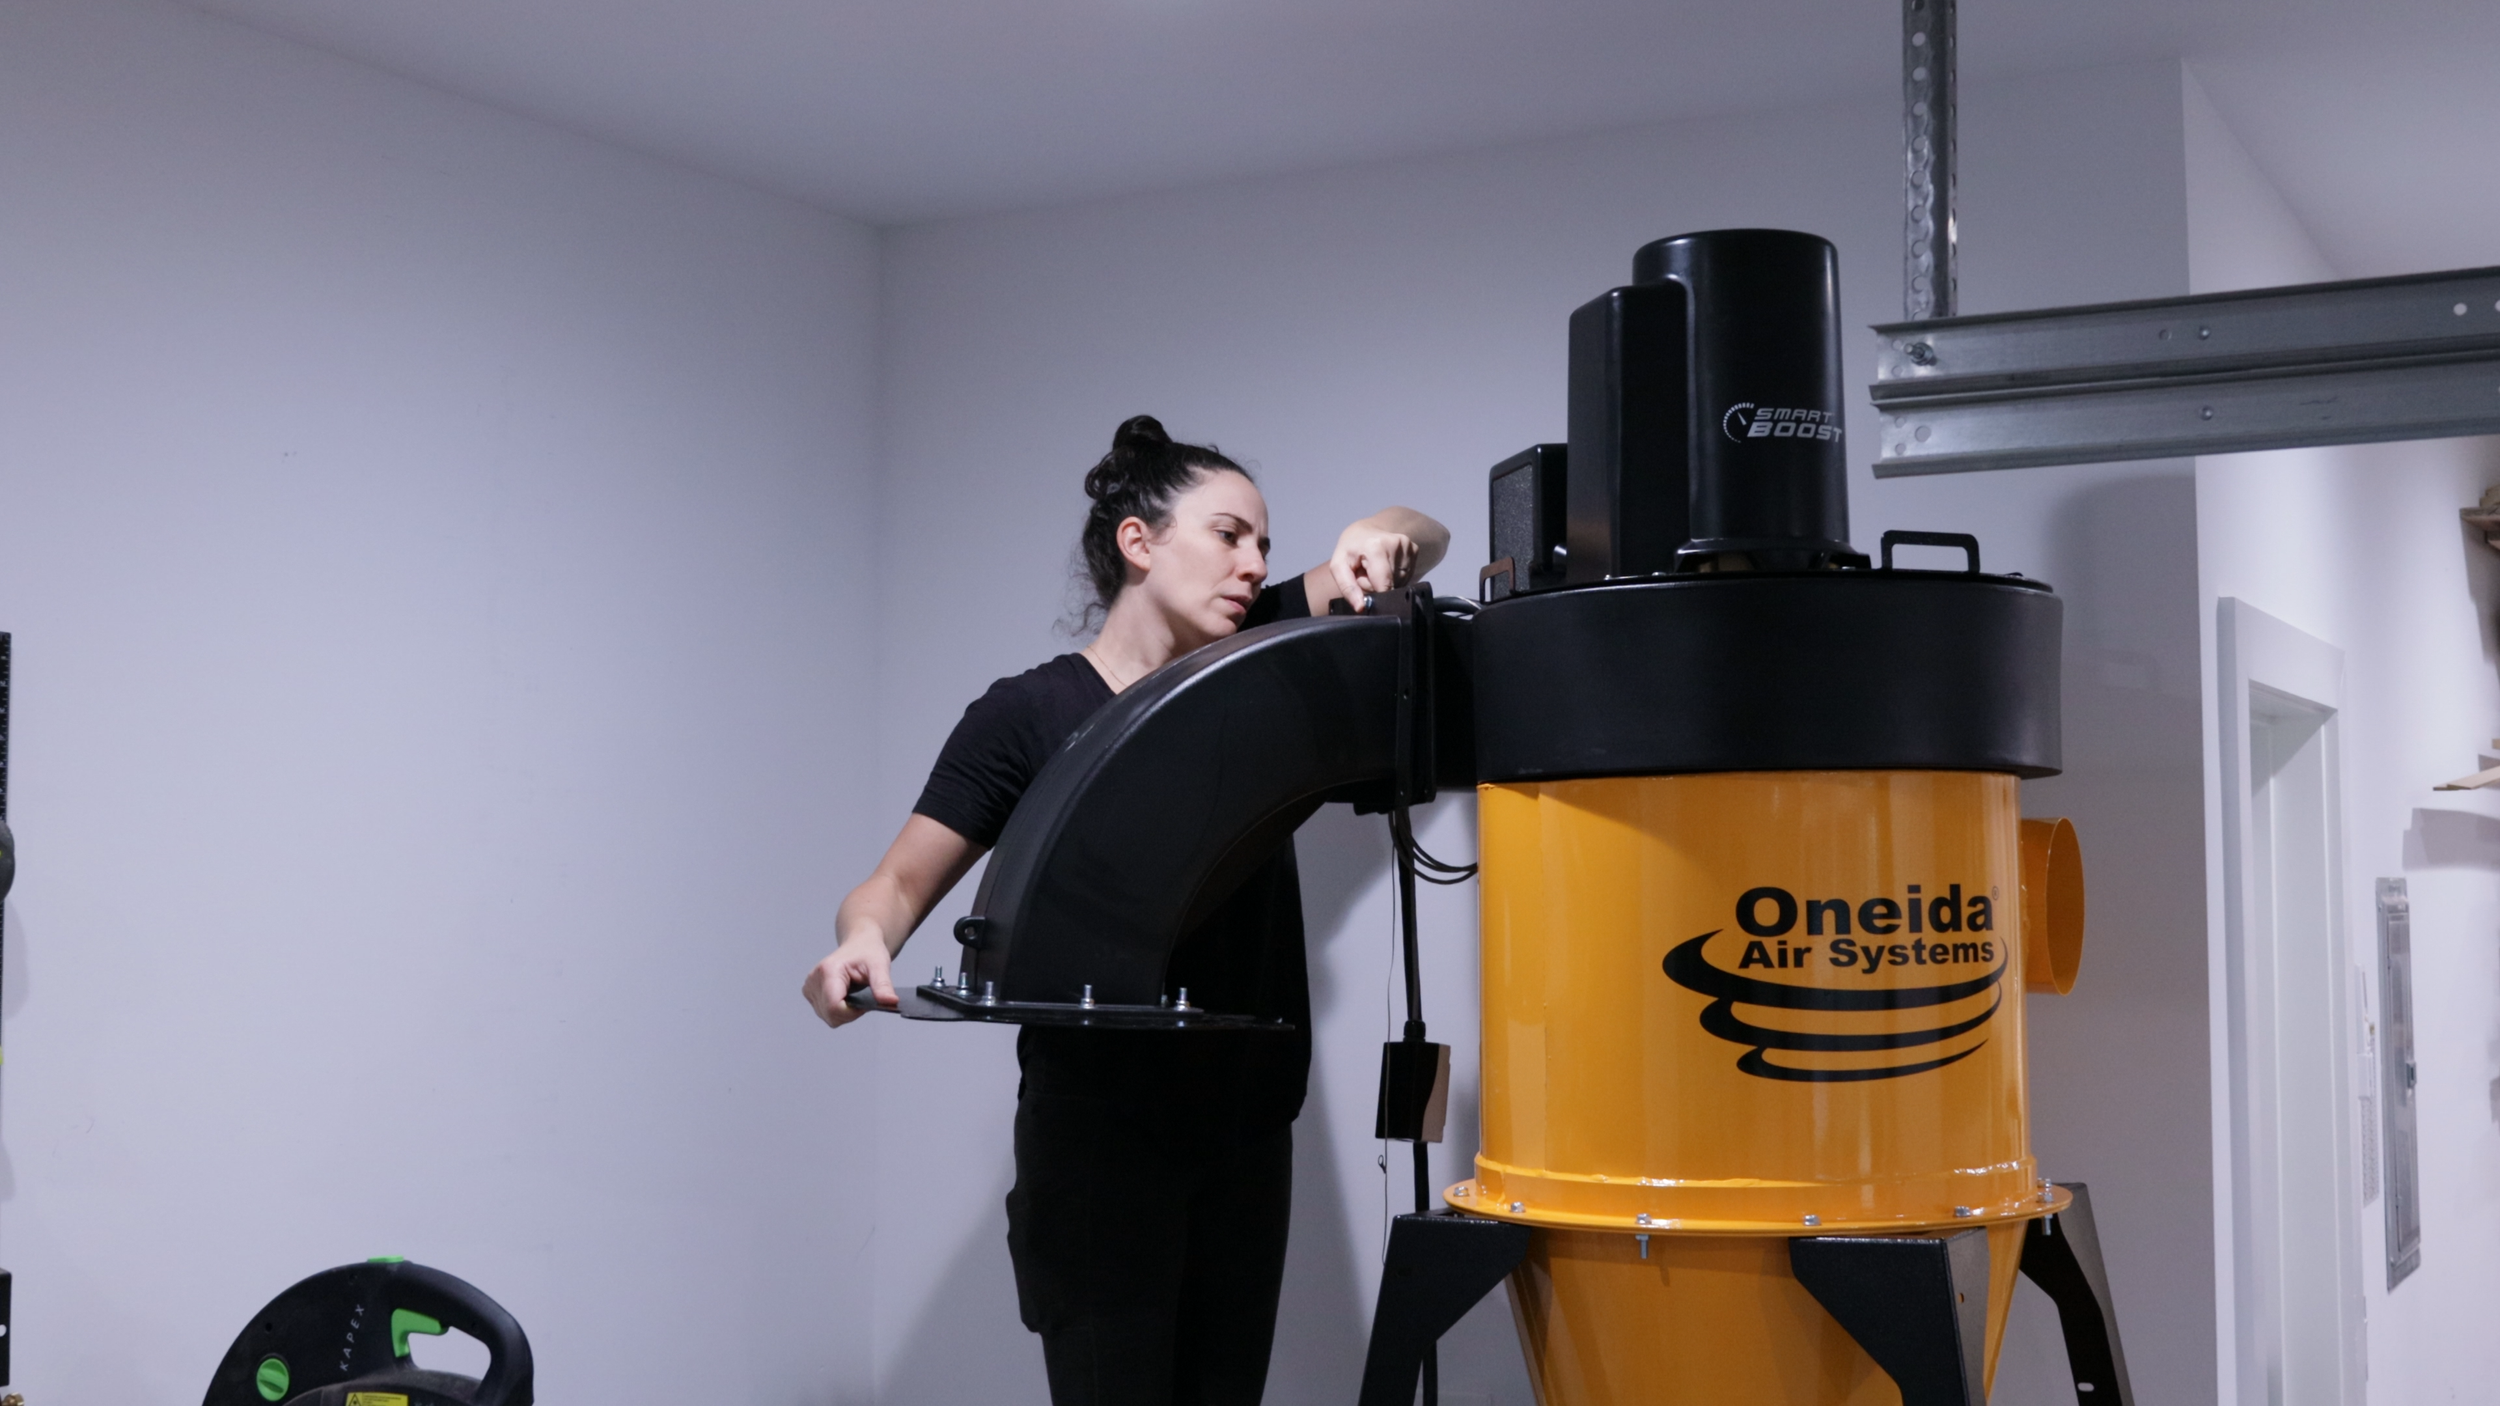
Which is the next step! Attach the top of the Support Brace to the Fan Housing through the holes left empty in the prior step and attach the bottom of the Support Brace to the flange of the Barrel.

On to the Filter! Insert the Drop in Silencer to one end of the filter, this will now be the top.

Then apply the supplied gasket to the Stacking Sound Filter. This is a HEPA-grade filter and it is the best filter you can have for your workshop, read more about it here - THE ADVANTAGE OF HEPA FILTRATION

These two components get locked together with clips that are easy to assemble off the unit, then fully tighten once they are on.

The Filter is attached to the unit with J-Bolts.
I found it finicky to try at get all four J-Bolts under the lip of the Filter, so I aimed for just three, tightened those up a bit, then added the fourth.

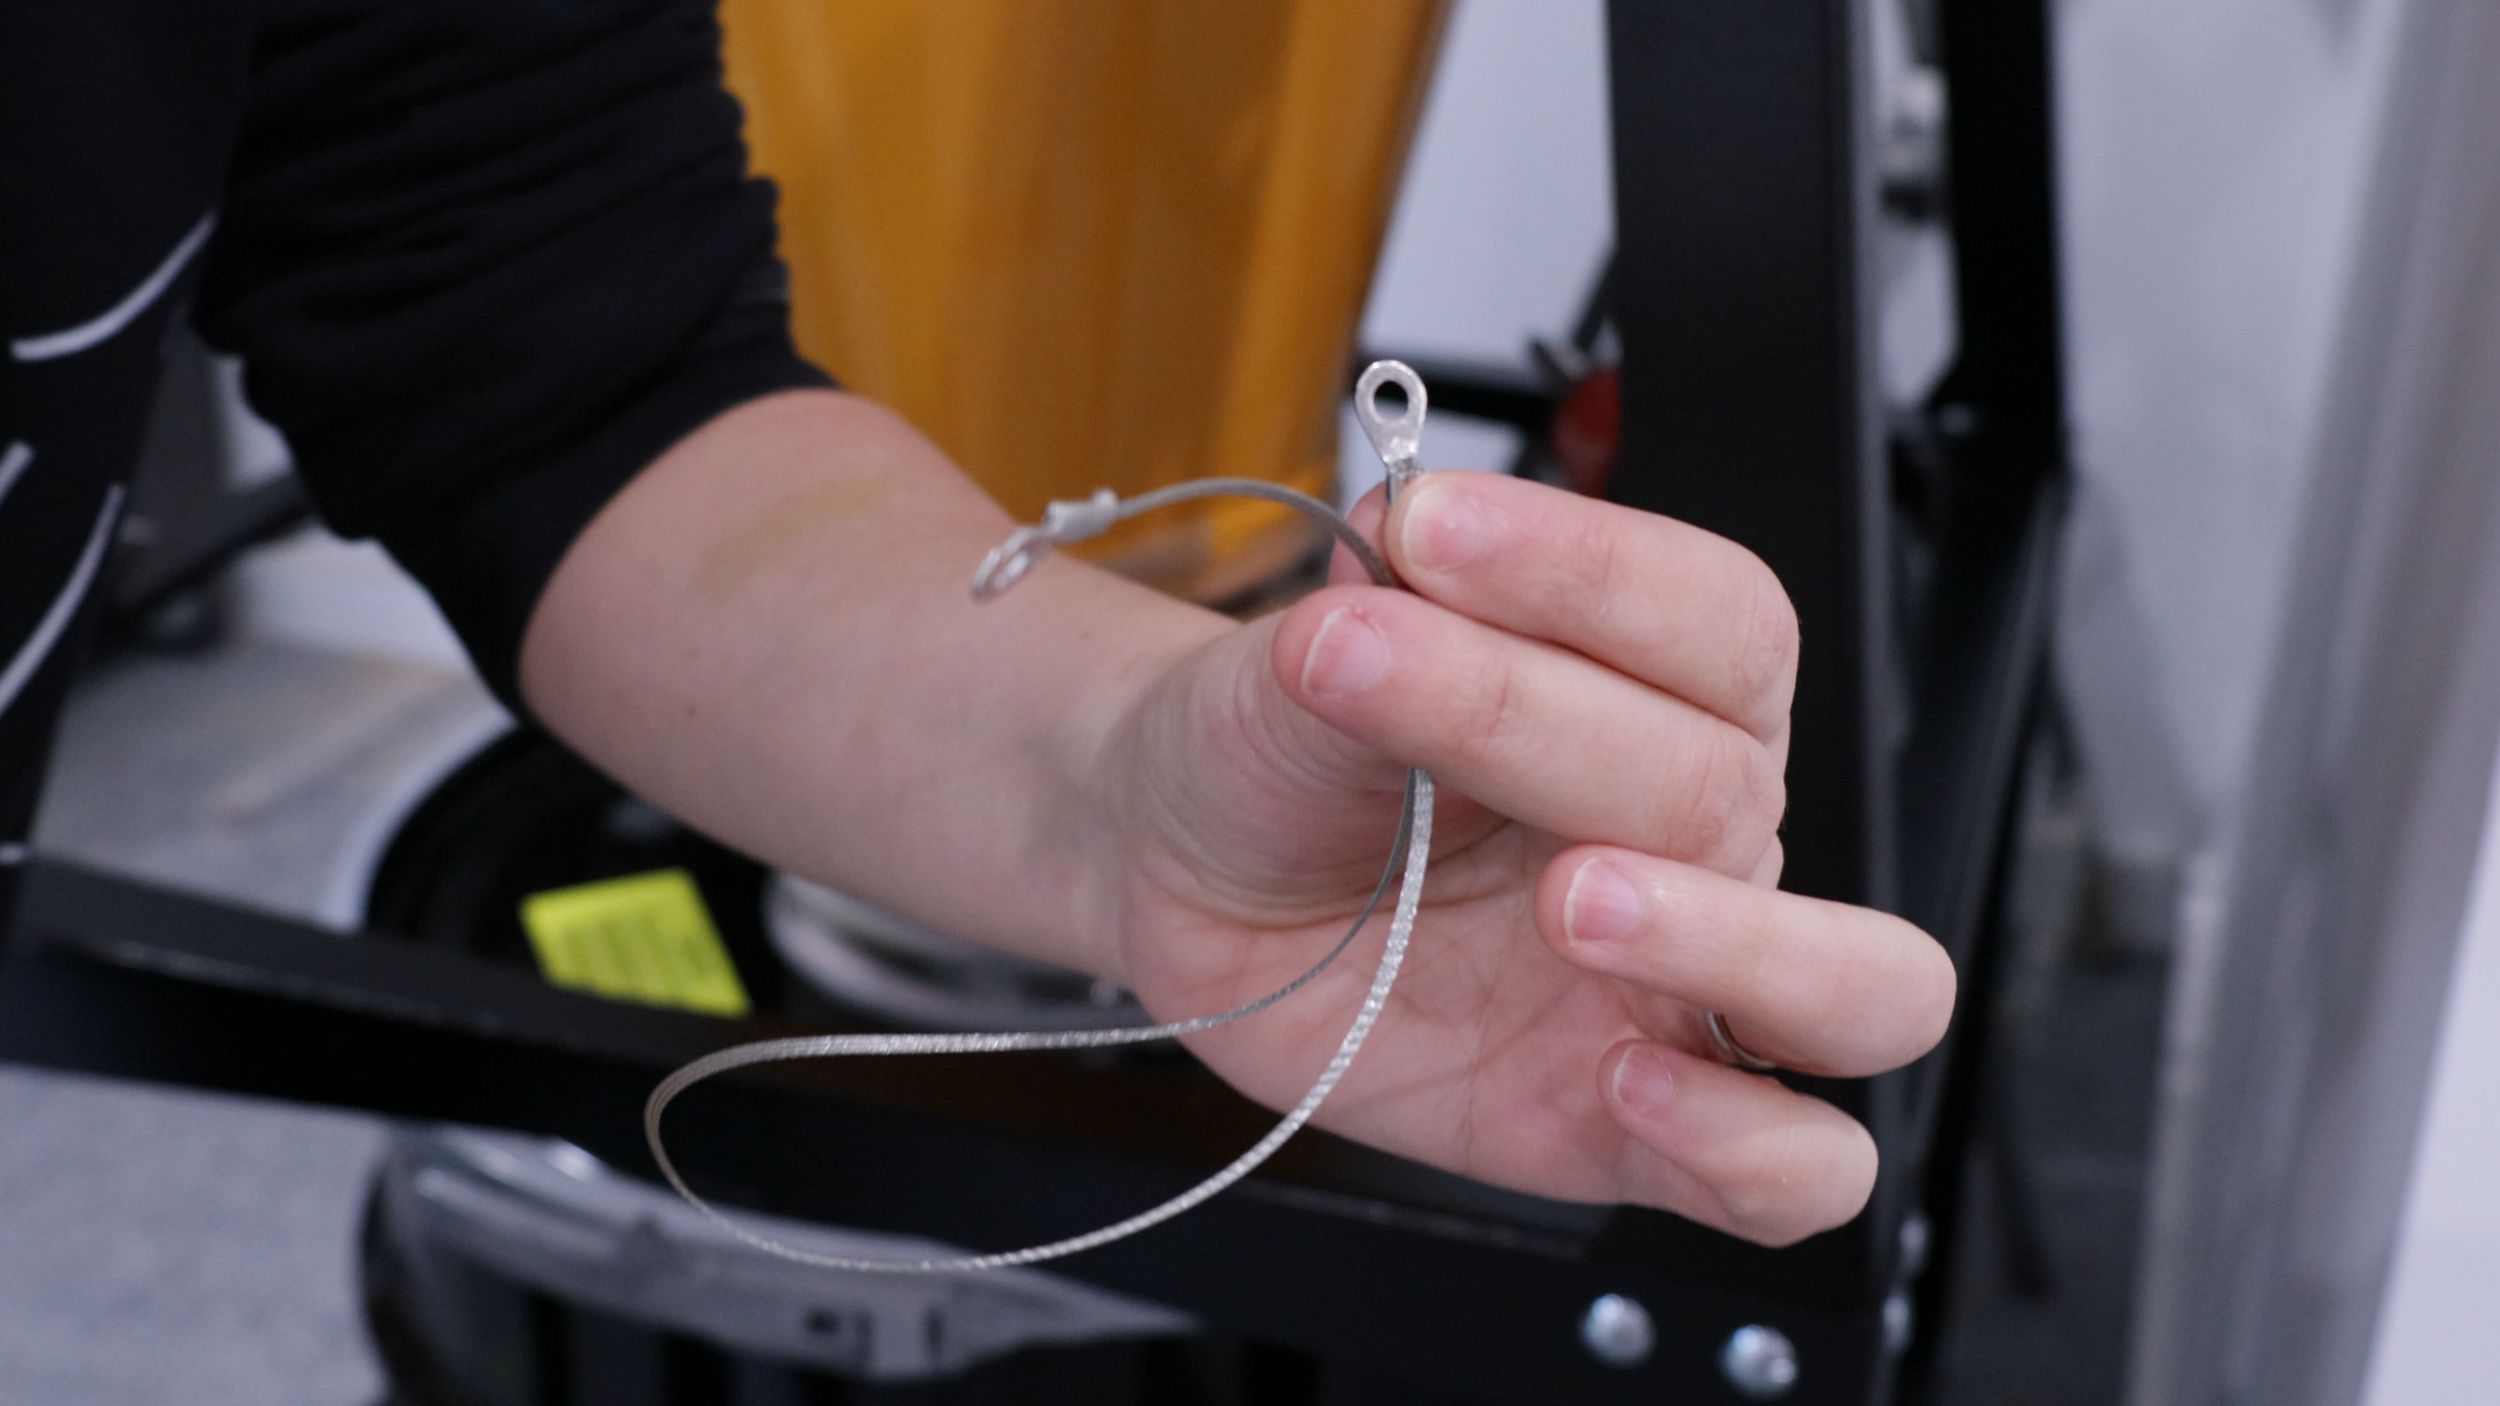
The unit comes with Braided Ground Wires. This one comes out of the Motor and there is a ring that is placed on one of the J-Bolts before locking it down. The other end of it is an alligator clip that is clipped on to the Filter.

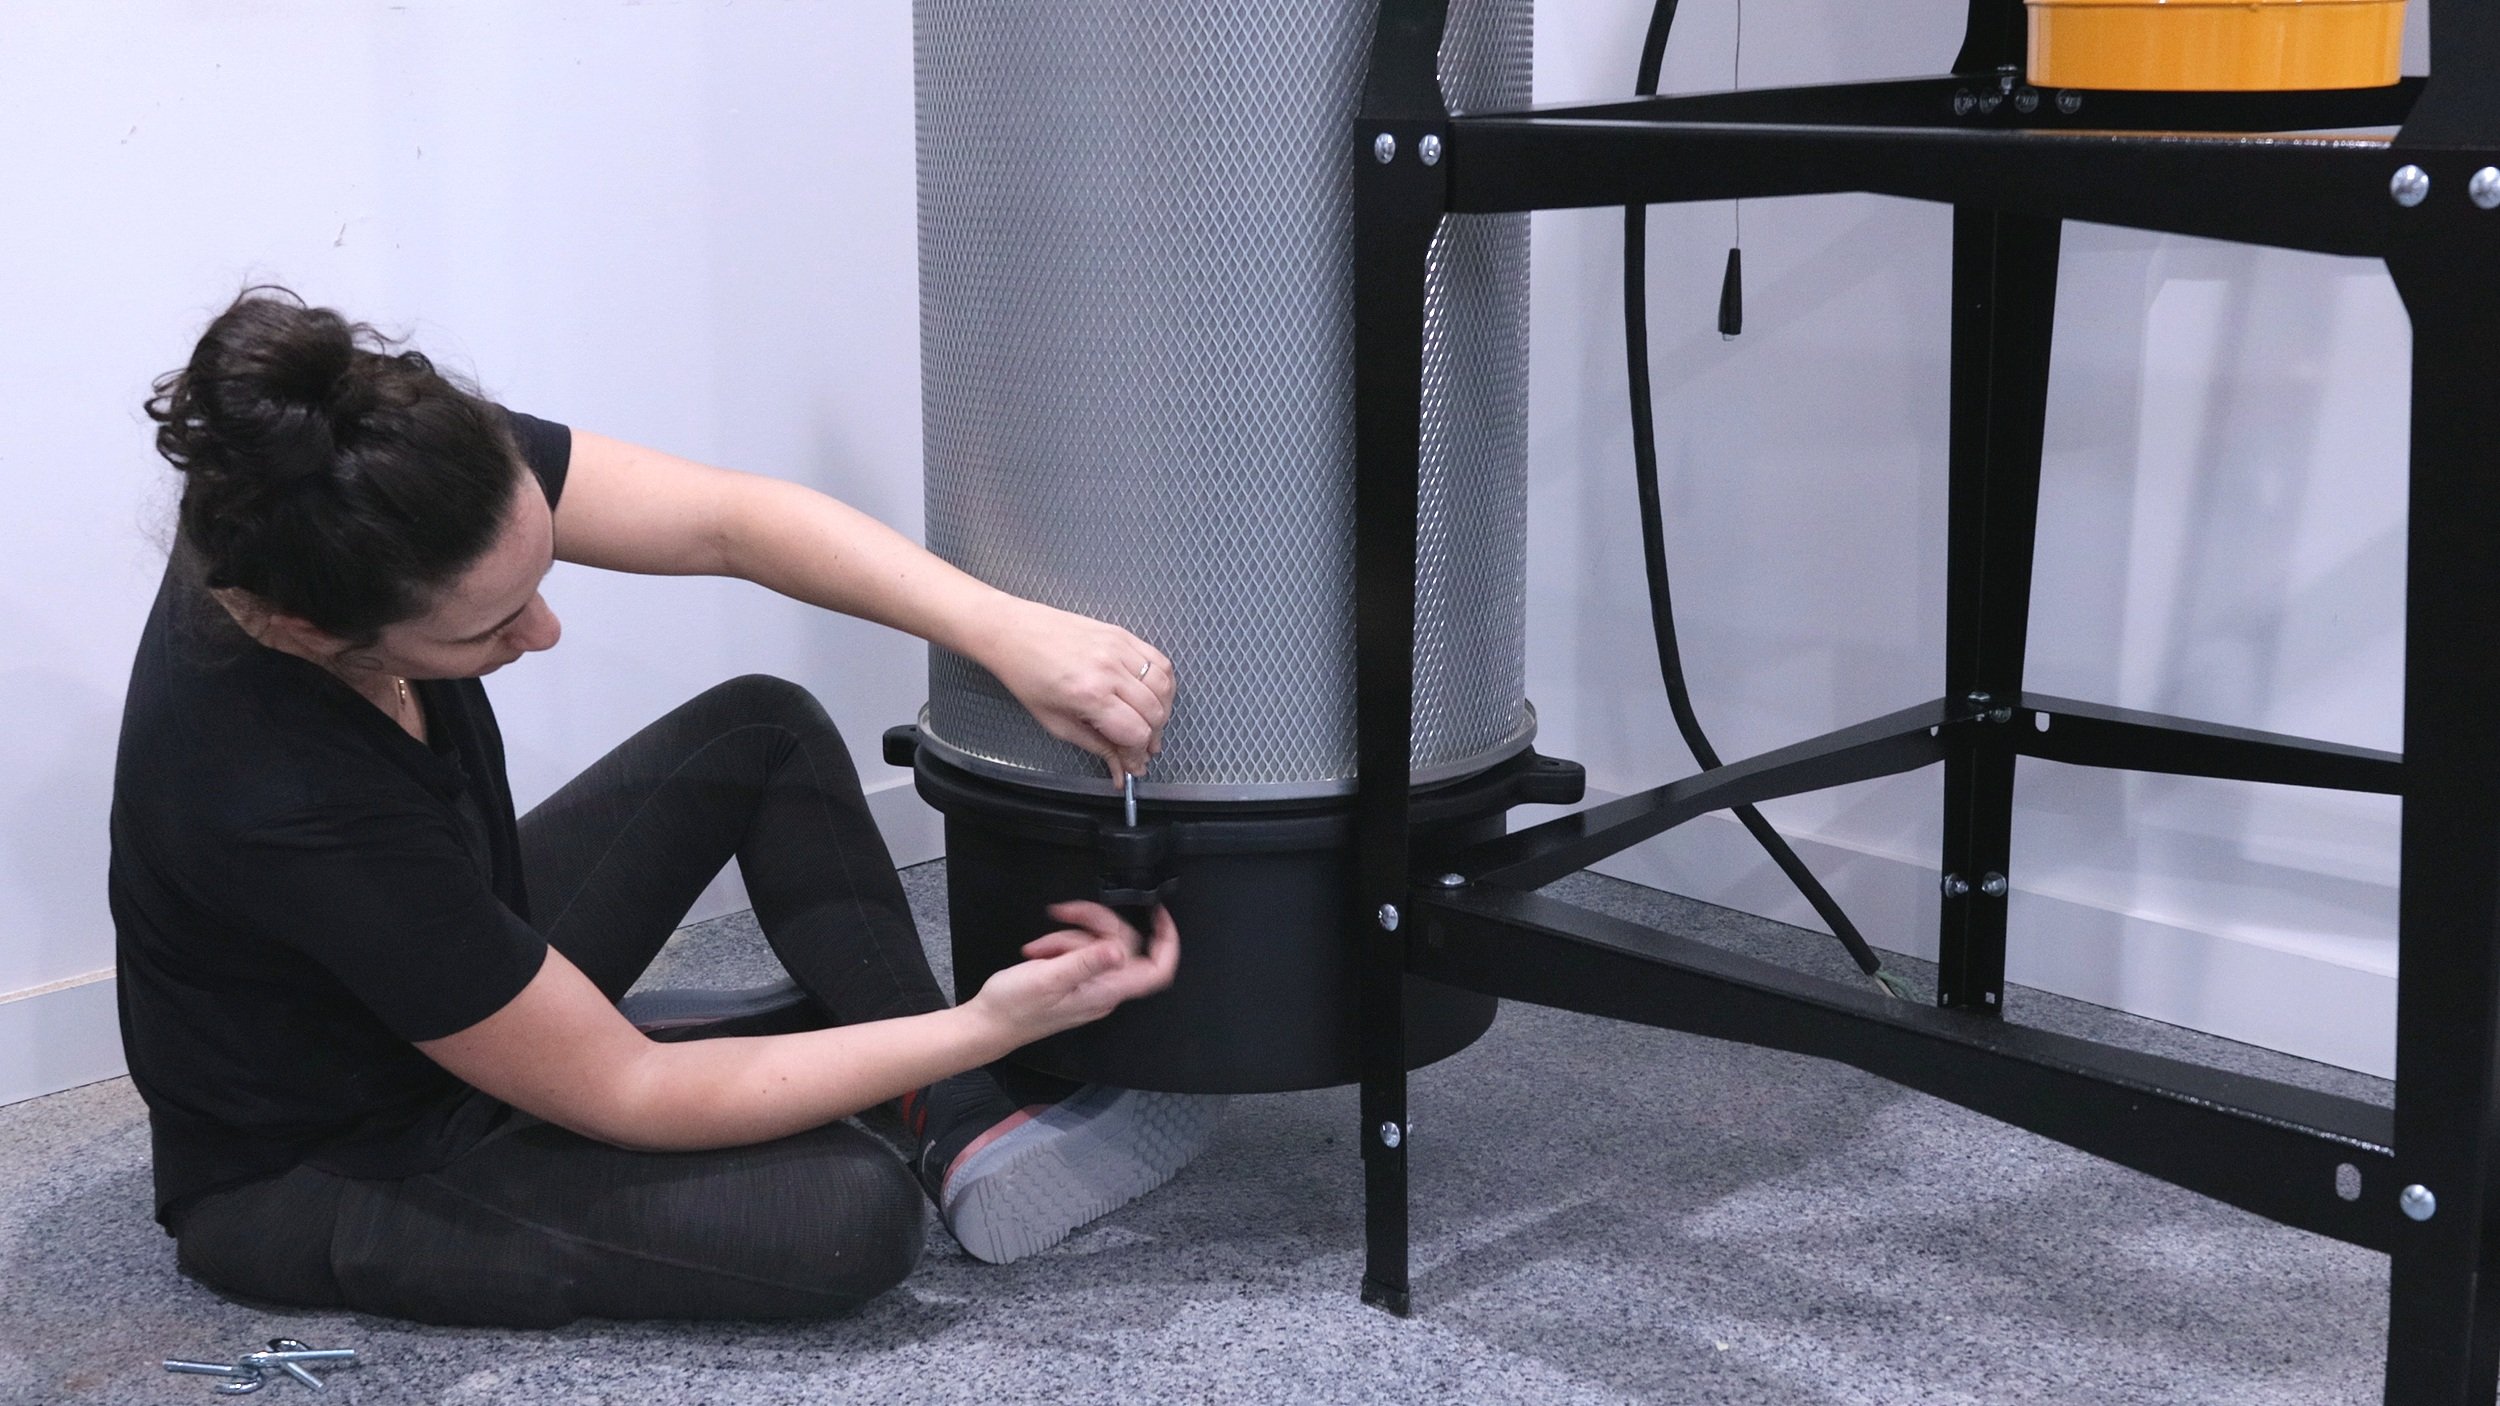
The Fine Dust Bin goes on the Filter in the same way, with J-Bolts.
This Fine Dust Bin will need to be emptied every once in a while, so it is important to place it in a location that is easily accessible.
I chose to go with a 35 Gallon Drum to hold most of the dust. There is also a 55 Gallon size.
I went with the 35 Gallon Drum because of my ceiling height and it would be too heavy for me to lift.

There is another supplied Braided Ground Wire that is connected to the bottom of the Cone with a self tapping screw.
And the other end is connected to the Inlet of the Lid on the Drum.

The unit comes with Bare Wires, so you will have to supply and install your own plug.
Here is the plug I purchased - 30A 250 Volt Locking Plug


The starter is screwed to the wall and so is the Dust Sentry light.
The Dust Sentry is a flashing light that goes off when your dustbin is full, how cool! This is an amazing feature that will prolong the life of your filter. So excited about this feature.

Lastly, the Dust Bag and Liner are placed in the Dust Bin, and that wraps up the assembly of this unit!

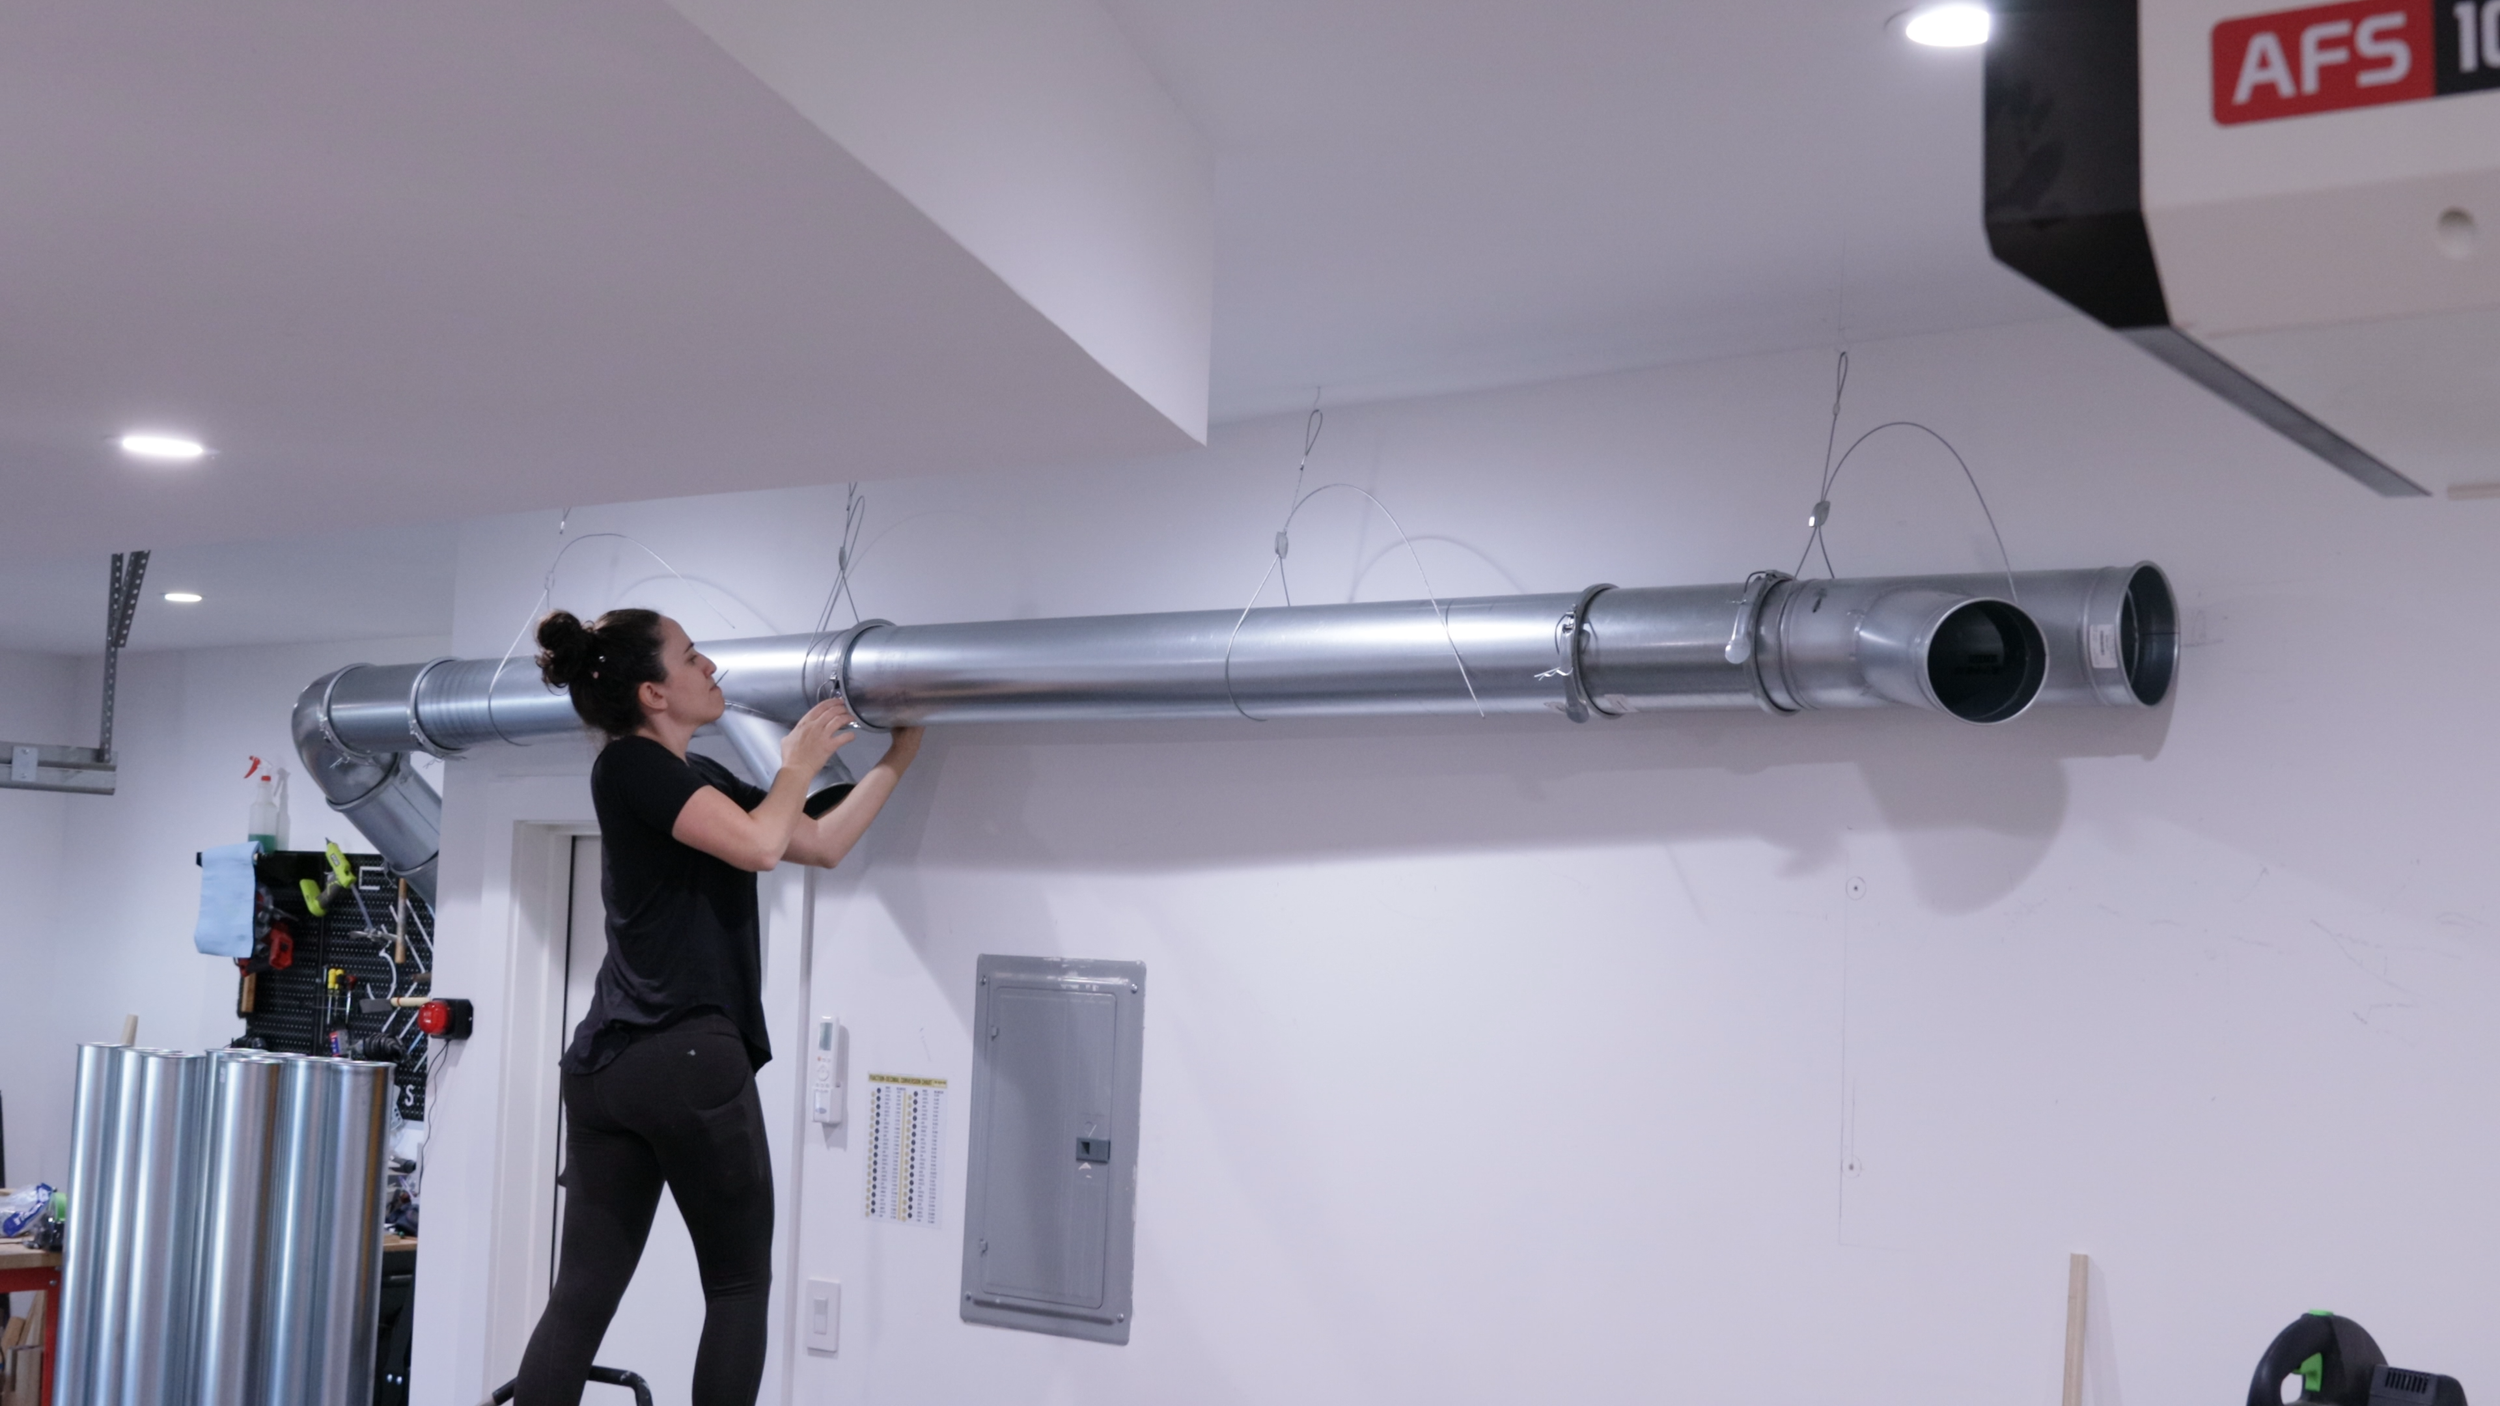
Now on on to the ducting!

Like I mentioned above, I used Oneida’s Shop Plan Design Service to lay out all the ducting.

Simply fill out all the tools you have and sketch out your shop, then send it off to them!

After one revision, they came back to me with this awesome plan. There is no way I could have figured this out on my own! They really know the most efficient way to set up these systems and the detail is incredible.


I decided to go with their Quick Clamp Ducting for two reasons, it is super simple to install because the clamps are self-sealing and it is easy to customize and change if you ever need to.

The installation process is really easy. The hardest part is making sure all your drops are in good locations since the plans they send are really just an estimation of where your tools are actually located.
All this needs to be figured out on the fly and the Quick Clamp system makes that so easy.
If you need a space that’s shorter than the supplied pipe, cut it 4” shorter than you actually need.

Then insert the cut end into an Adjustable Sleeve. An O-Ring is placed on the cut pipe right next to the flange of the Adjustable Sleeve and they are sealed with a clamp! Super simple!
If you thought that was easy, hanging them is even easier!
I used the Gripple Hang Fast System, this system is truly amazing and allowed me to install all the pipe by myself.
The Gripple Wire hangs from a hook screwed into a ceiling joist. Then the Gripple Hardware creates another loop that you can insert the pipe into.
The best part about this system is that you can let the wires hang low to install the pipe. Then once the pipe is in the loops, you can raise it all up using the Gripple Hardware! So Easy!

Once raised to the correct height, the pieces are connected with the clamps and you can move on!
Laying out all the pipe along a wall is easy to visualize, not so much in the middle of the room…
So to make sure the drops in the middle of the room would be in good locations, I used a scrap board lined up with the middle of the pipe and eyeballed it… that seemed to work out great!

Only problem, that great location was not in line with a ceiling joist so I screwed a board to my ceiling through the joists.
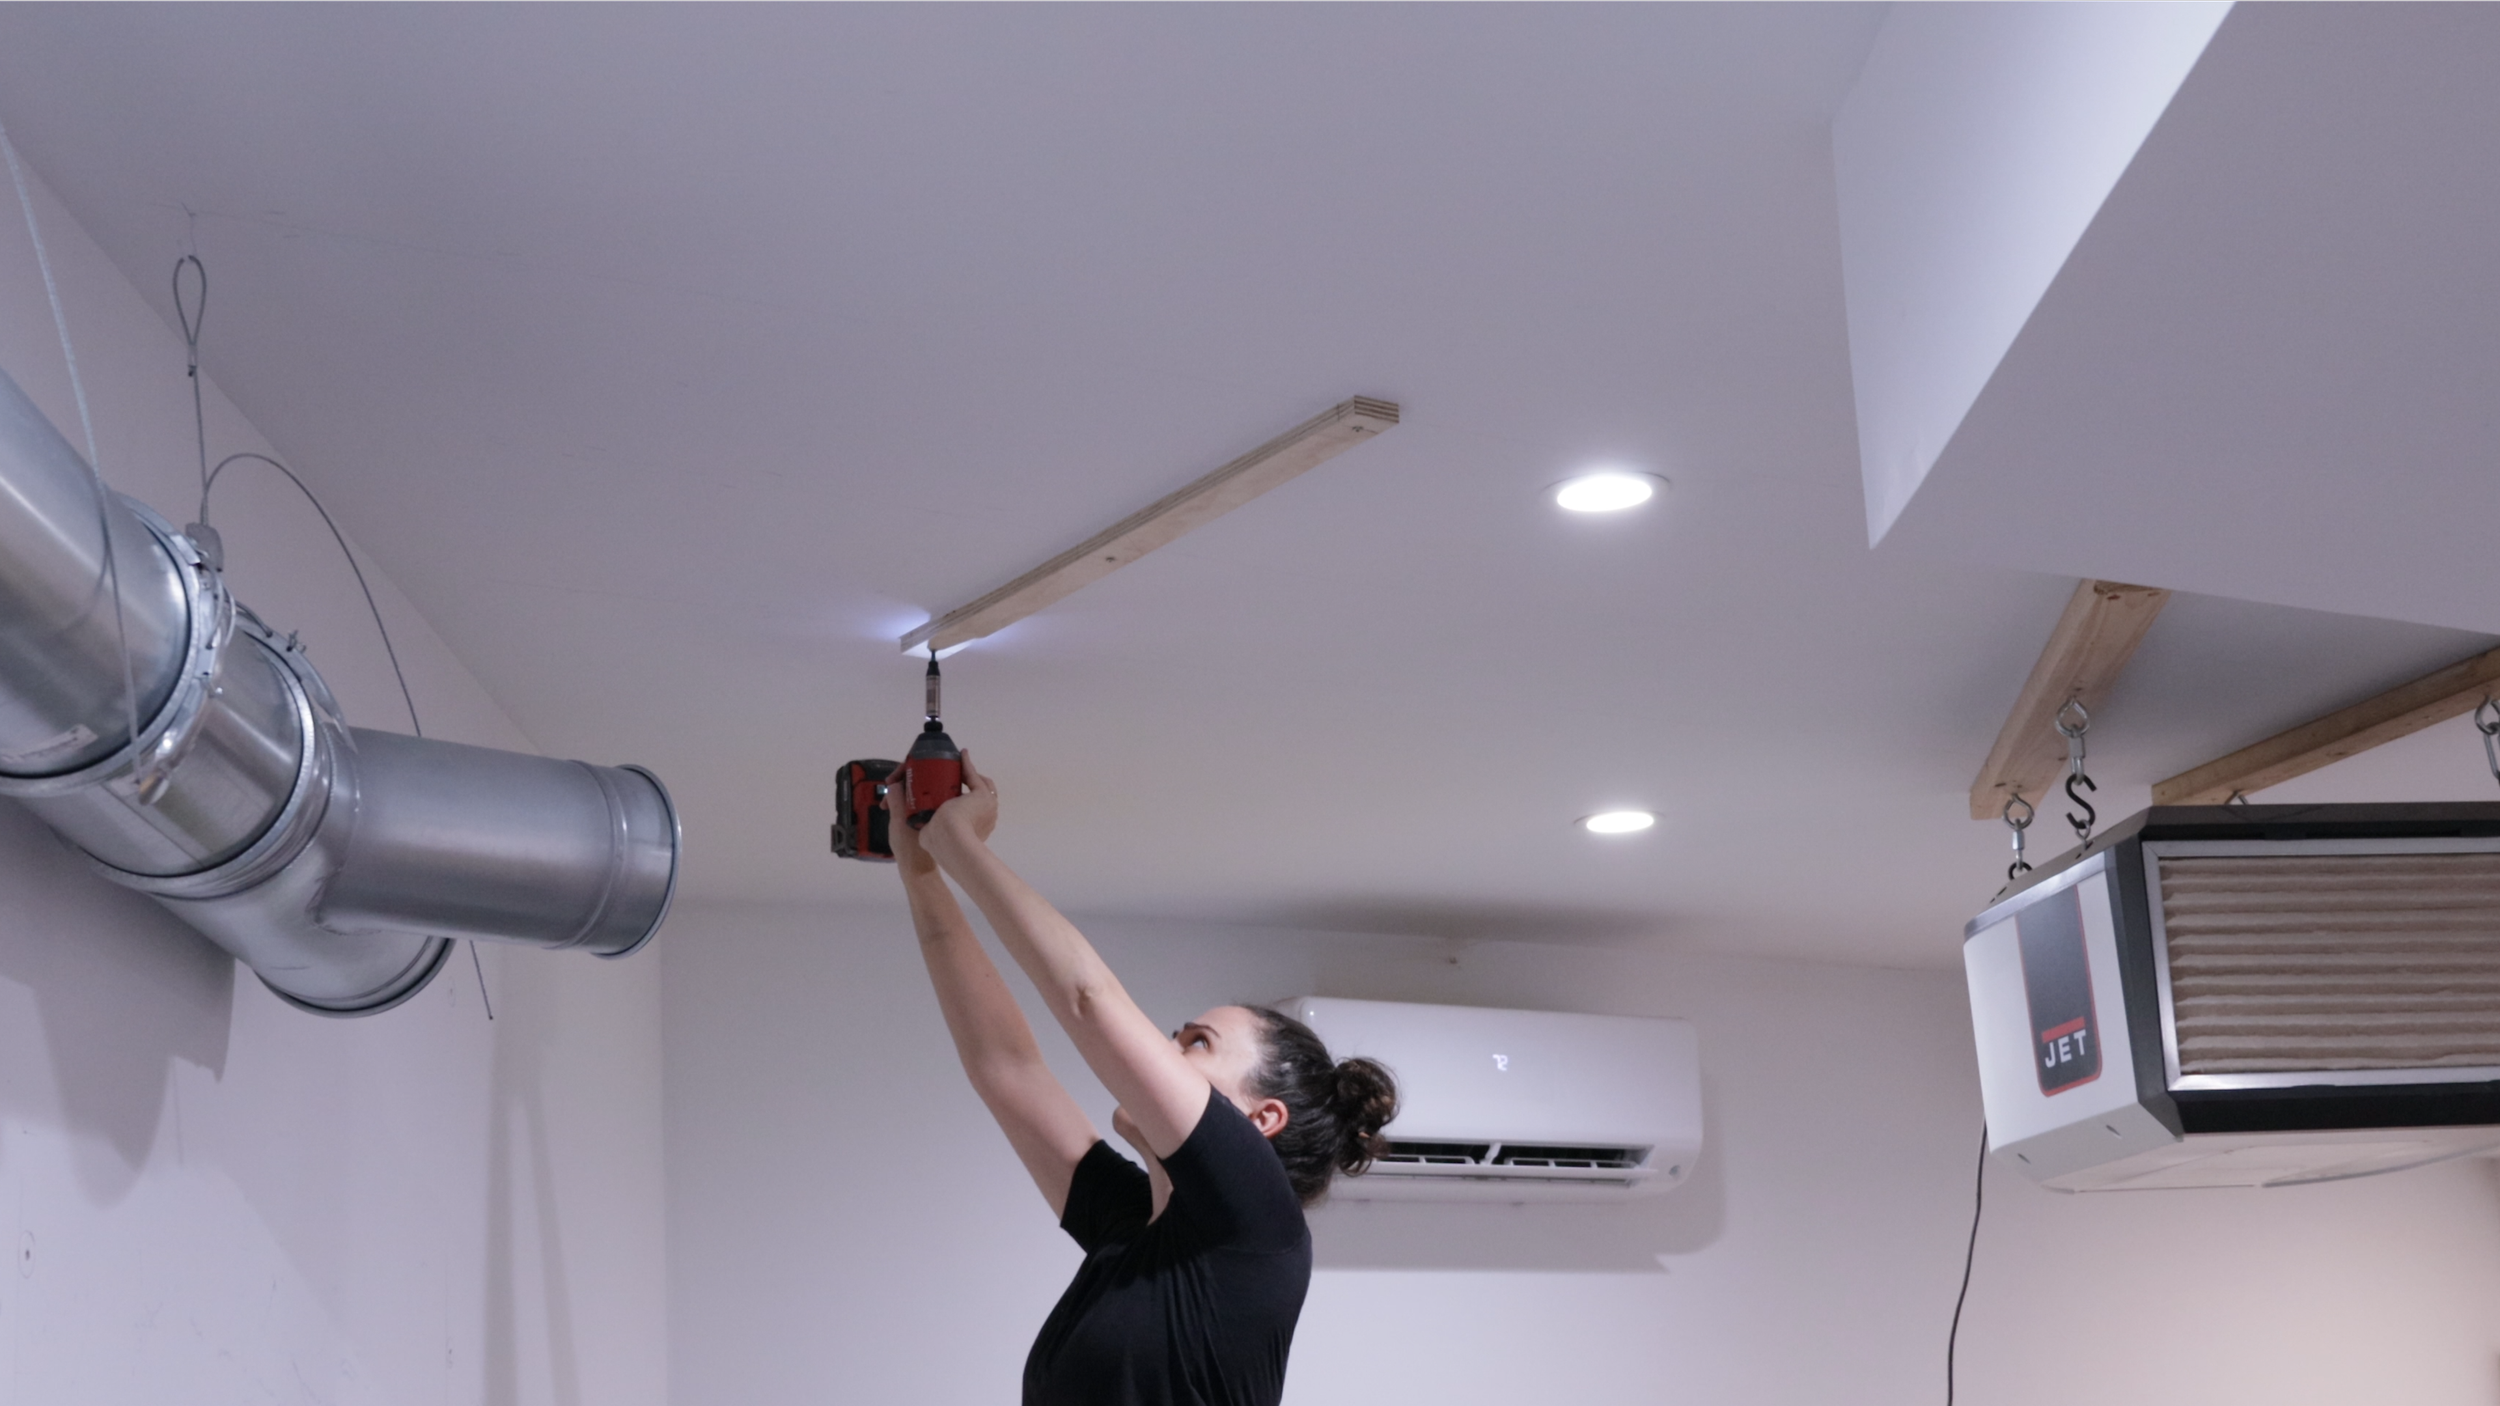
Then I could screw the ceiling hook to that board and it will be nice and secure.

The last pipe get’s an end cap to close it all off, and this will also enable me so add to the system down the line if I ever need to!

Now that the main line is in, the drops could all be assembled. I did not have to figure any of this out. Exactly how to assemble all these drops are detailed in the shop layout plans Oneida sent over.

Down to where every blast gate will go!

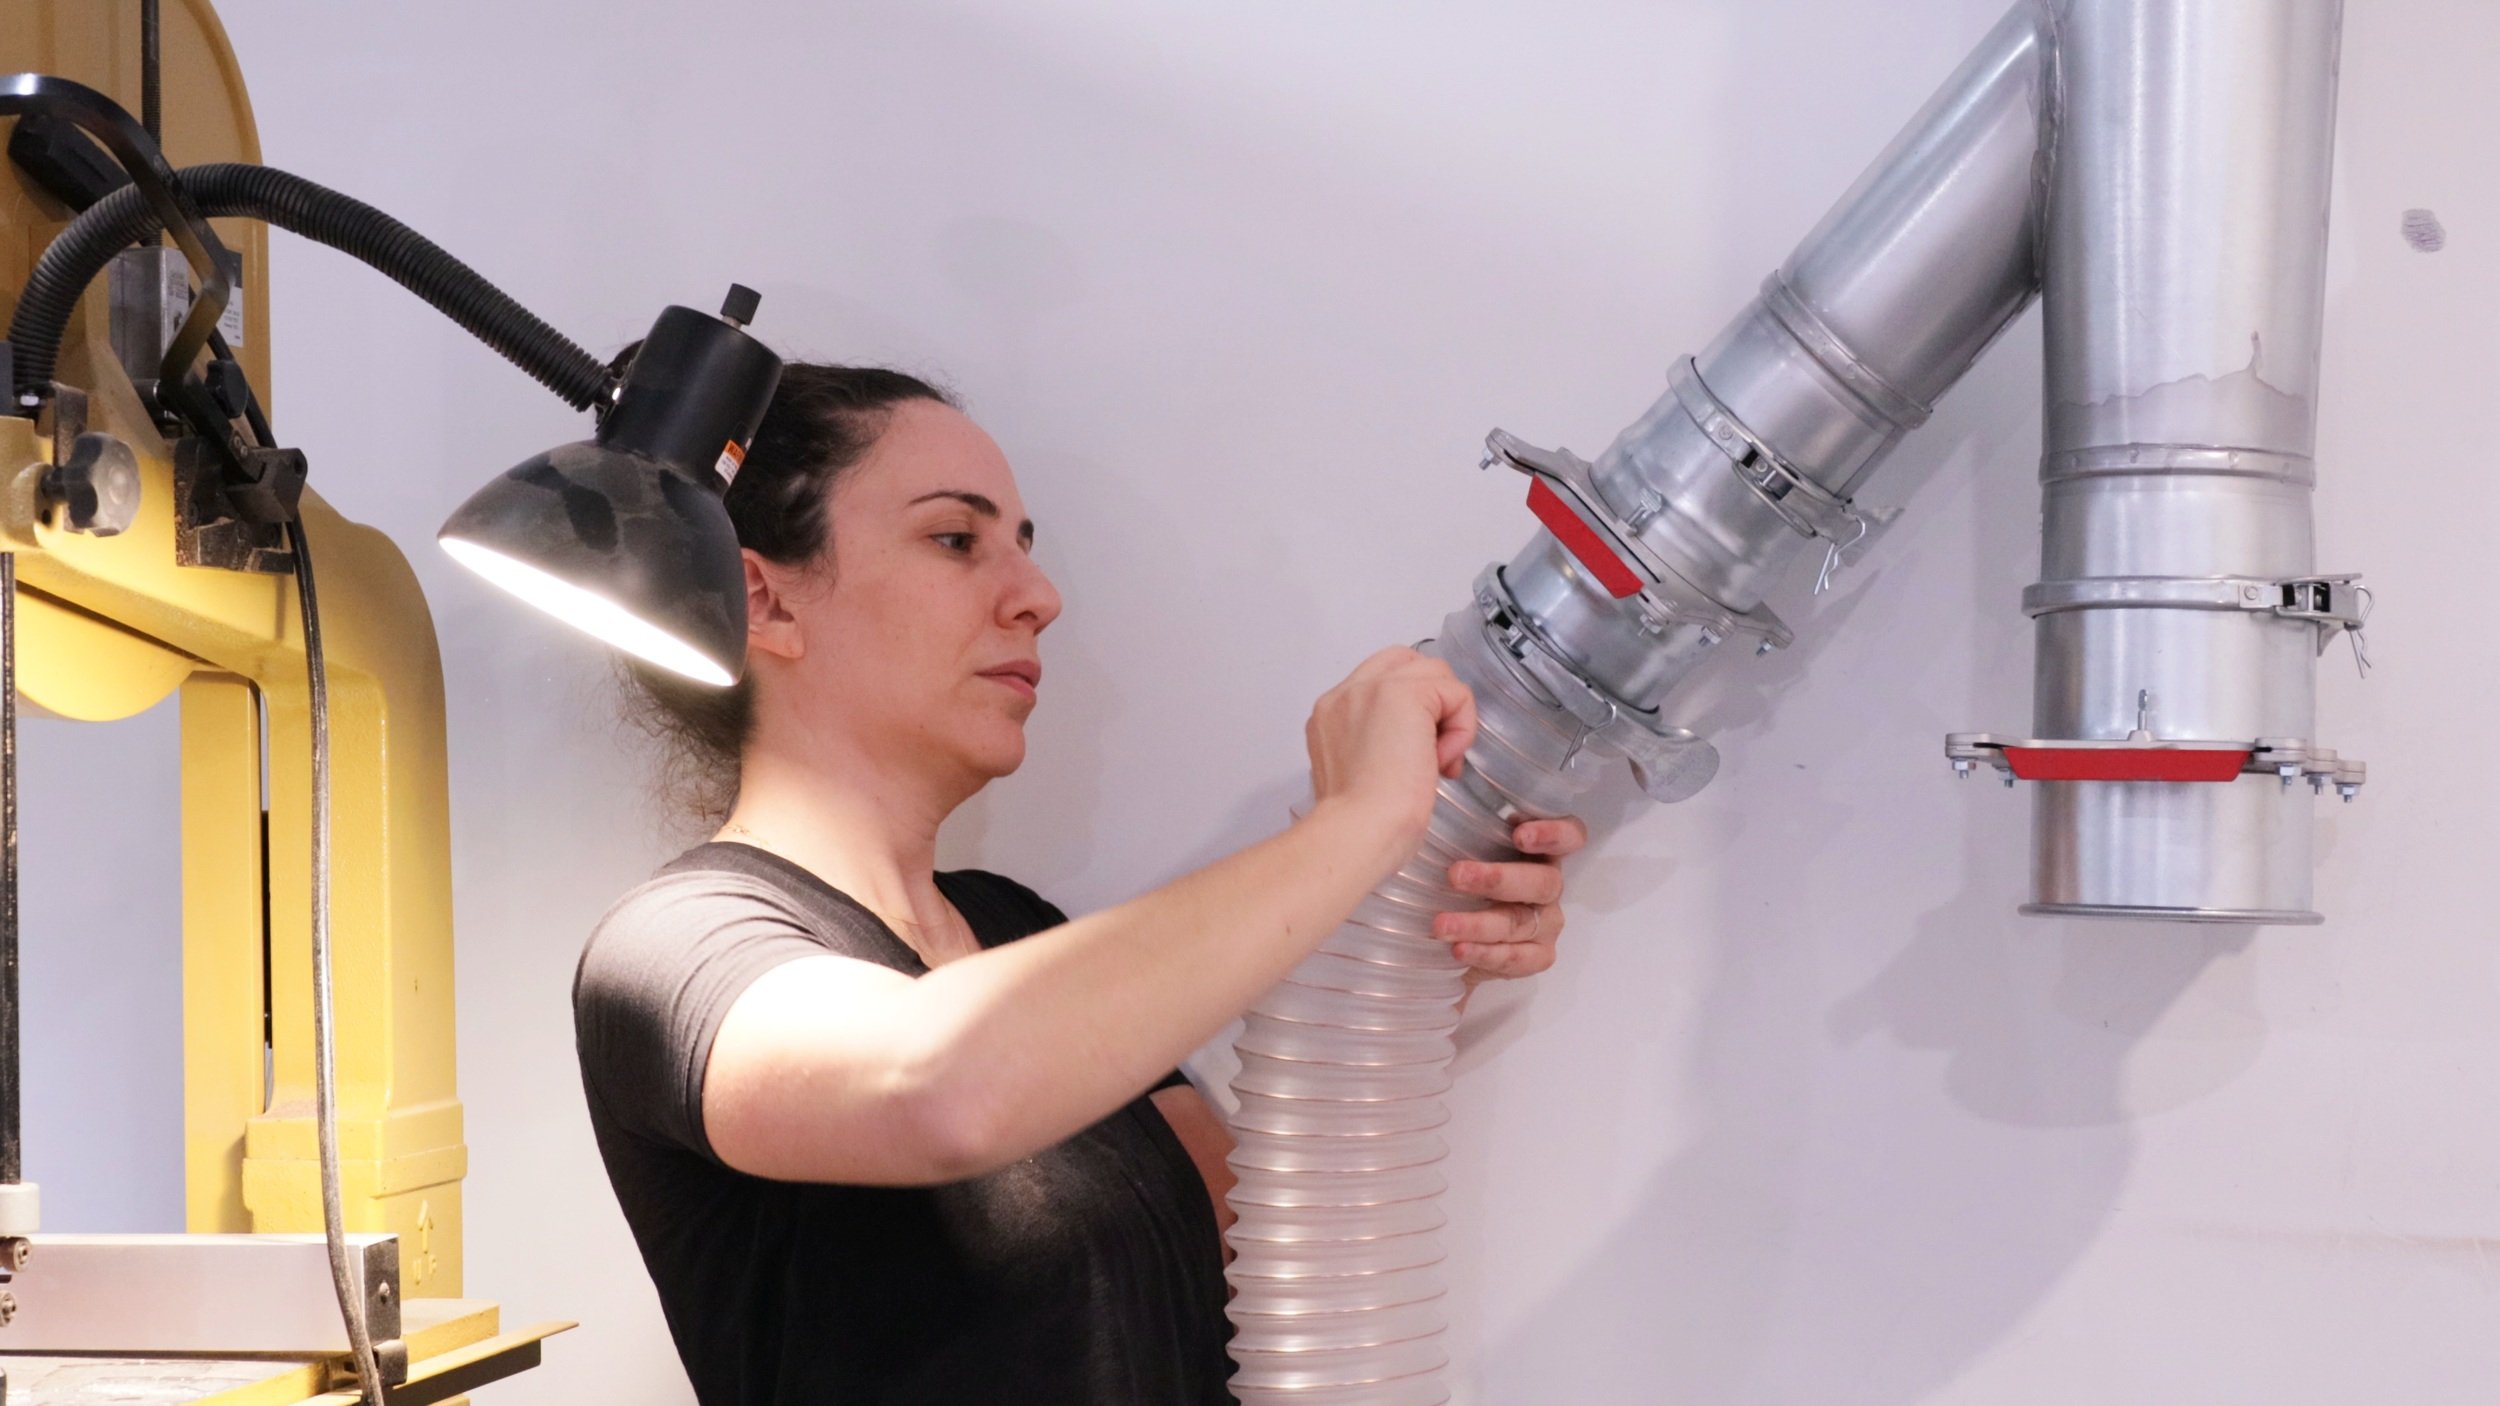
Flex hose is connected to all the tools.

Then that flex hose is connected to the correct drop associated with that tool.
I felt like the pipes going down the wall needed a bit more support, so I made these simple brackets that keep the pipe attached to the wall. This was a temporary bracket I came up with, but I kind of like how simple it is!

Now all that’s left to do is, plug it in and turn it on!

You can use the starter that is screwed to the wall or the remote that comes with the unit.

And now to test it out! I am so amazed a the suction this unit has! It is crazy powerful!
If you want to see exactly how powerful, check out the full YouTube video linked above where it collected all the dust as my router table that my old unit left behind.
I can not wait to build my next project with a REAL dust collection system in place!
Thank you Oneida for making this possible!