5 Easy Scrap Wood Gifts

If you’re anything like me, you have a bunch of scrap wood just lying around waiting to be used for something cool… So here are 5 quick and simple scrap wood projects that would make great Holiday Gifts!
Check out the full build video below!
*Links below are affiliate links, I get a small commission if you click on them at no extra cost to you ;)
PROJECT #1
DADO TRIVETS
STEP 1
Find some scrap that will yield a trivet about 7 or 8 inches square.
This can be blocks of wood, single strips, or panels that were glued up already… It really doesn’t matter.
You will adapt the process to whatever material you have on hand.

STEP 2
Make dados.
There are a few ways you can do this…
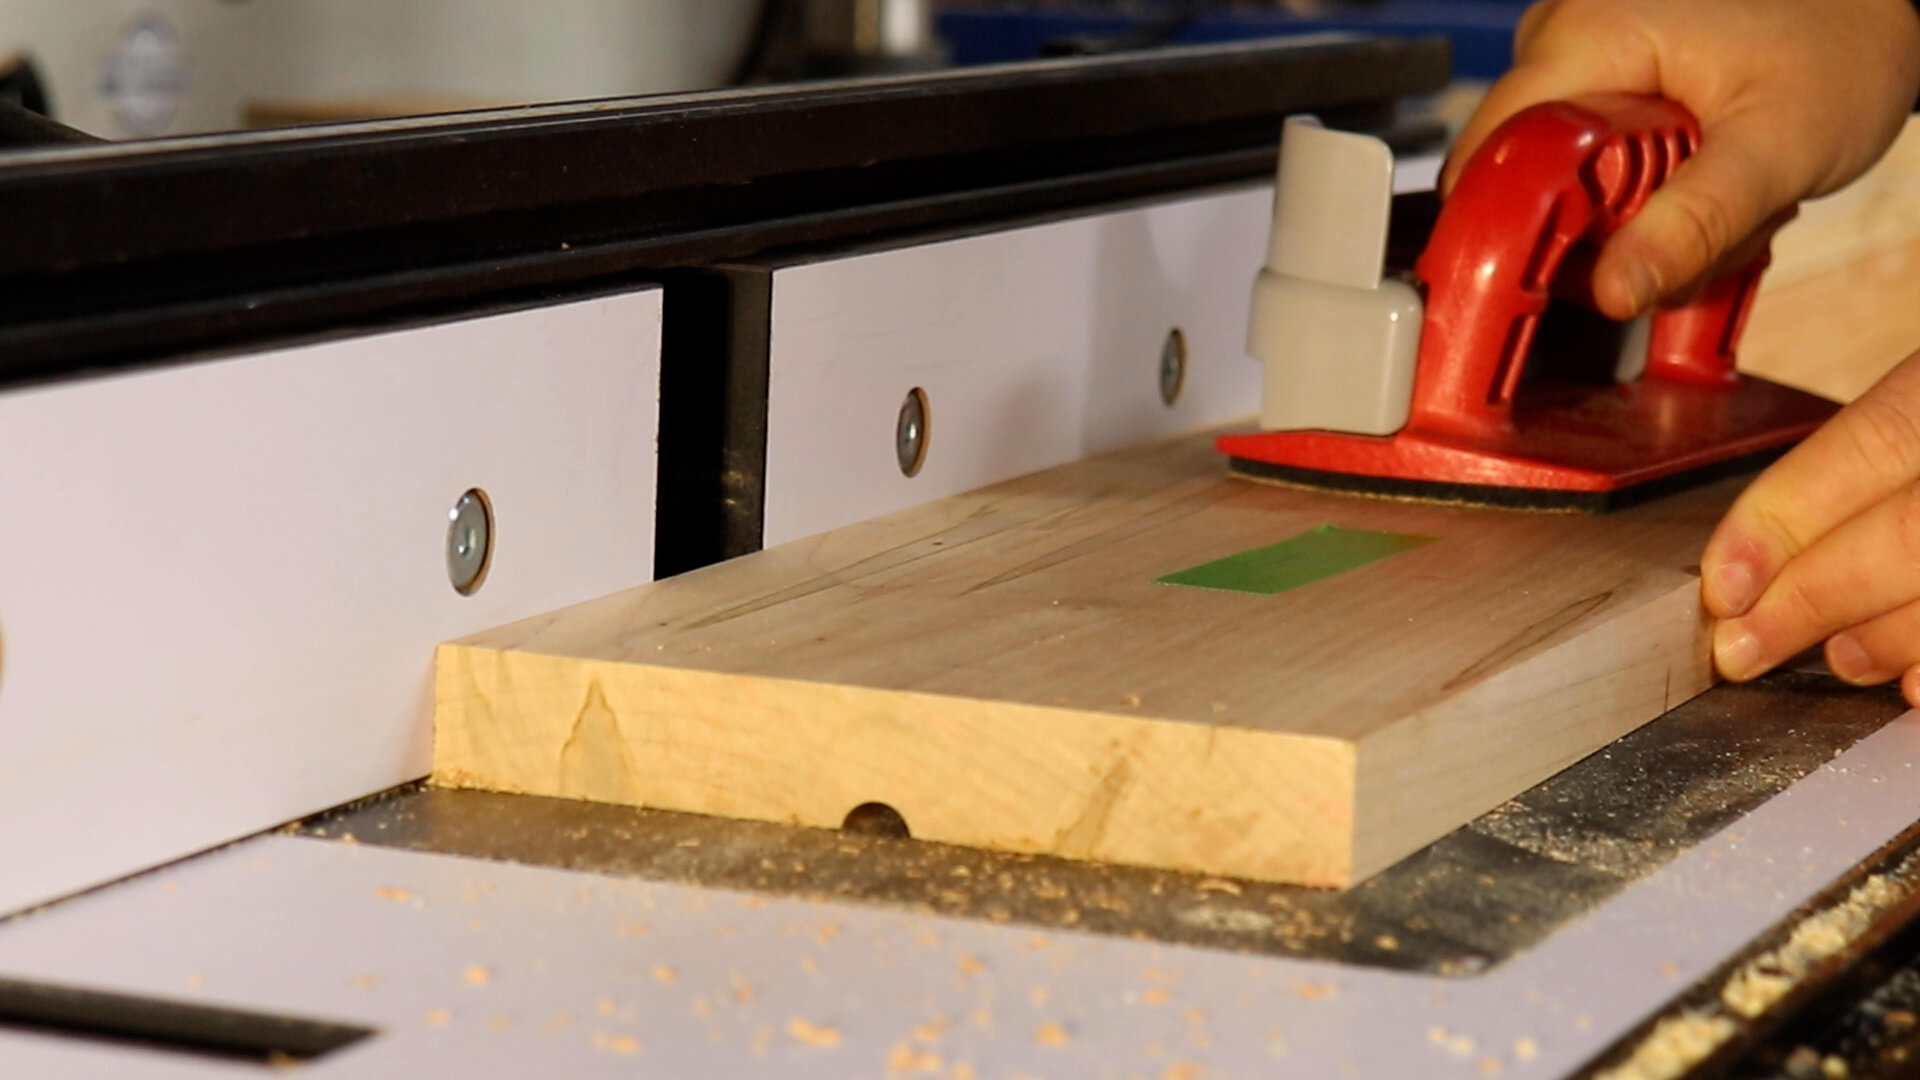
1) Router Table - You will have to mill material to match the size of the router bit you are using.

2) Use a Dado Jig (like this one here - Adjustable Dado Jig).
For this, you can use any width material you like because it will self adjust.

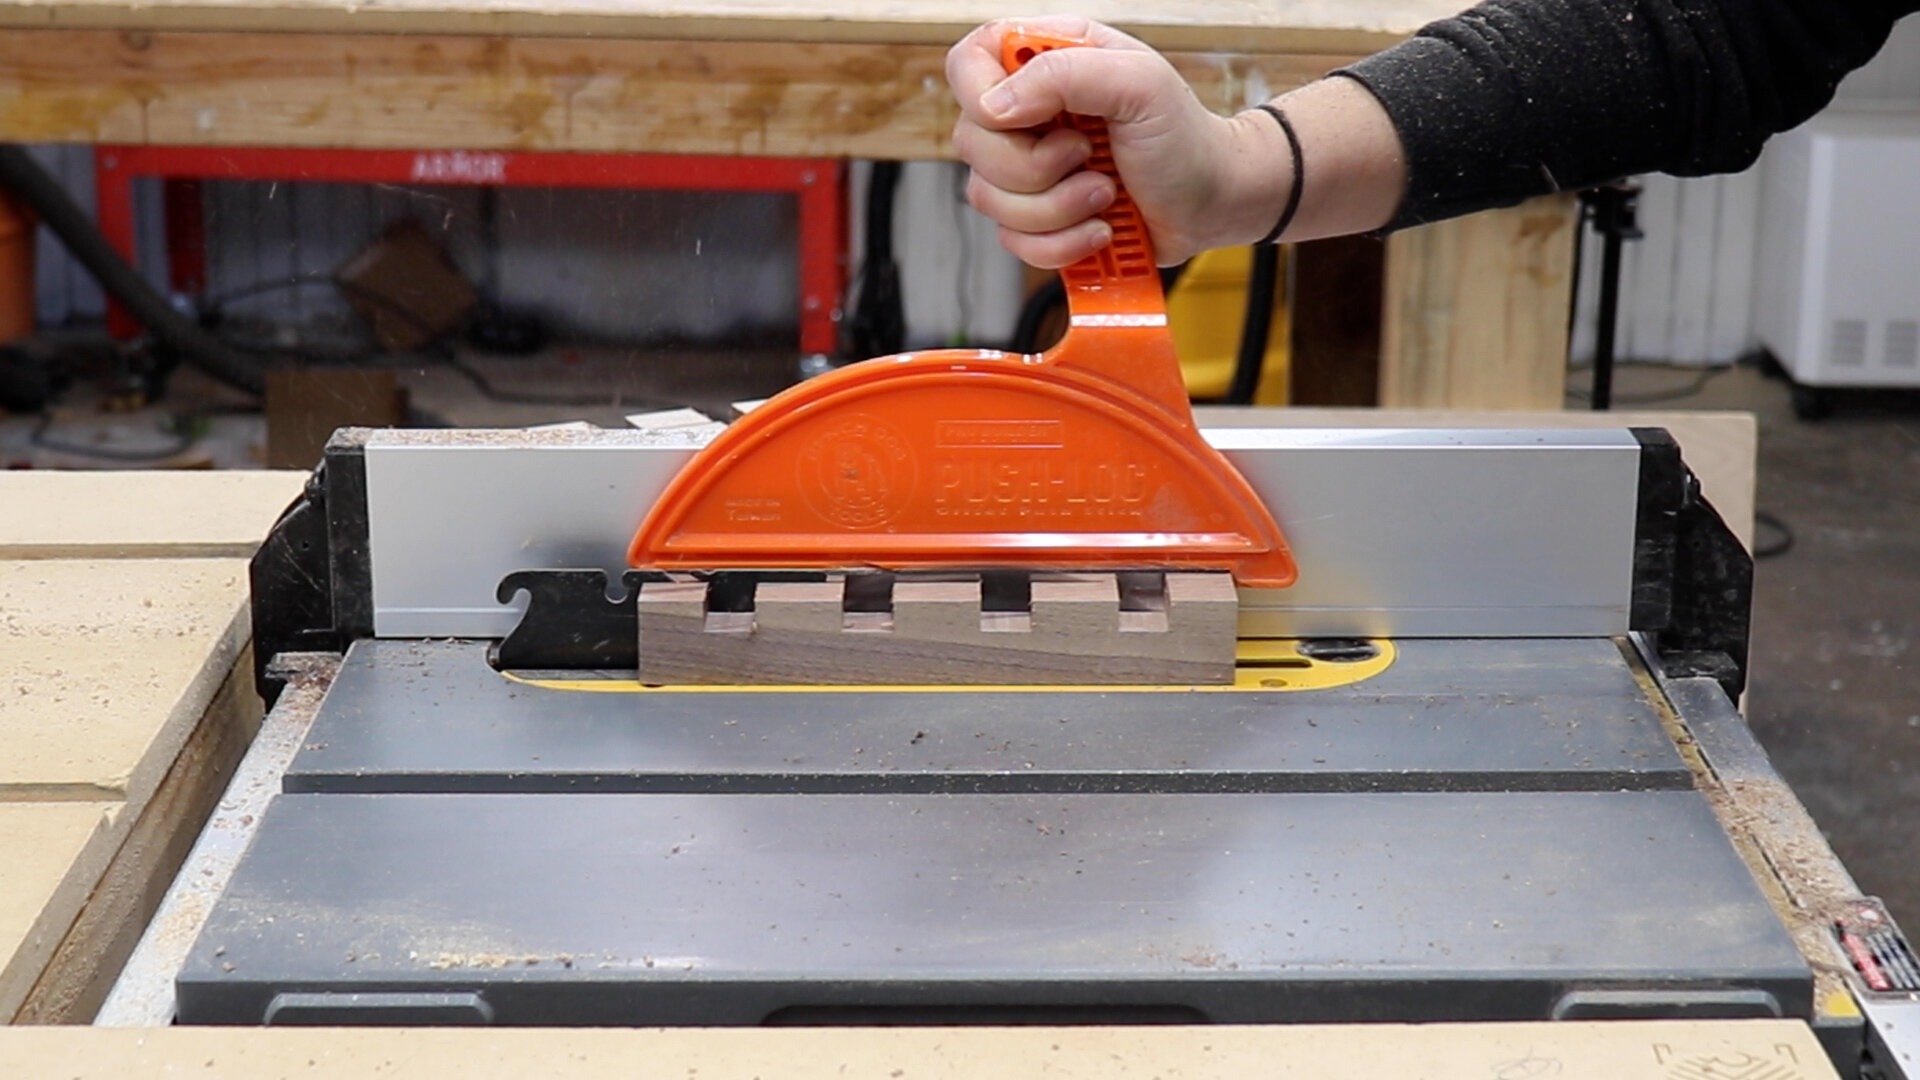
3) Table Saw - You can use a single blade to take multiple passes or you can use a dado stack if you have one.
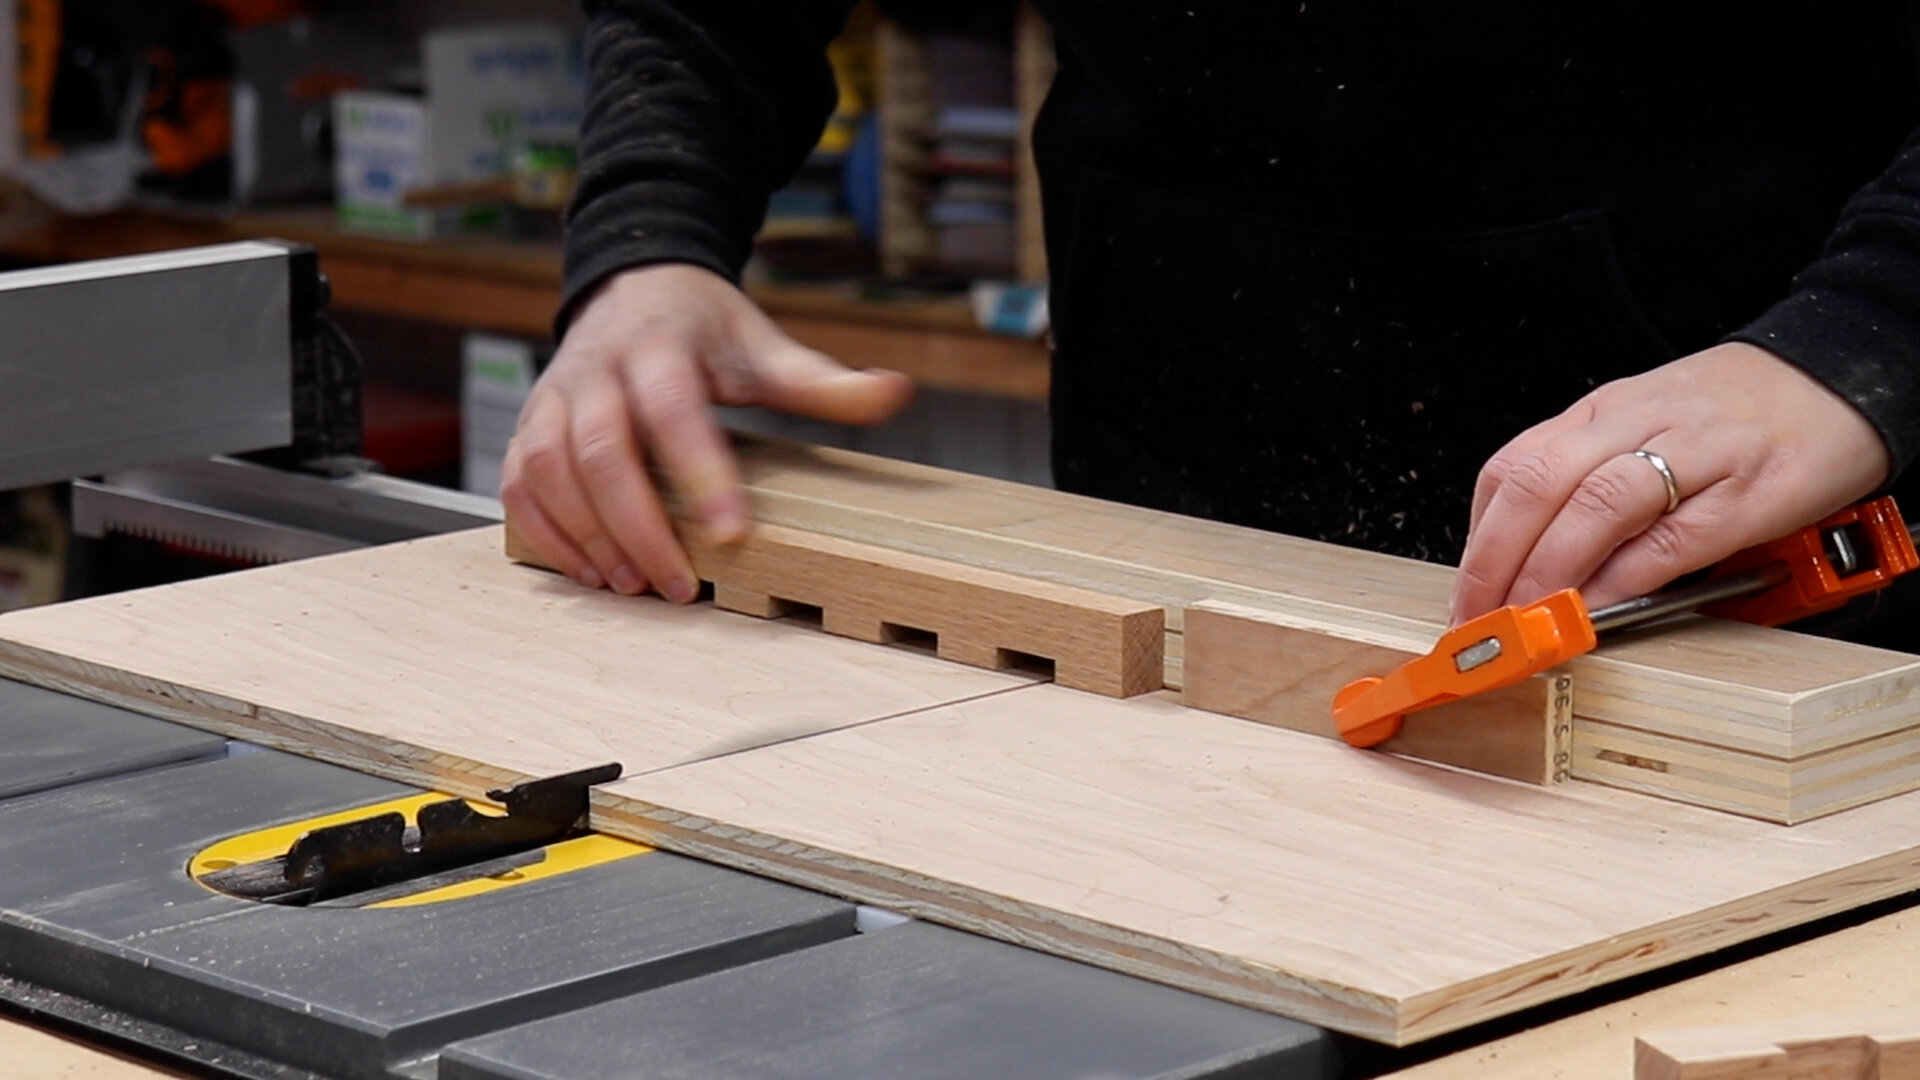
Try your best to space these evenly, but it is ok if they are slightly off… I spaced mine around 2” apart.
STEP 3
If you started out with a larger block of wood to make the dados, rip them into an even amount of strips.
The width or amount of these strips is all based on the material you have on hand.
STEP 4
Glue strips of wood into the dados.
You can make a spacer block so that they are evenly spaced, but it really doesn’t need to be precise…

STEP 5

And they’re done!

Adding a profile to the edges of these is totally optional, but I think it looks really cool.
Especially that round-over!

PROJECT #2
BAGEL/DONUT STAND
STEP 1
Find some scrap that will yield a base that is around 18” x 6”
(Or longer or shorter if you prefer. You just want to have 6” of room for the bagels.)
This can be a thick board that you will need to resaw, or you can start out with two 3/4” thick pieces that you will glue up later.


STEP 4
Route the channels that will store the dowels when not in use.
Since you probably don't have a 12” long drill bit… it’s easy to route half circles on either half of the boards using a core box bit.
When the 2 halves of the board are glued back together they will create a full circle.
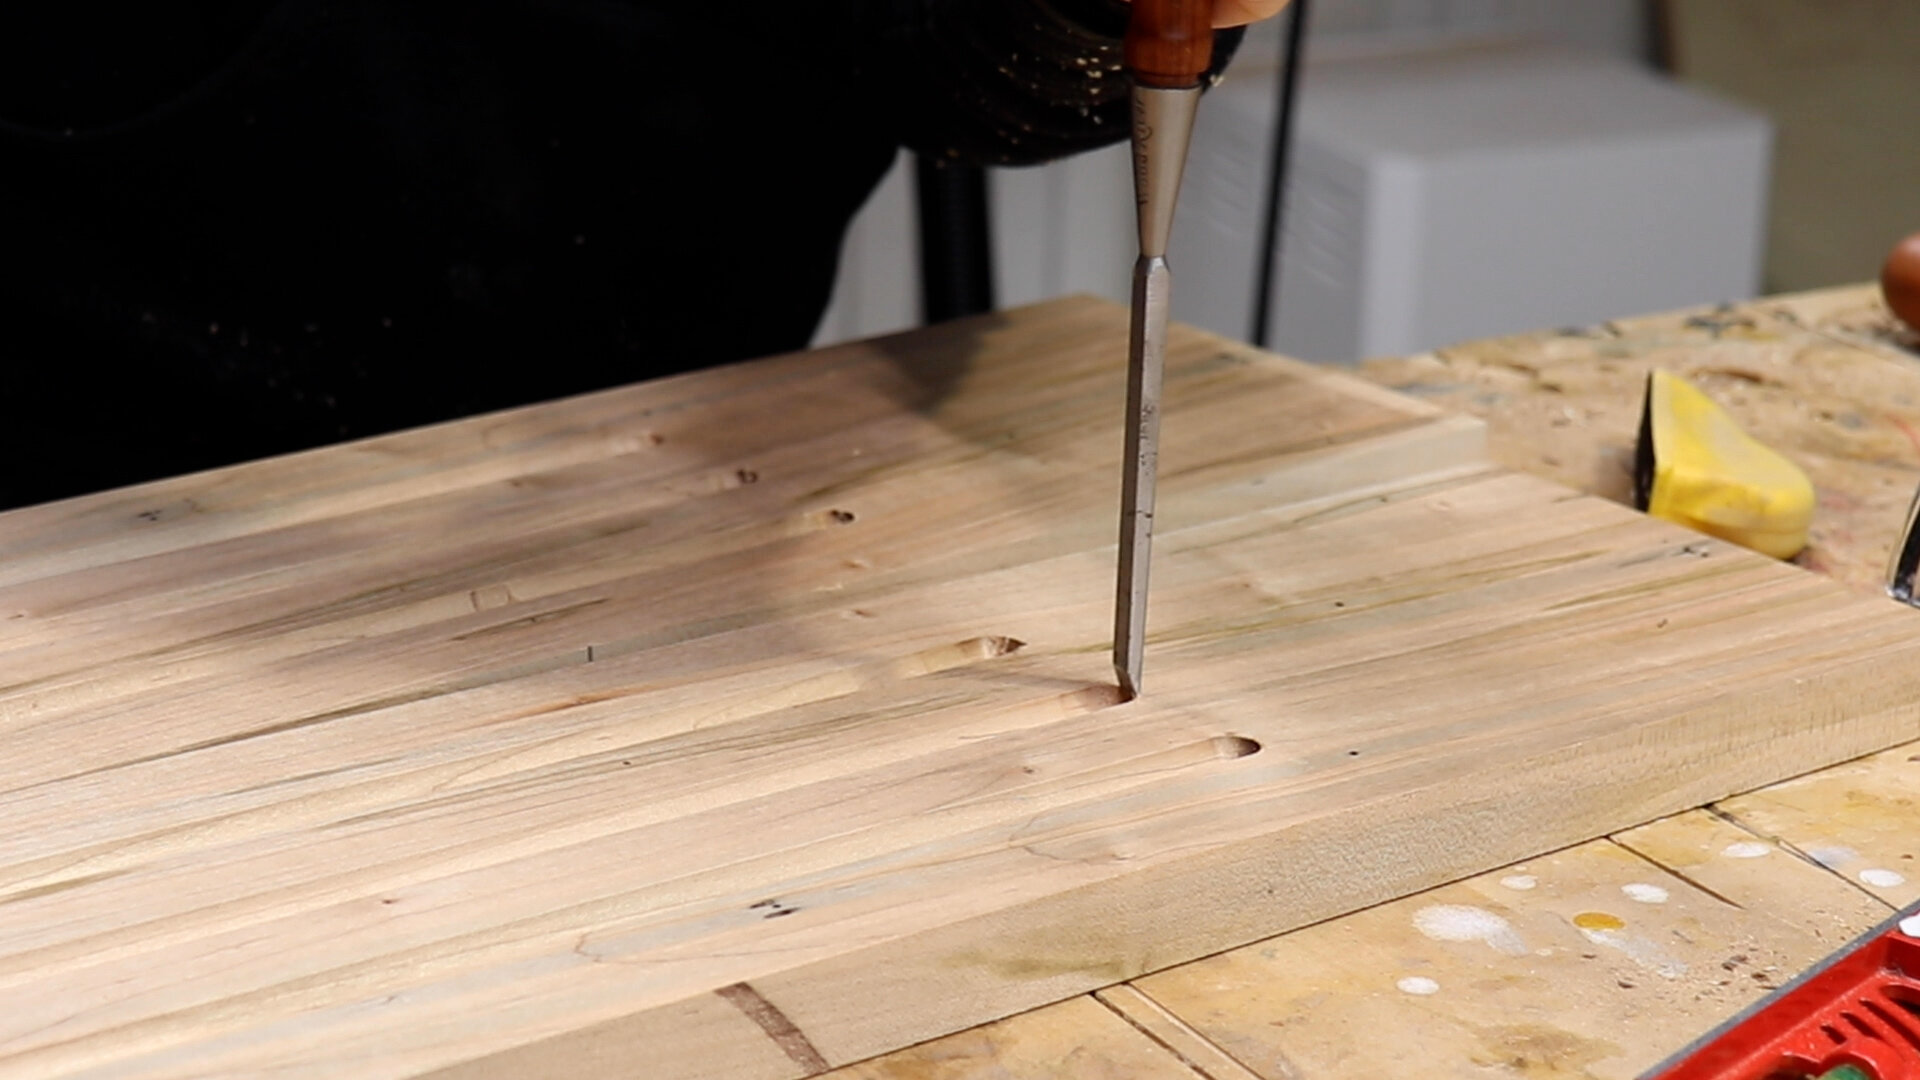
STEP 5
Make the bottoms of the channels flat with a chisel, this way the magnets can be glued in place.
STEP 6
Put the magnets in place using CA glue.

STEP 7
Glue the two halves back together!

STEP 8
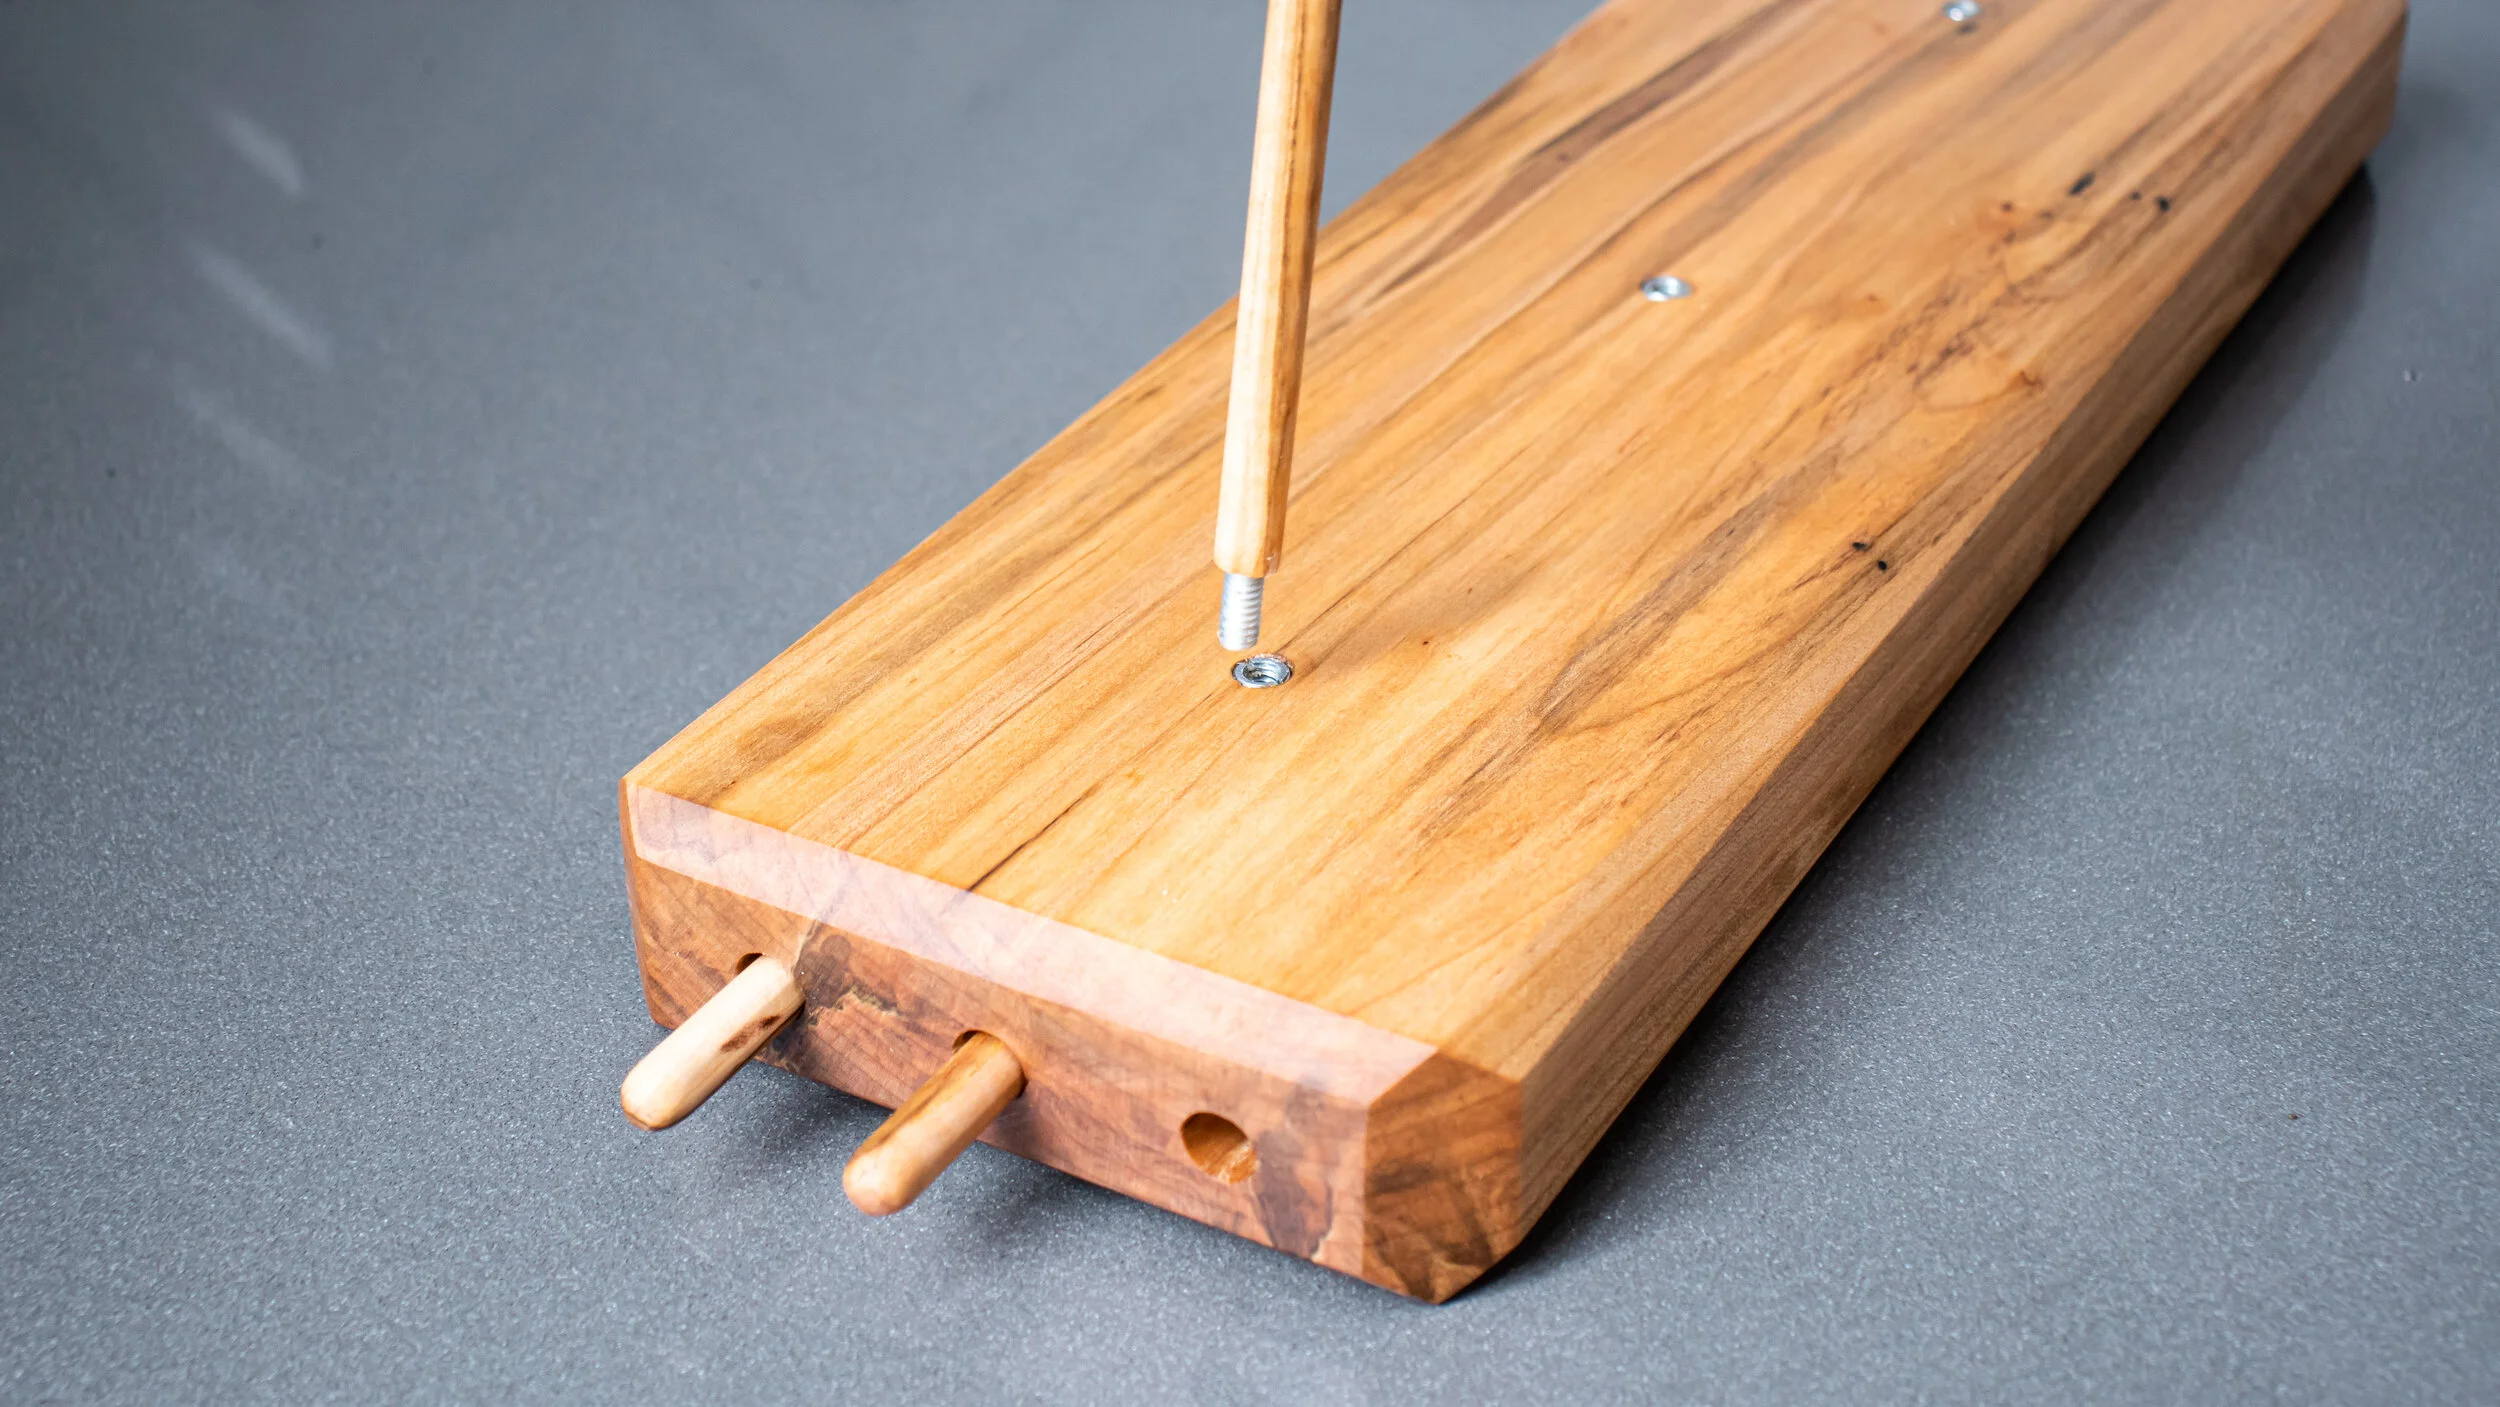
Drill holes in the ends of the dowels.

STEP 9
Cut some 1/4” threaded rod to length.

STEP 10
Glue the threaded rod into the ends of the dowels using epoxy.

STEP 11
Install the threaded inserts into the base.
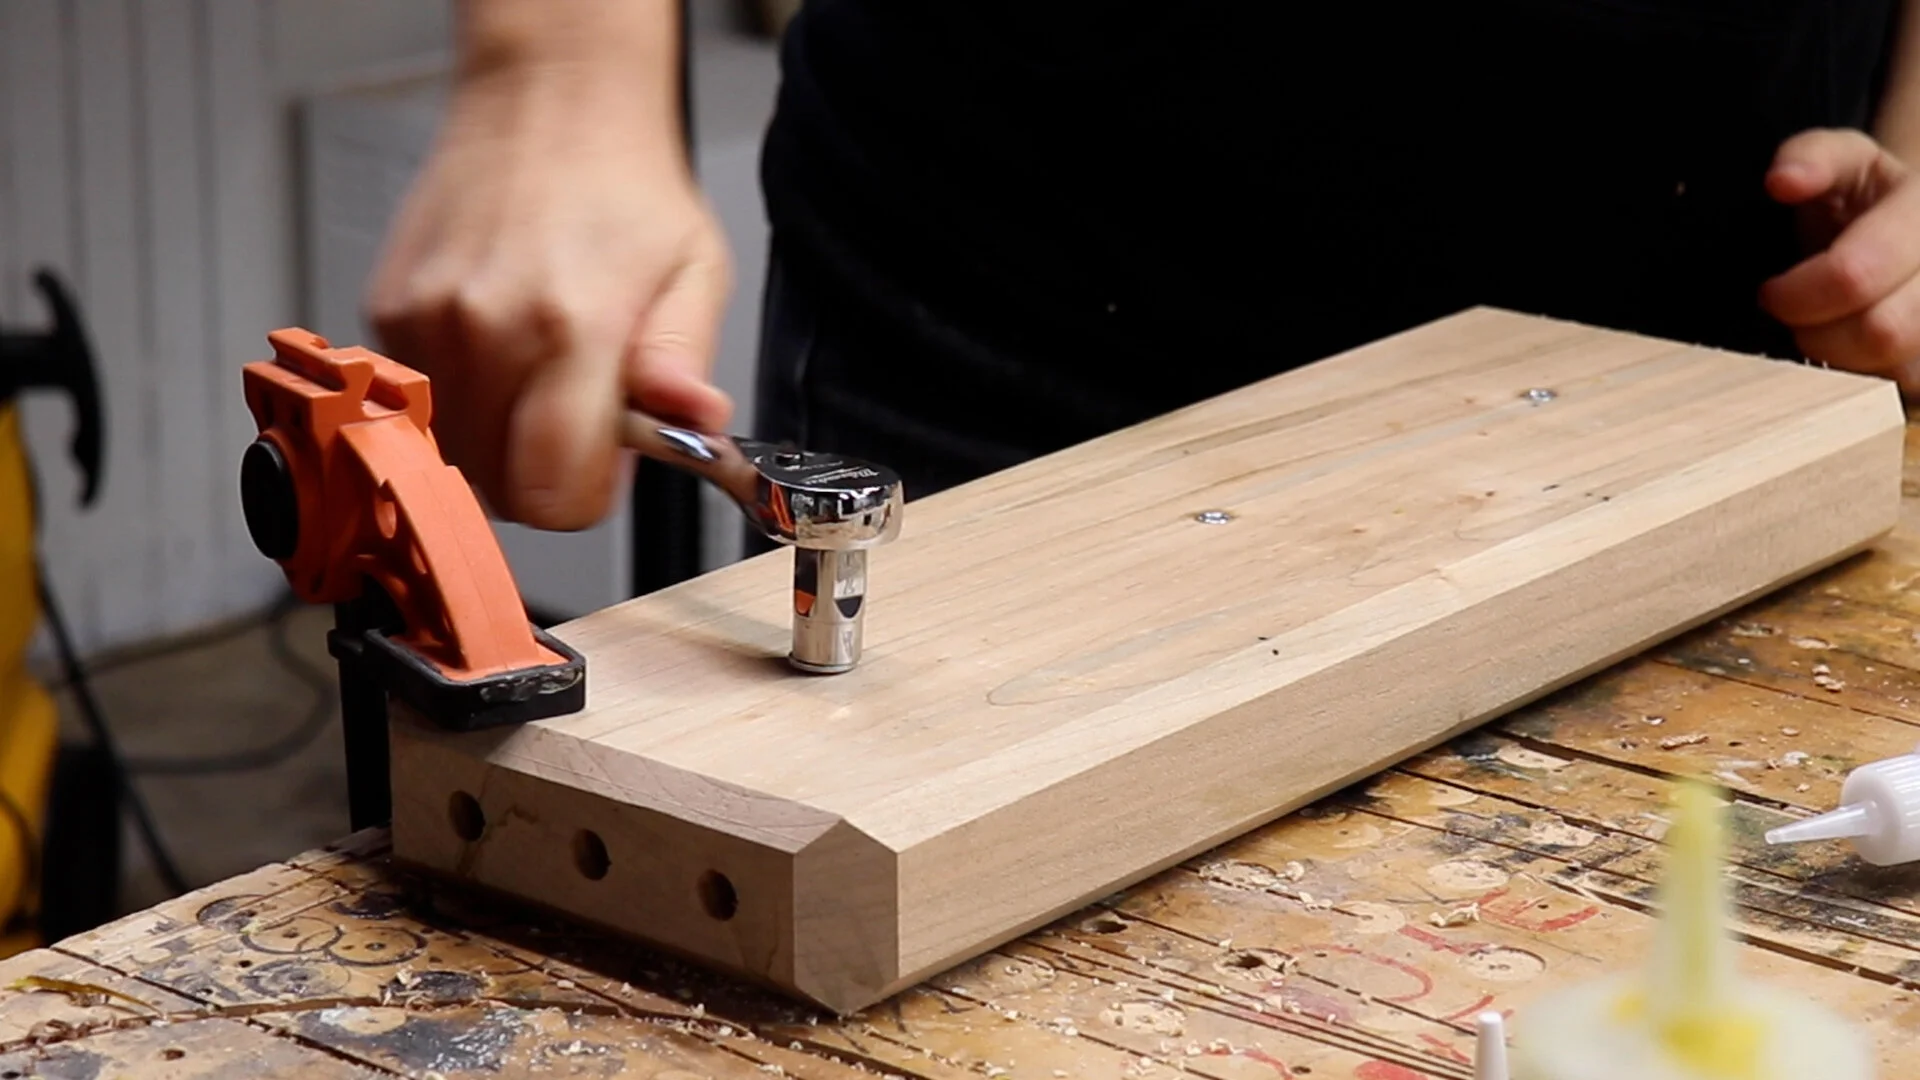
And it’s done!
I CANNOT wait to use this when I have people over for brunch.

I just love how the dowels can be removed and stored inside the base,
this way it doesn’t take up so much room in my cabinets.
Once again, those edge profiling details are not necessary, but boy do they look cool…

PROJECT #3
SCRAP WOOD BOXES
STEP 1
Find some small scrap that is about the same thickness, and rip them all to be the same width.

STEP 2
Square up all the ends.
They don’t need to be the same length, just make sure the ends are square so that they will line up nicely.

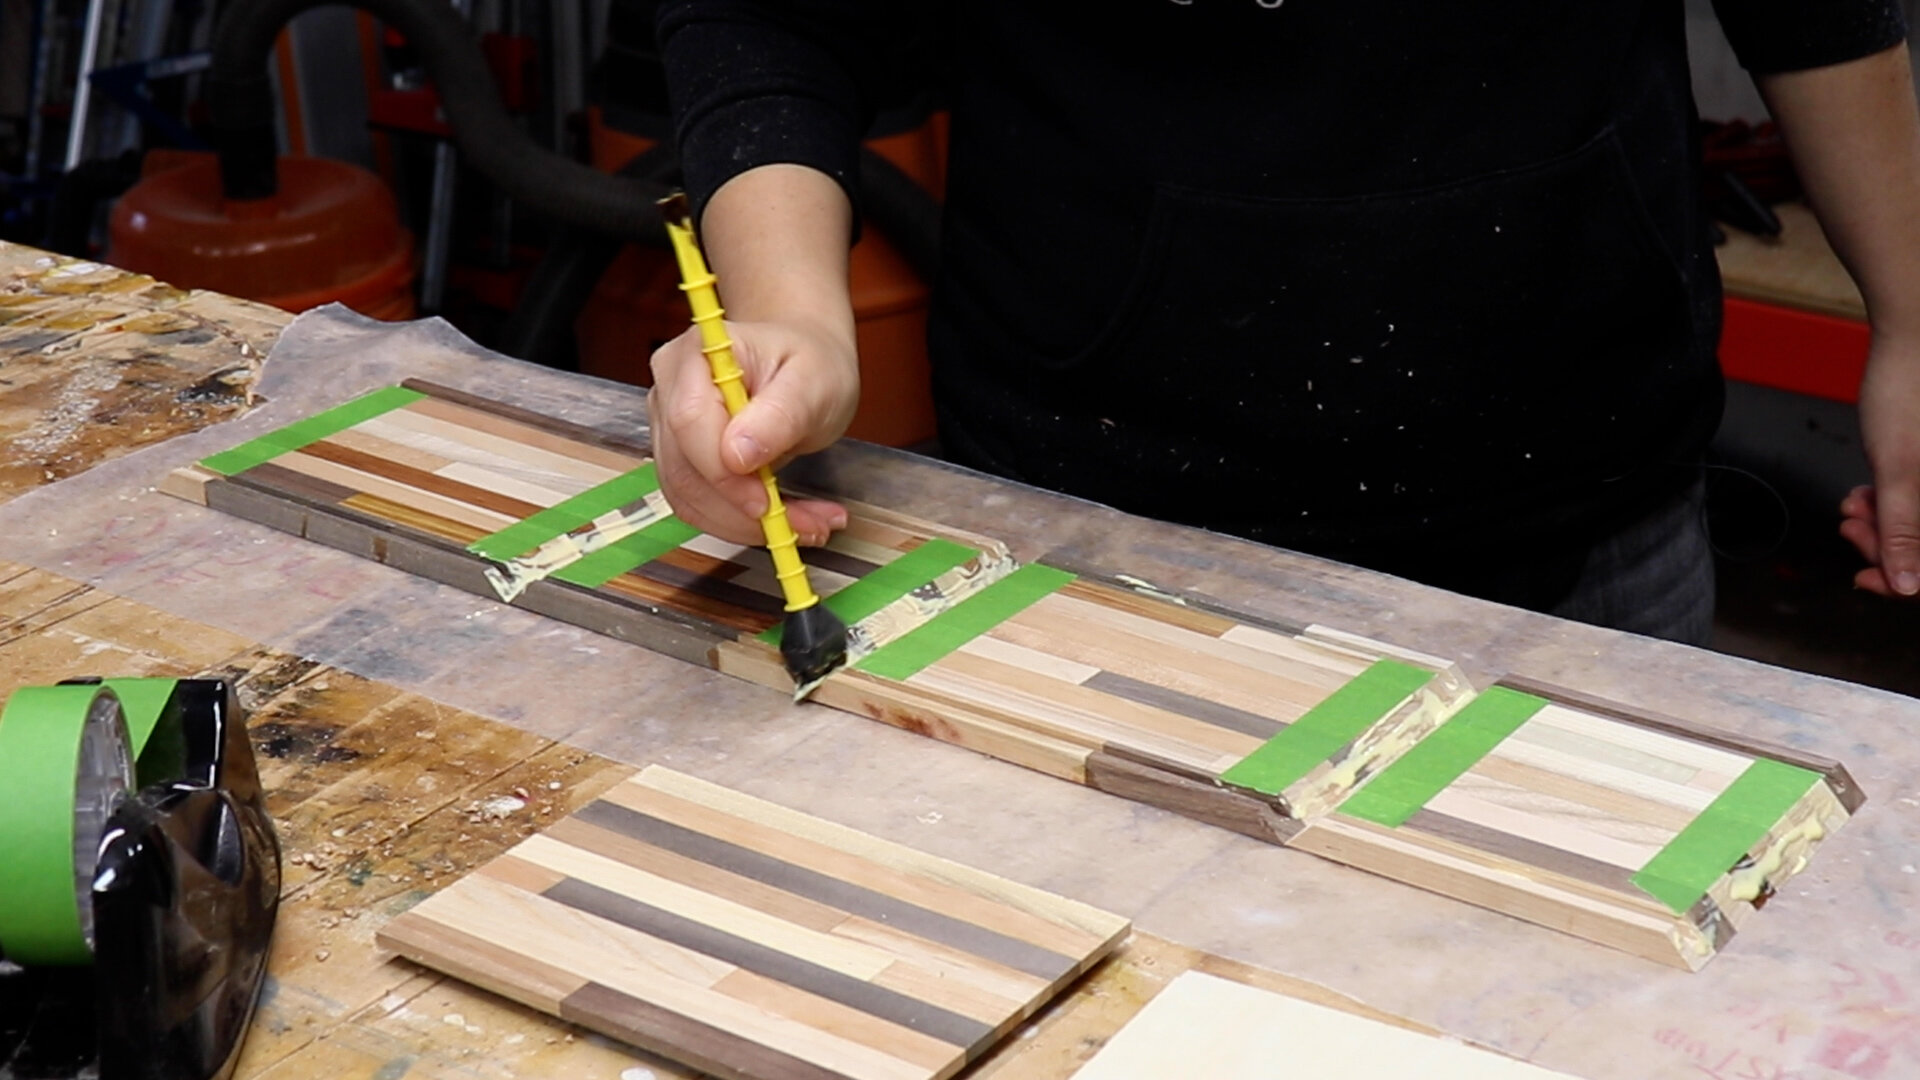
STEP 3
Glue them all up!
Using a flat piece of MDF covered in something like waxed paper, and a straight edge covered in packing tape, you can just glue each piece together brick by brick.
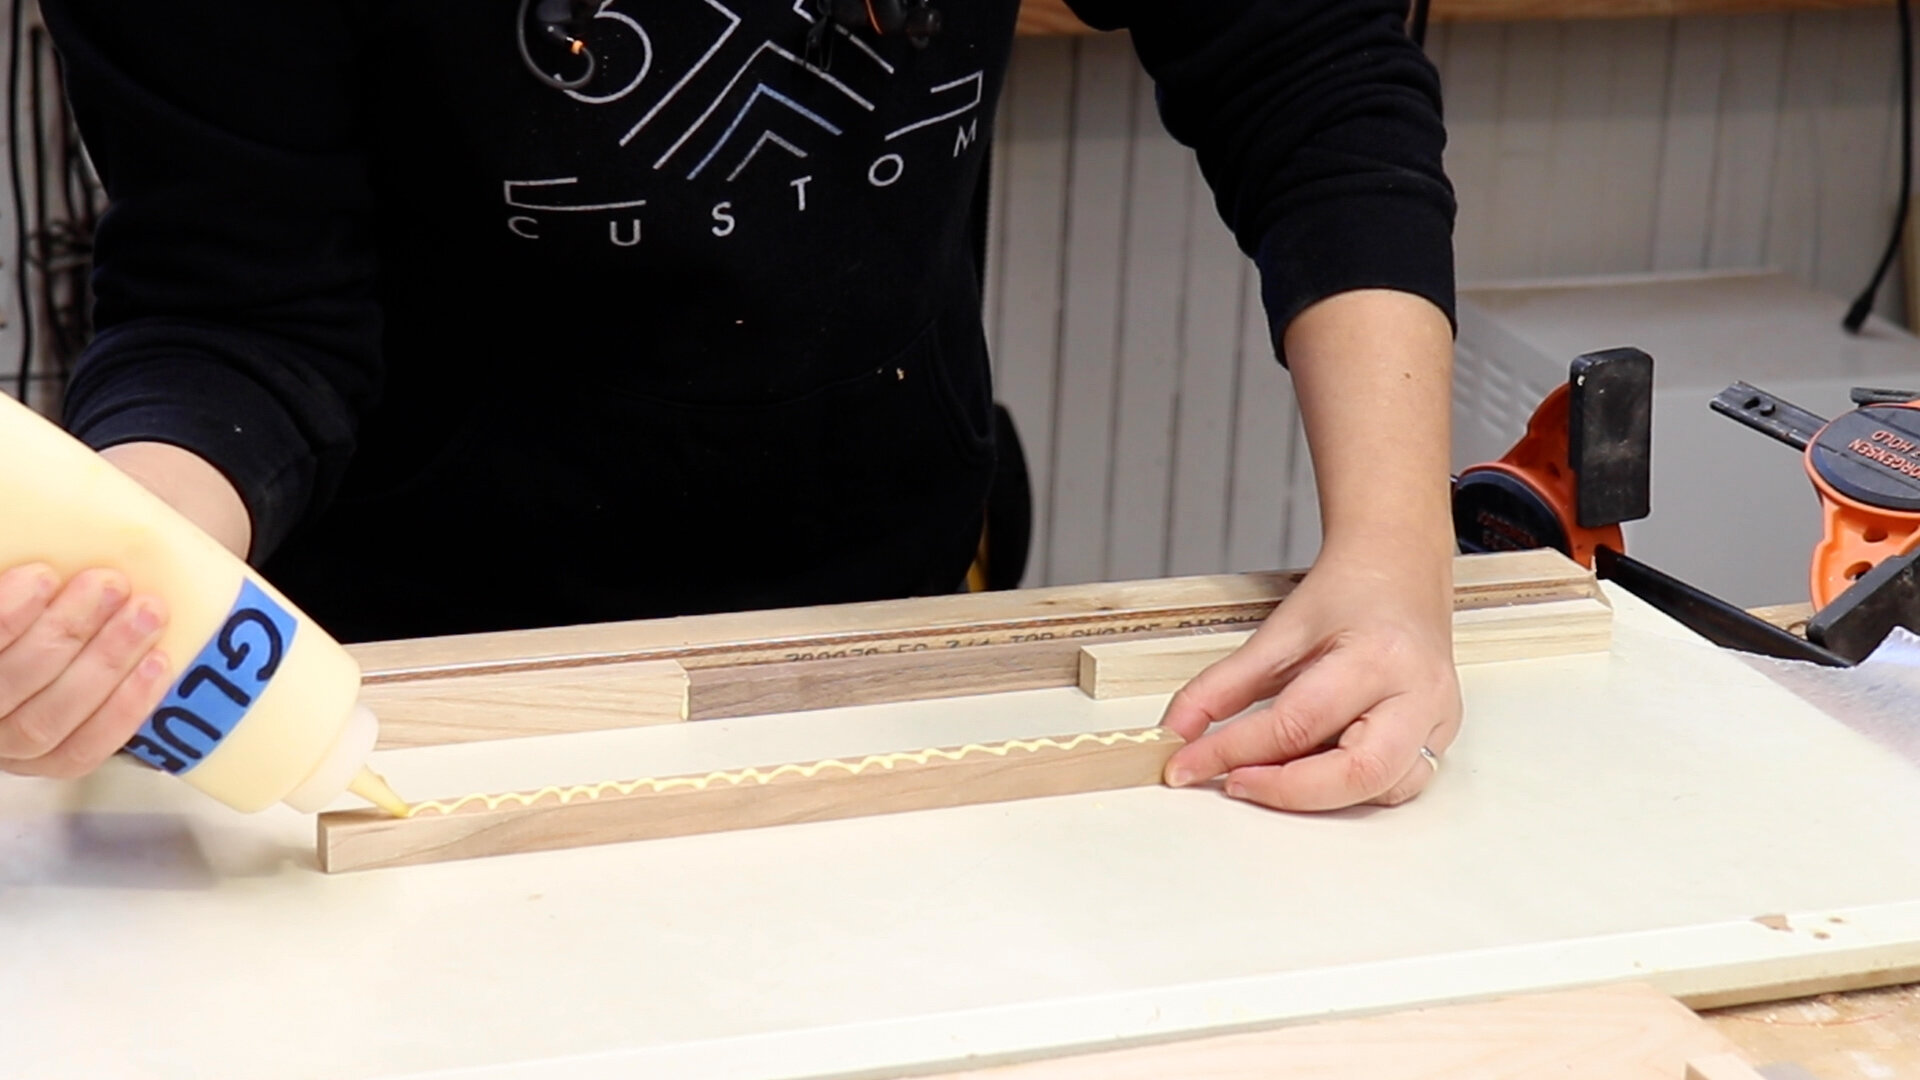
Ideally, you always want to have clamping pressure coming from both directions, but the small pieces might fall down… That’s why I did it this way.

STEP 4
Cut a piece that will be the box top.
All the dimensions for this box will be based on the size top that you cut.

STEP 5
Make a rabbet on all sides of the box top.
This rabbet can be about half the thickness of the material.

STEP 6
Make the grooves that will hold the bottom and top pieces.

STEP 7
Use the box top placed in the groove you cut in the previous step to mark how long to cut each side.

And cut all the pieces to size with your blade at a 45 degree angle!
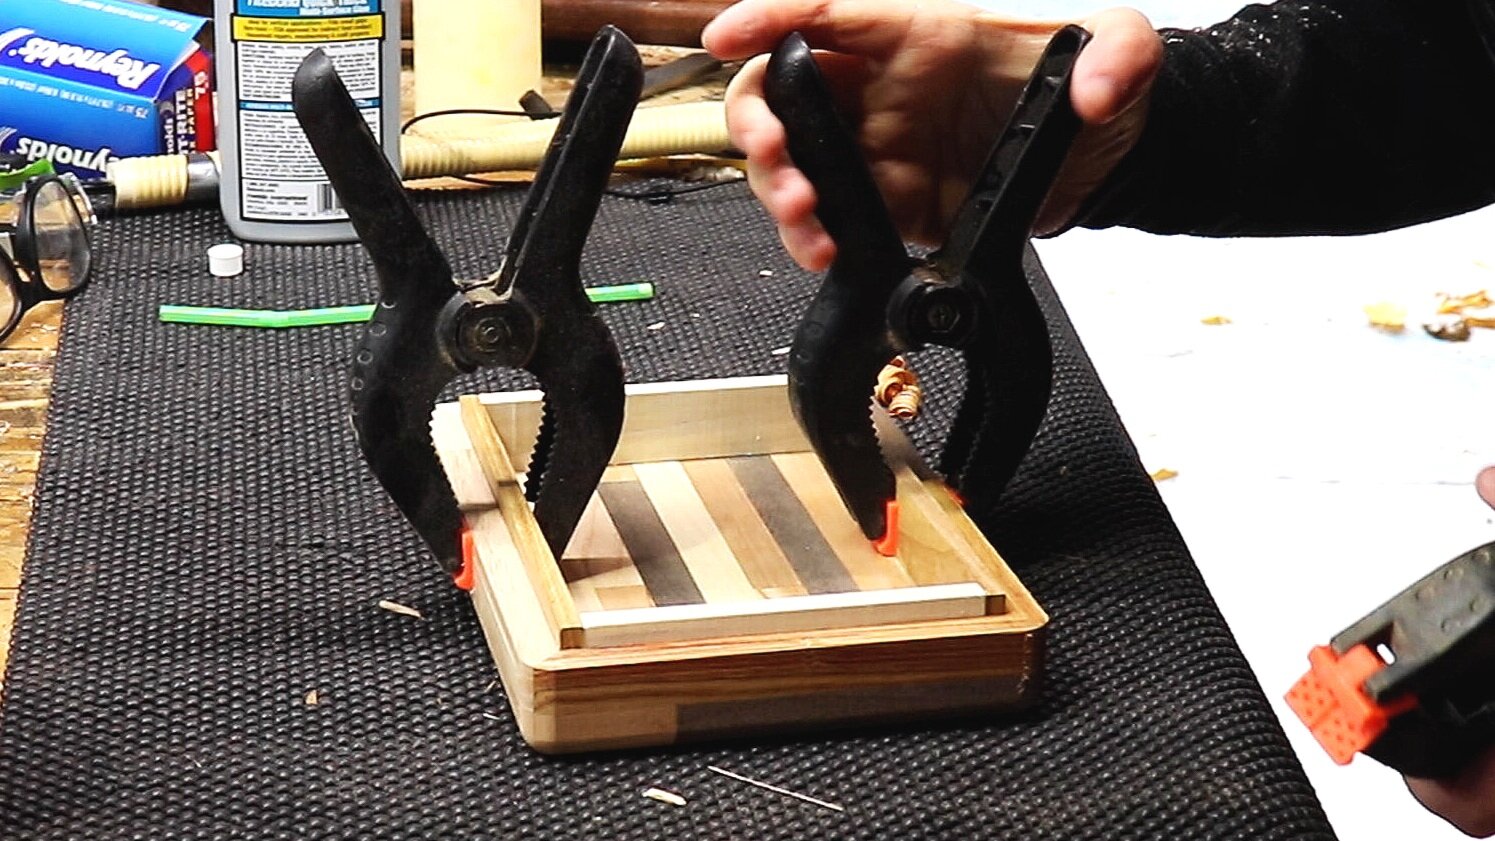
STEP 8
Glue it up!
Put glue in all the miters and all the grooves.
Then roll it on up with the bottom and top pieces placed in the grooves.
No need to get fancy with clamps… painter’s tape works great!

STEP 9
Cut off the lid!
Make this cut so it’s slightly less than the thickness of the sides.
Then you can cut it free with a handsaw and clean it up with chisels or a block plane.

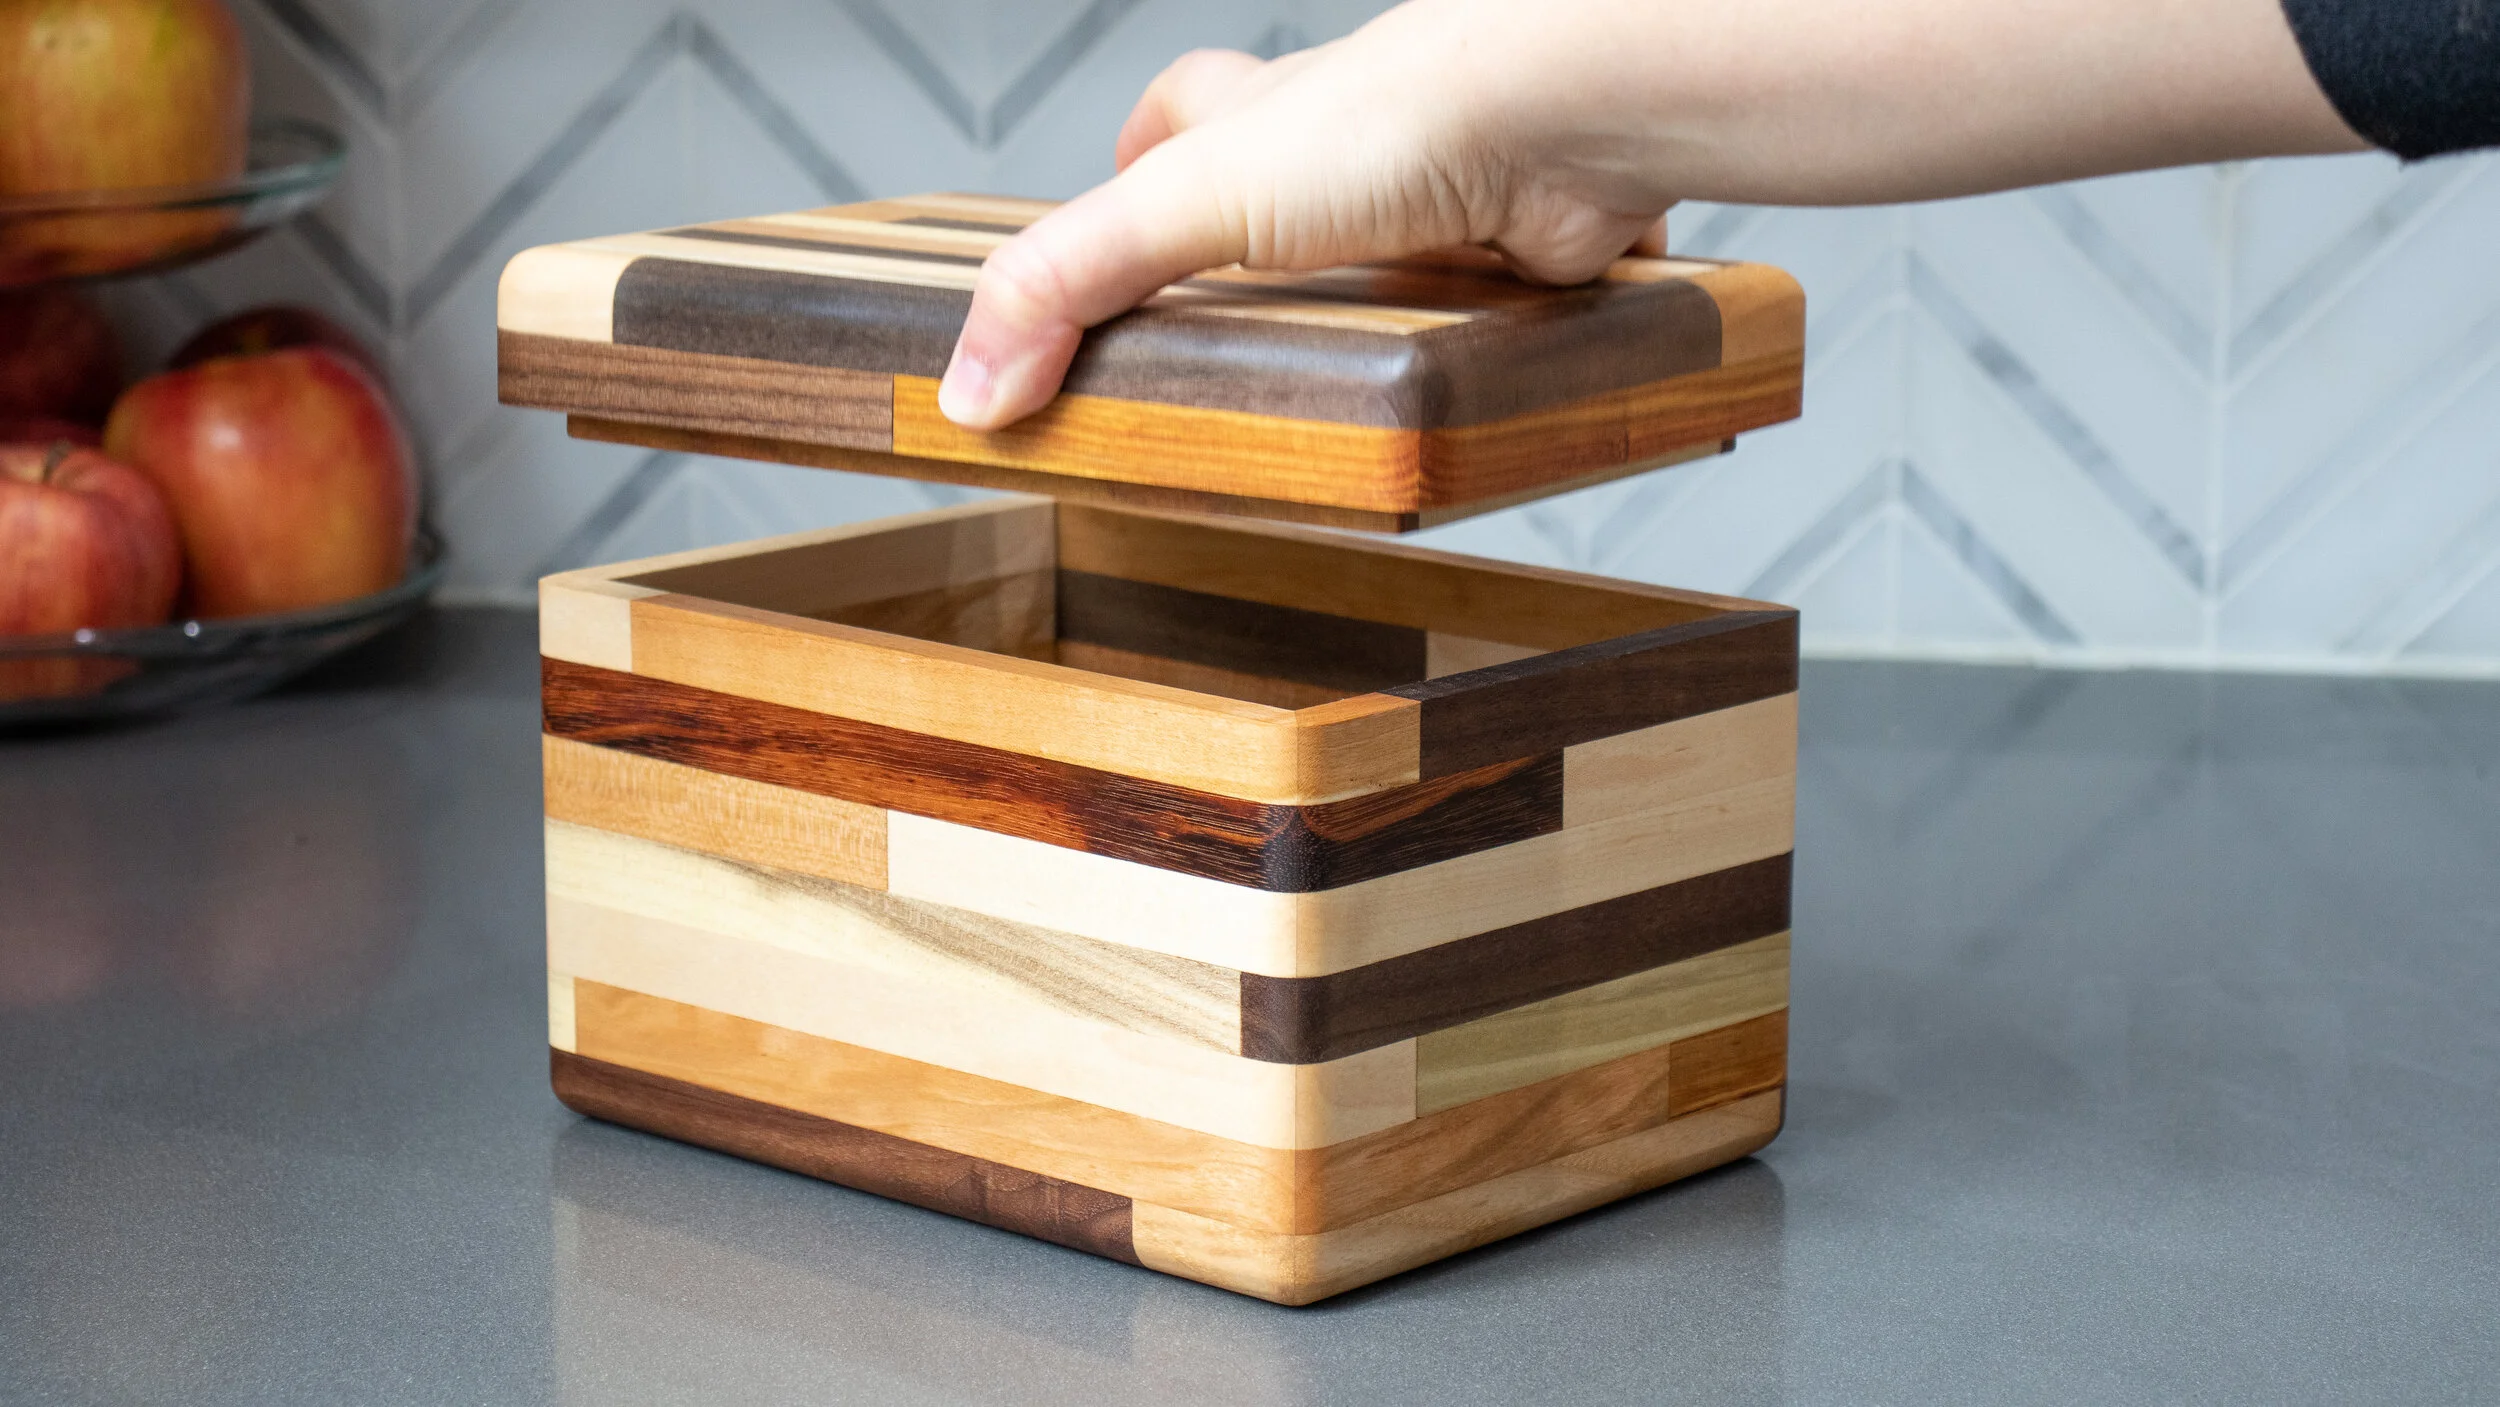
STEP 10
Add a closing mechanism.
Lots of options here. I chose to add more small scraps to the lid for a pressure fit.
And it’s done!
I love how cool this looks!
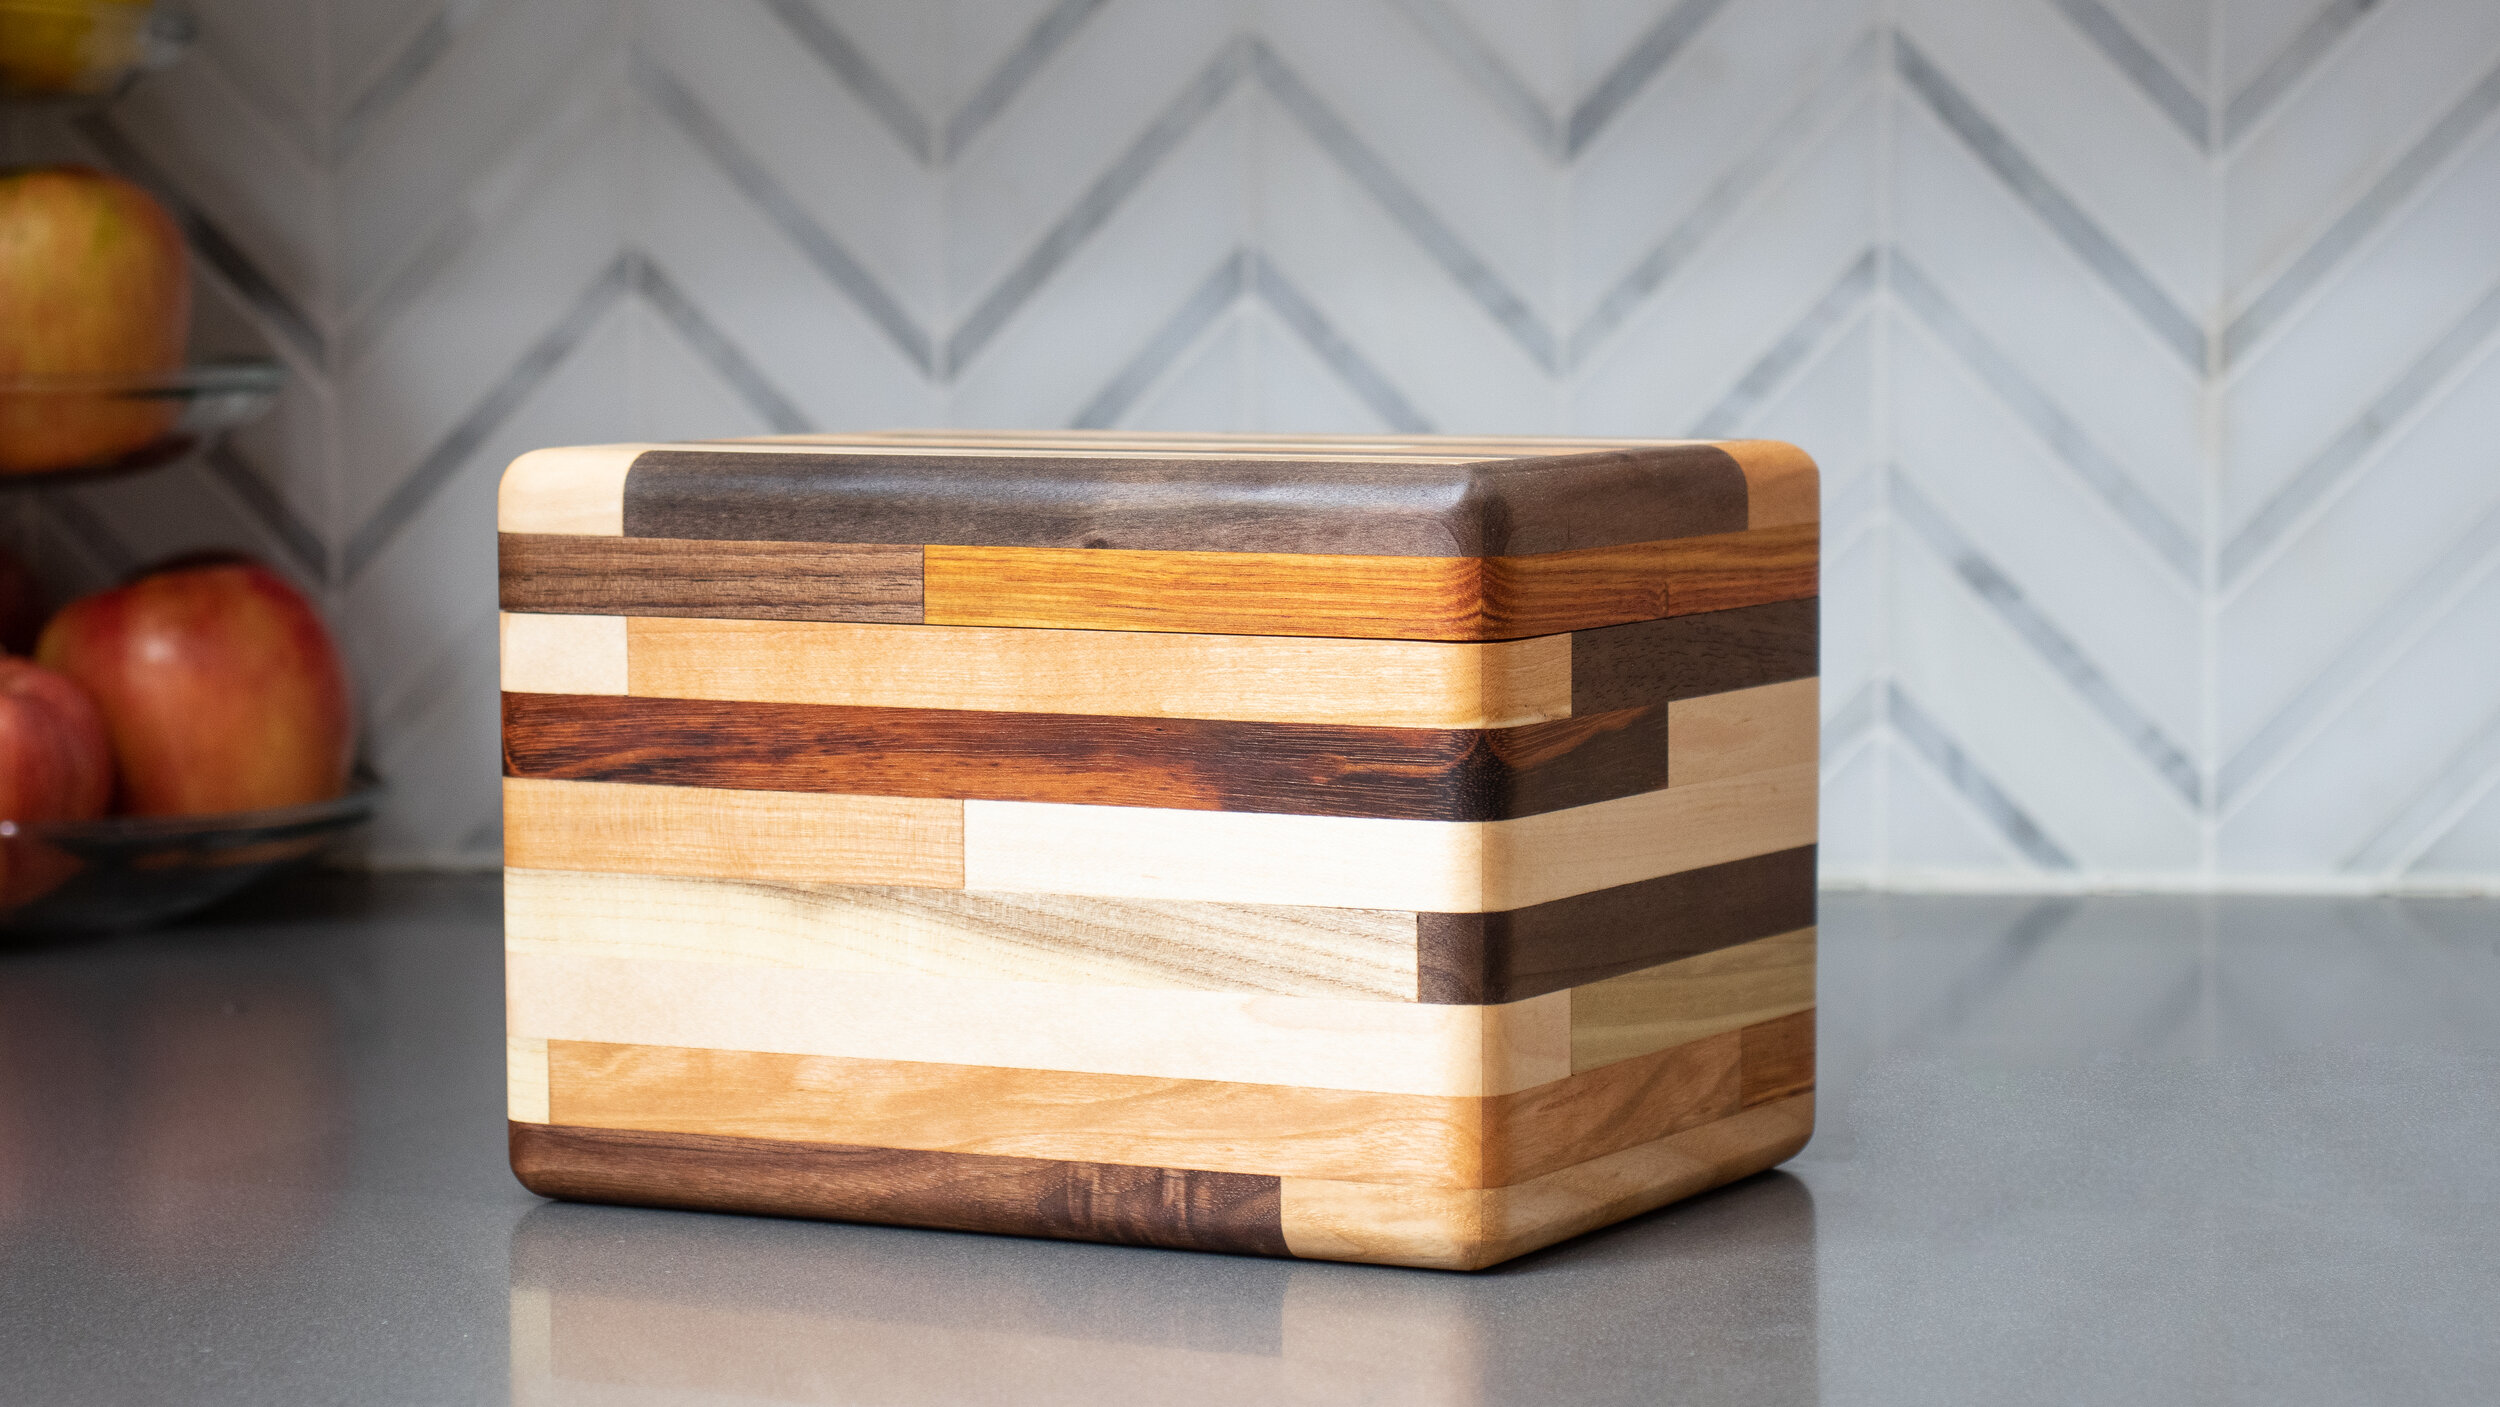
Best part is that I made use of all those small skinny scraps…
PROJECT #4
CHEVRON CHEESE SLICING BOARD
STEP 1
Find wood and glue it up… ha.
(You can make this out of a single block or glue-up small strips like I did.)
The board should end up being at least 3/4” thick, 5-3/4” wide, and 9-1/2” long.

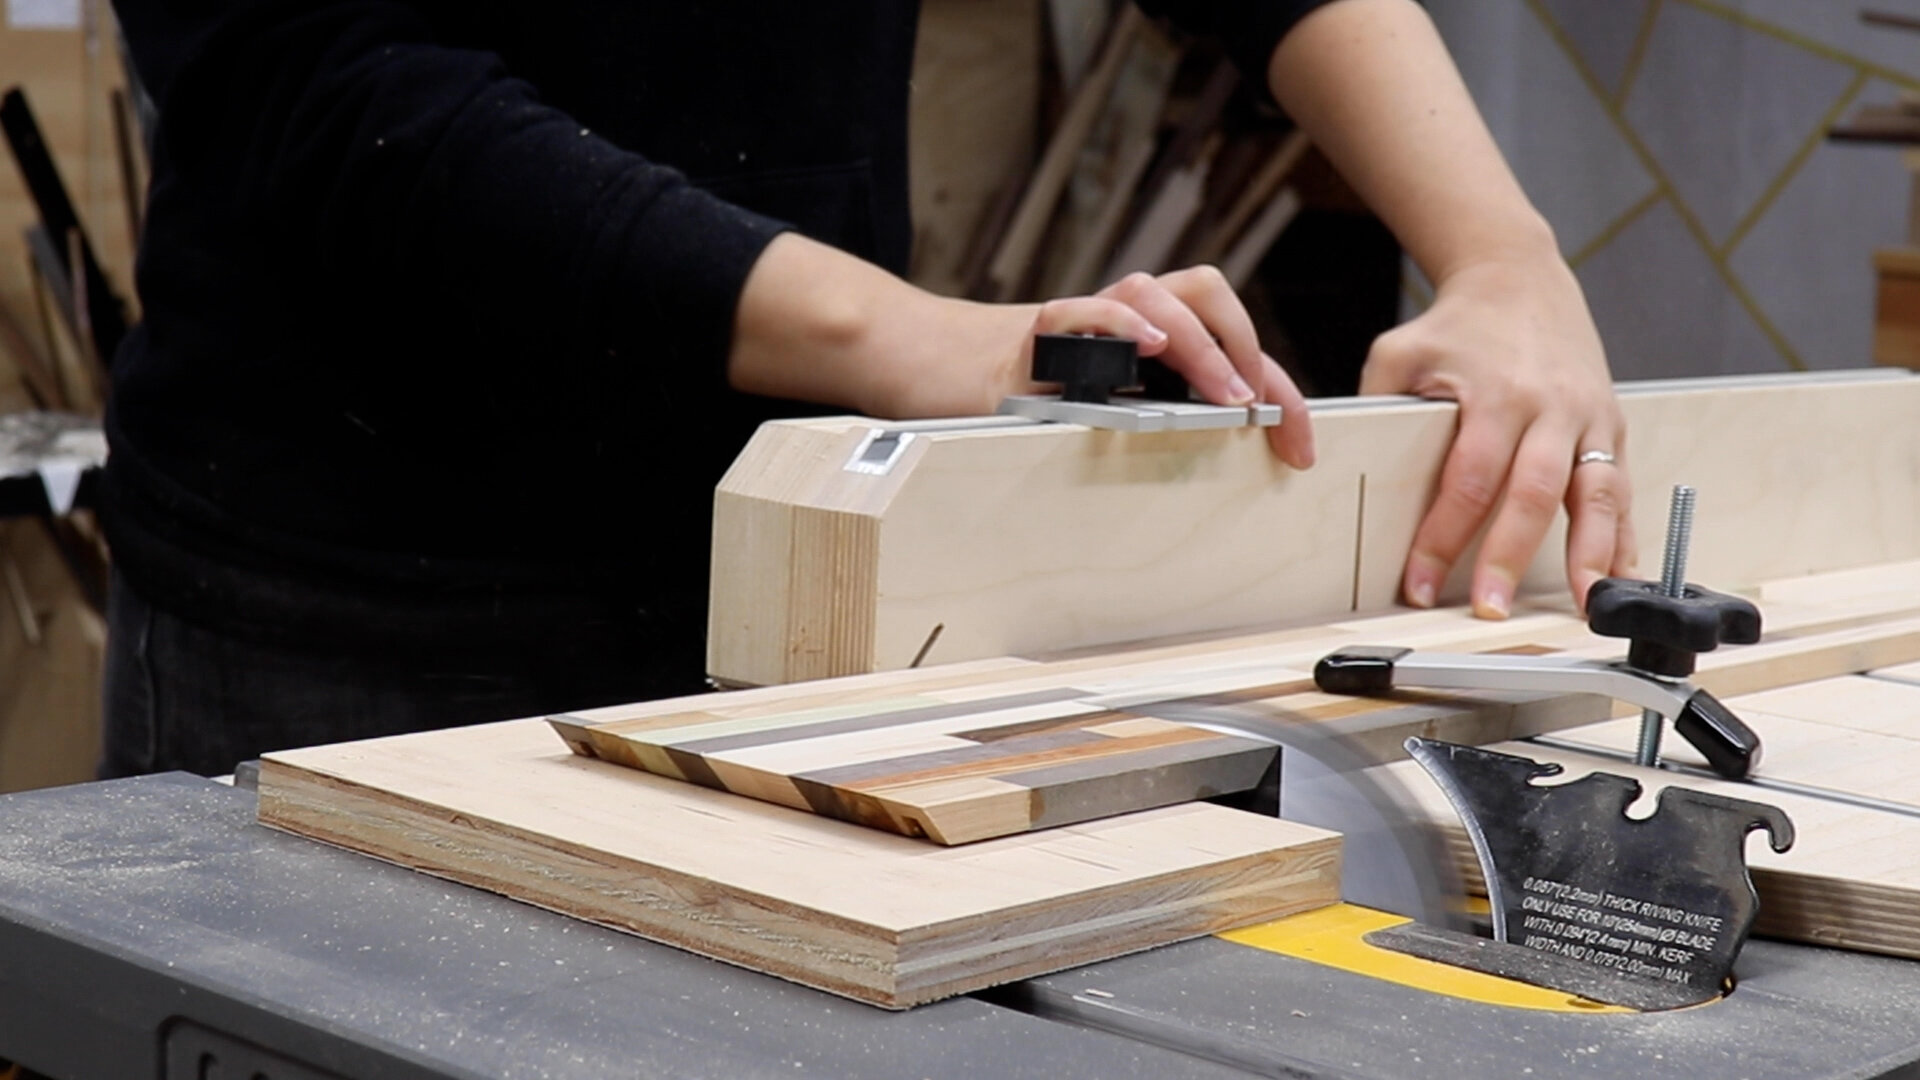
STEP 2
Set your miter gauge to 45 degrees and cut the board into 1” strips using a stop block.

To make the chevron effect, flip over every other strip.

STEP 3
Glue those strips back together!


STEP 5
Drill a 1/4” hole in the right end of the board.
This hole should be 5” from the front of your board.

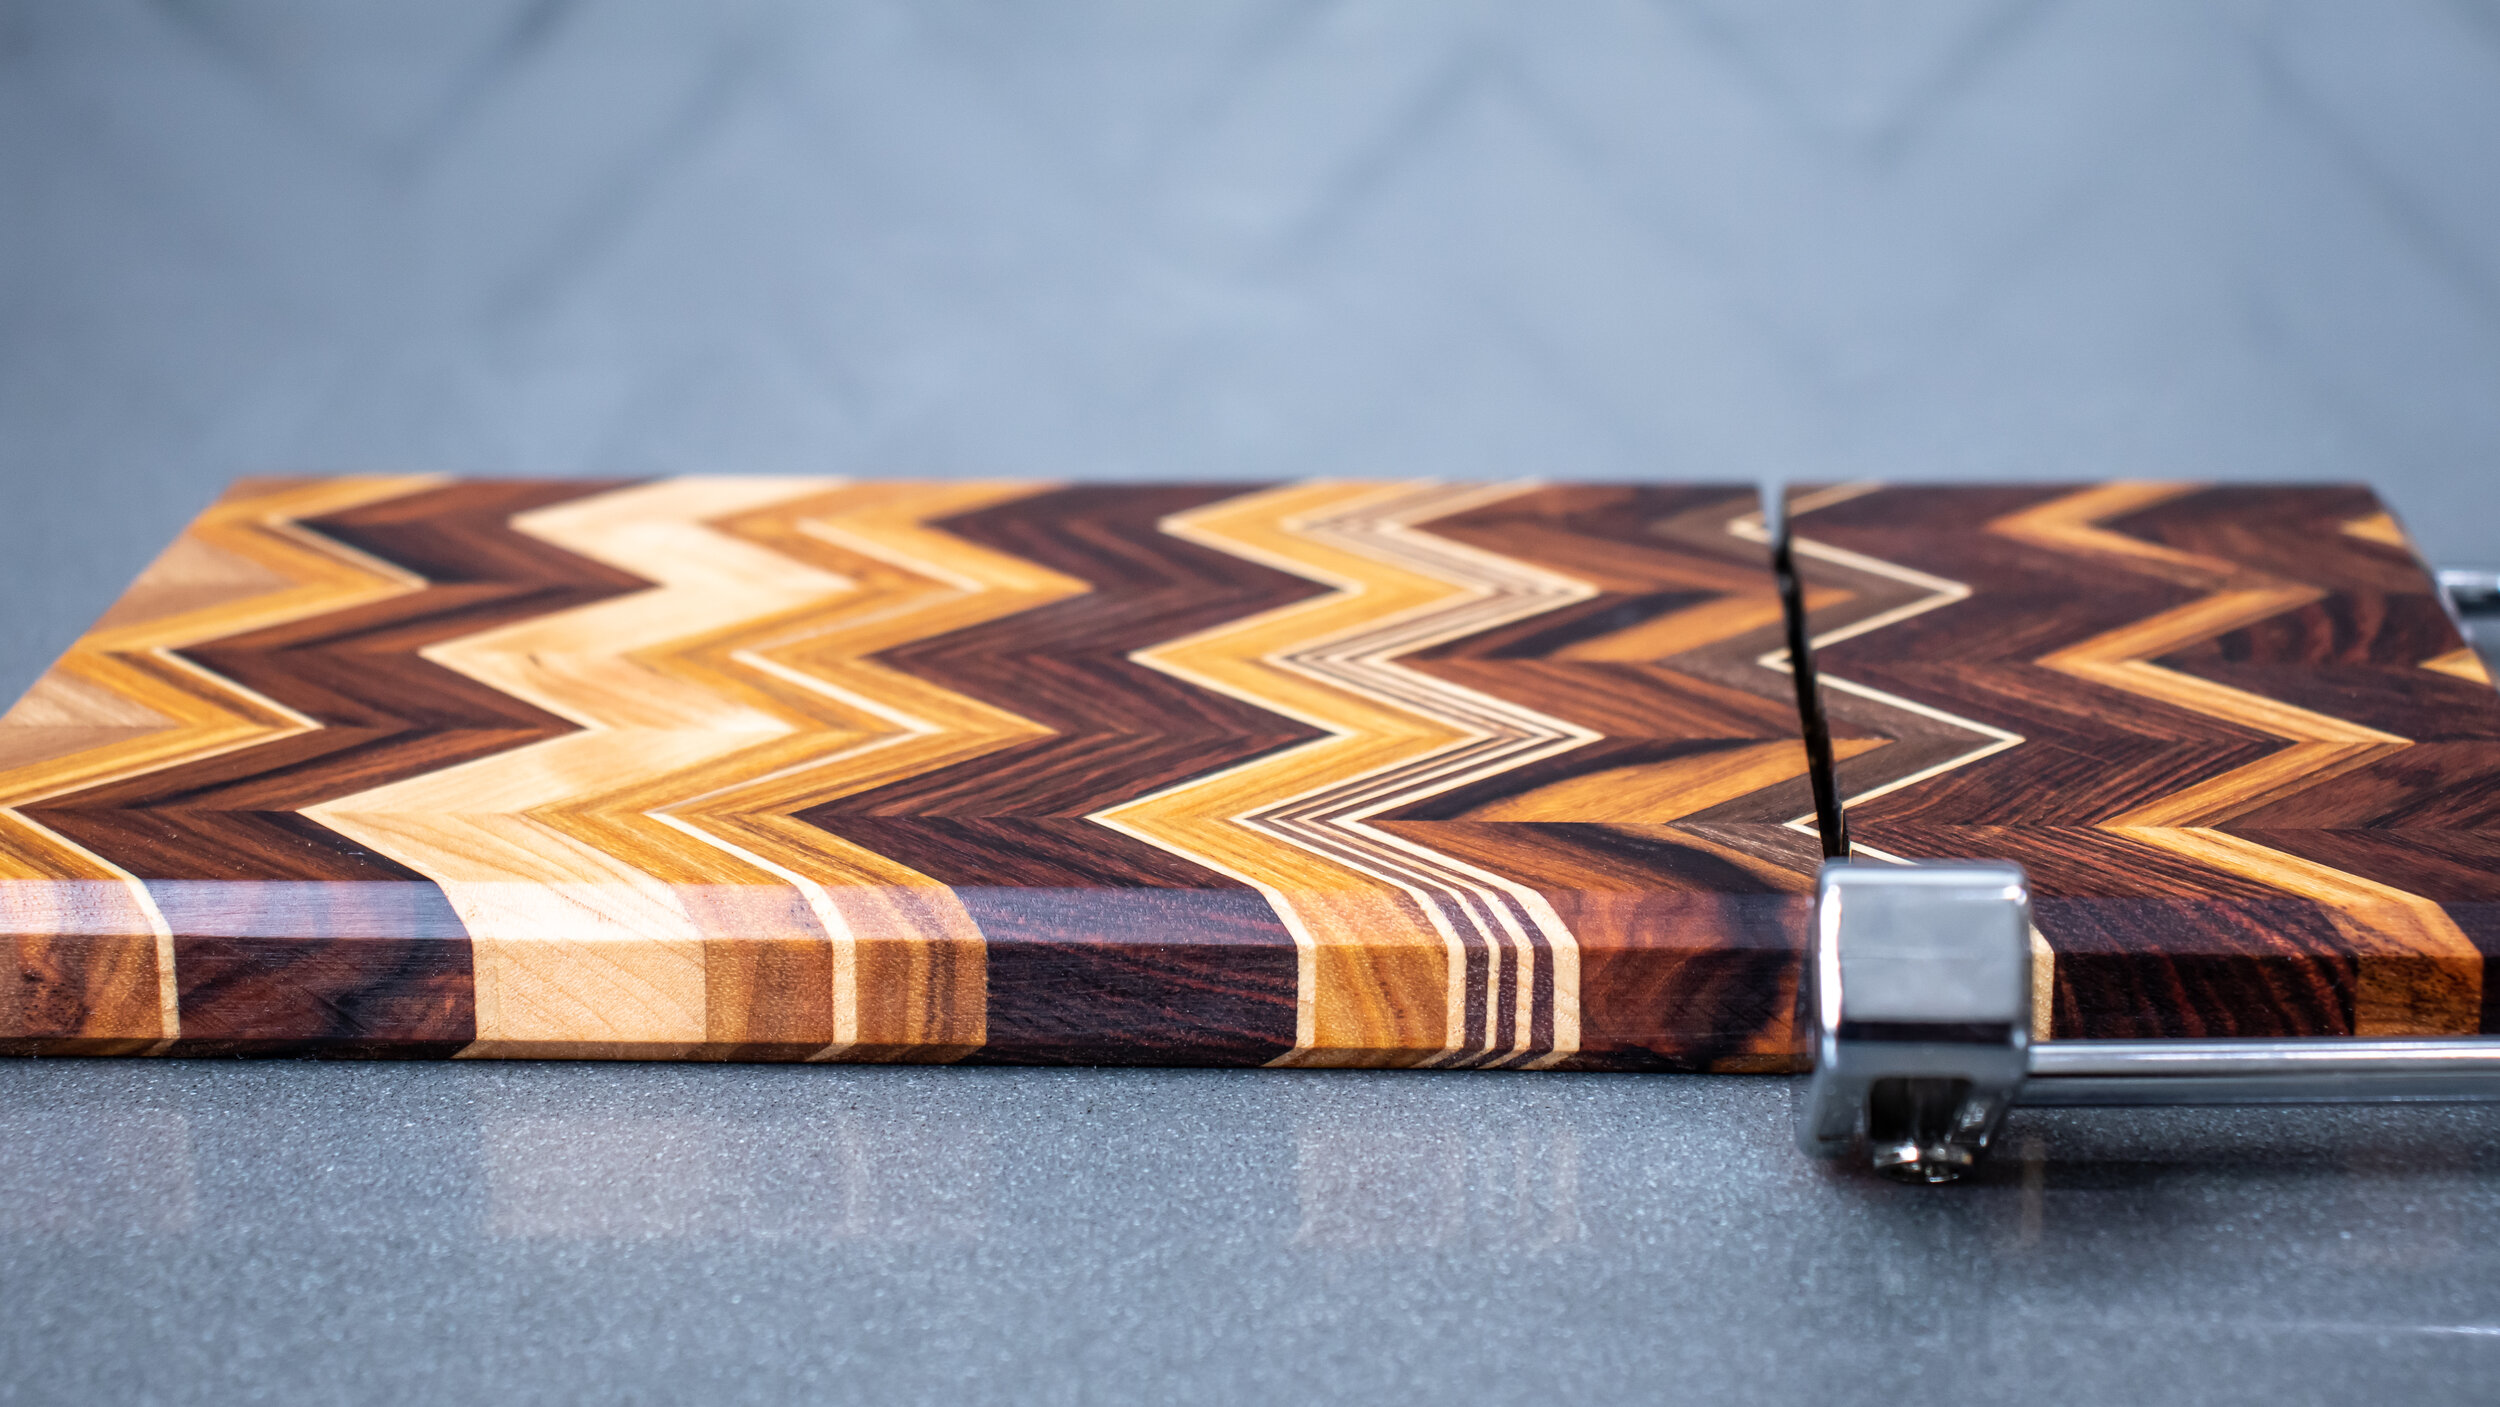
STEP 6
Cut a 3/8” deep groove, 3” from the edge where you drilled the hole.
I used a thin kerf blade, but full kerf is fine as well.

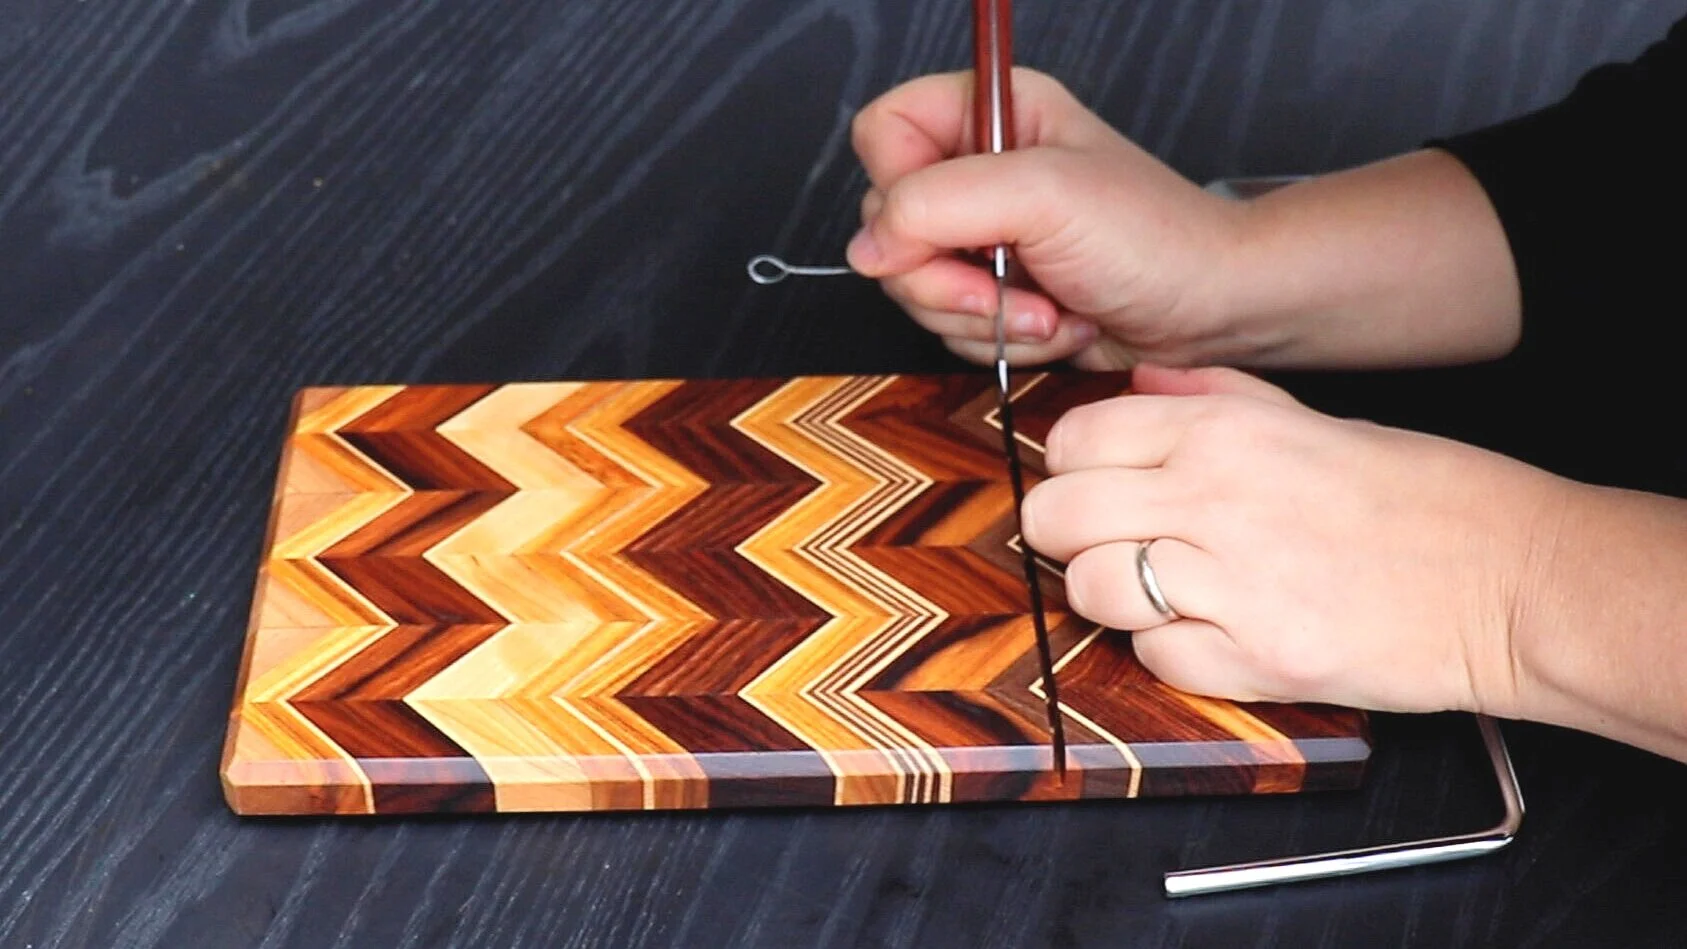
STEP 7
Use a small chisel or an awl in the groove to make some room for the wire to go on the arm.
Then install the arm!
I have been wanting to make this one for a while now, so happy I finally got around to doing it!

And I am just thrilled with how the scraps turned out, especially those thin strips of alternating colors…
PROJECT #5
TEST TUBE SPICE RACK
STEP 1
Find some wood and cut it to any size you need.

STEP 2
Drill any amount of holes you want!


I hope this gave you guys some good ideas for gifts you can make from scrap wood!
Happy Holidays! Now I’m off to eat those donuts I bought to take these pictures… ha!